マシンビジョンを、
シンプルに。
ライブ顔検出、AprilTag トラッキング、QR スキャン、YOLO。すべてデバイス上で純粋な MicroPython で動作。ホストコンピュータもクラウドも不要。
Hello world
サンプルimport csi
import time
import ml
from ml.postprocessing.ultralytics import YoloV8
csi0 = csi.CSI()
csi0.reset()
csi0.pixformat(csi.RGB565)
csi0.framesize(csi.VGA)
csi0.snapshot(time=2000) # let AWB/AGC stabilize
# Built-in single-class person detector model.
model = ml.Model("/rom/yolov8n_192.tflite",
postprocess=YoloV8(threshold=0.4))
clock = time.clock()
while True:
clock.tick()
img = csi0.snapshot()
# predict returns a list per class of ((x, y, w, h), score) tuples.
for class_dets in model.predict([img]):
for rect, score in class_dets:
img.draw_rectangle(rect, color=(0, 255, 0))
print(clock.fps(), "fps")
リアルタイム人物トラッキング
搭載の YOLOv8 モデルは単一クラスの人物検出器です — int8 量子化済みで ROM に収録されています。
/rom/yolov8n_192.tflite から読み込み — SD カードもダウンロードも不要です。import csi
import math
import time
csi0 = csi.CSI()
csi0.reset()
csi0.pixformat(csi.RGB565)
csi0.framesize(csi.QVGA)
csi0.snapshot(time=2000) # let AWB/AGC stabilize
csi0.auto_gain(False)
csi0.auto_whitebal(False)
clock = time.clock()
while True:
clock.tick()
img = csi0.snapshot()
for tag in img.find_apriltags():
img.draw_detection(tag, color1=(255, 0, 0), color2=(0, 255, 0))
deg = math.degrees(tag.rotation)
print("ID %d rotation %.1f deg" % (tag.id, deg))
print(clock.fps(), "fps")
AprilTag の検出と識別
AprilTag は 2D フィデューシャルマーカーです — モーションブラーや部分的な遮蔽にも強く、完全な 3D ポーズを取得できます。
x/y/z 並進および x/y/z 回転)を返します。import csi
import time
import ml
from ml.postprocessing.mediapipe import BlazeFace
csi0 = csi.CSI()
csi0.reset()
csi0.pixformat(csi.RGB565)
csi0.framesize(csi.VGA)
csi0.window((400, 400)) # square window for best results
csi0.snapshot(time=2000) # let AWB/AGC stabilize
model = ml.Model("/rom/blazeface_front_128.tflite",
postprocess=BlazeFace(threshold=0.4))
clock = time.clock()
while True:
clock.tick()
img = csi0.snapshot()
for rect, score, keypoints in model.predict([img]):
img.draw_rectangle(rect, color=(0, 0, 255))
ml.utils.draw_keypoints(img, keypoints, color=(255, 0, 0))
print(clock.fps(), "fps")
BlazeFace による顔検出
Google の BlazeFace は軽量な TensorFlow Lite 顔検出器で、バウンディングボックスと顔ごとに 6 つのランドマークを返します。
/rom/blazeface_front_128.tflite から読み込み — 事前量子化済み、ダウンロード不要です。import csi
import time
csi0 = csi.CSI()
csi0.reset()
csi0.pixformat(csi.RGB565)
csi0.framesize(csi.QVGA)
csi0.snapshot(time=2000) # let AWB/AGC stabilize
csi0.auto_gain(False)
clock = time.clock()
while True:
clock.tick()
img = csi0.snapshot()
for code in img.find_qrcodes():
img.draw_rectangle(code.rect, color=(255, 0, 0))
print(code.payload)
print(clock.fps(), "fps")
ライブフィードから QR コードをスキャン
内蔵 QR デコーダは傾いた、歪んだ、部分的に遮蔽されたコードを処理します。
import csi
import time

csi0 = csi.CSI()
csi0.reset()
csi0.pixformat(csi.RGB565)
csi0.framesize(csi.QVGA)
csi0.snapshot(time=2000)  # let AWB/AGC stabilize
csi0.auto_gain(False)
csi0.auto_whitebal(False)

# LAB thresholds: (L_min, L_max, A_min, A_max, B_min, B_max)
thresholds = [
    (30, 100, 15, 127, 15, 127),   # red
    (30, 100, -64, -8, -32, 32),   # green
]

clock = time.clock()

while True:
    clock.tick()
    img = csi0.snapshot()
    for blob in img.find_blobs(thresholds, pixels_threshold=200):
        img.draw_rectangle(blob.rect, color=(255, 0, 0))
        img.draw_cross((blob.cx, blob.cy))
    print(clock.fps(), "fps")
カラーブロブの検出
find_blobs は 1 つ以上の LAB 閾値に一致する連続ピクセル領域を返します。
pixels_threshold は小さな検出をフィルタリングし、merge=True は重なるブロブを結合します。import csi
import time
csi0 = csi.CSI()
csi0.reset()
csi0.pixformat(csi.GRAYSCALE)
csi0.framesize(csi.VGA)
csi0.window((640, 80)) # narrow strip for fast linear scanning
csi0.snapshot(time=2000) # let AWB/AGC stabilize
csi0.auto_gain(False)
csi0.auto_whitebal(False)
clock = time.clock()
while True:
clock.tick()
img = csi0.snapshot()
for code in img.find_barcodes():
img.draw_rectangle(code.rect, color=(0, 255, 0))
print(code.payload, "(quality %d)" % code.quality)
print(clock.fps(), "fps")
1D バーコードの読み取り
フレーム内の任意の場所にある 1D バーコードを検出してペイロードをデコードします。
import csi
import time
import ml
from ml.postprocessing.mediapipe import HandLandmarks

csi0 = csi.CSI()
csi0.reset()
csi0.pixformat(csi.RGB565)
csi0.framesize(csi.VGA)
csi0.window((400, 400))  # square window for the model
csi0.snapshot(time=2000)  # let AWB/AGC stabilize

# Connections between the 21 keypoints — palm + 5 fingers.
hand_lines = ((0, 1), (1, 2), (2, 3), (3, 4), (0, 5), (5, 6),
              (6, 7), (7, 8), (5, 9), (9, 10), (10, 11), (11, 12),
              (9, 13), (13, 14), (14, 15), (15, 16), (13, 17), (17, 18),
              (18, 19), (19, 20), (0, 17))

model = ml.Model("/rom/hand_landmarks_full_224.tflite",
                 postprocess=HandLandmarks(threshold=0.4))
clock = time.clock()

while True:
    clock.tick()
    img = csi0.snapshot()
    # predict returns a list per hand: index 0 = left, index 1 = right.
    for detections in model.predict([img]):
        for rect, score, keypoints in detections:
            ml.utils.draw_skeleton(img, keypoints, hand_lines,
                                   kp_color=(255, 0, 0),
                                   line_color=(0, 255, 0))
    print(clock.fps(), "fps")
21 手のキーポイントのトラッキング
Google の MediaPipe Hand Landmarks モデルは検出された各手に 21 の関節(手首、ナックル、指先)を配置します。
/rom/hand_landmarks_full_224.tflite から読み込み — ここでは手のひら検出なしのスタンドアロンで動作します。ml.utils.draw_skeleton は 1 回の呼び出しで 21 のすべての関節と接続を描画します。OpenMV が初めてですか?
ステップバイステップのチュートリアルから始めましょう — ハードウェアのセットアップ、IDE、基本スクリプト、最初の実プロジェクトのヒントを網羅しています。
コアライブラリ
APIハードウェア、カメラ、画像処理、ndarray、ML、マルチタスク、ネットワーキング、ウェブサーバー、Bluetooth — すべて MicroPython から。
machine
低レベルハードウェア: GPIO、SPI、I²C、UART、PWM、ADC、タイマー。
詳しく見る →csi
カメラ制御: ピクセルフォーマット、フレームサイズ、露出、ゲイン、ホワイトバランス。
詳しく見る →image
マシンビジョン: ブロブ、エッジ、ライン、円、特徴、描画。
詳しく見る →ulab
デバイス上の数値計算 — ndarray、FFT、線形代数。
詳しく見る →ml
デバイス上のニューラルネットワーク推論 — 分類、検出、セグメンテーション。
詳しく見る →asyncio
協調マルチタスク — カメラ、ネットワーク、I/O を並行して実行。
詳しく見る →network
IoT とリモート通信のための Wi-Fi、Ethernet、ソケット。
詳しく見る →microdot
最小限の HTTP サーバー — ルート、セッション、ログイン、SSE、WebSocket。
詳しく見る →aioble
非同期 Bluetooth Low Energy — ペリフェラル、アドバタイジング、GATT。
詳しく見る →ボードで探す
ハードウェアOpenMV Cam を選択してピン配置、仕様、ボード固有のクイックリファレンスを確認します。
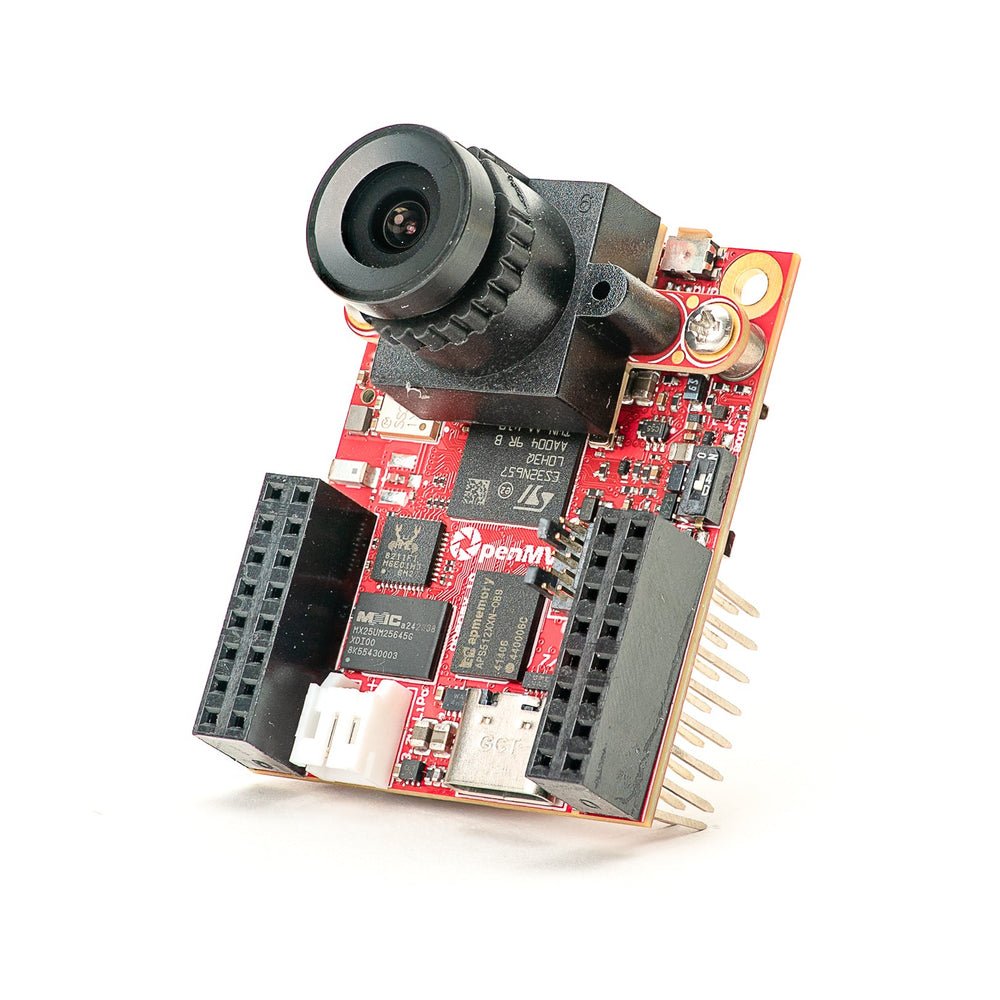
OpenMV N6 新着
内蔵 NPU 搭載 STM32N6 — STMicro 初の AI アクセラレーション MCU。
詳しく見る →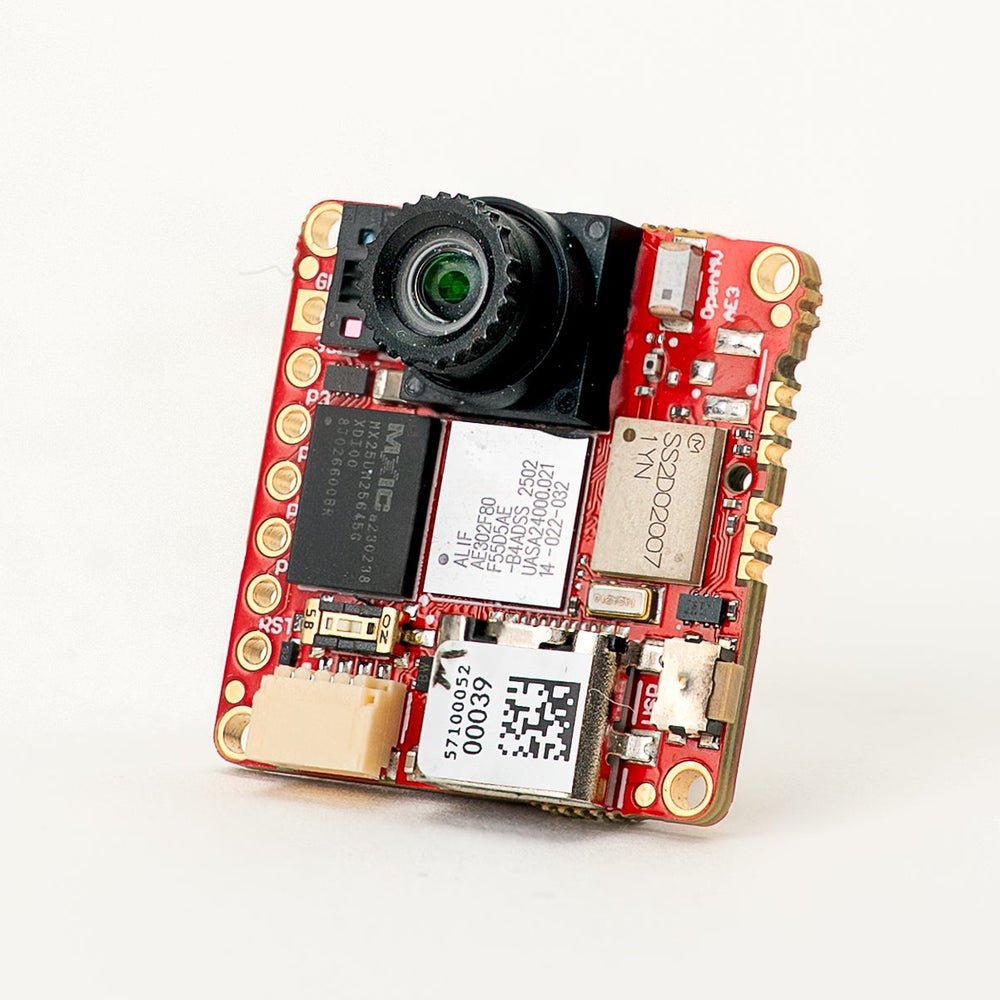
OpenMV AE3 新着
Alif Ensemble E3 — Ethos-U55 NPU 搭載フュージョンクラス Cortex-M55。
詳しく見る →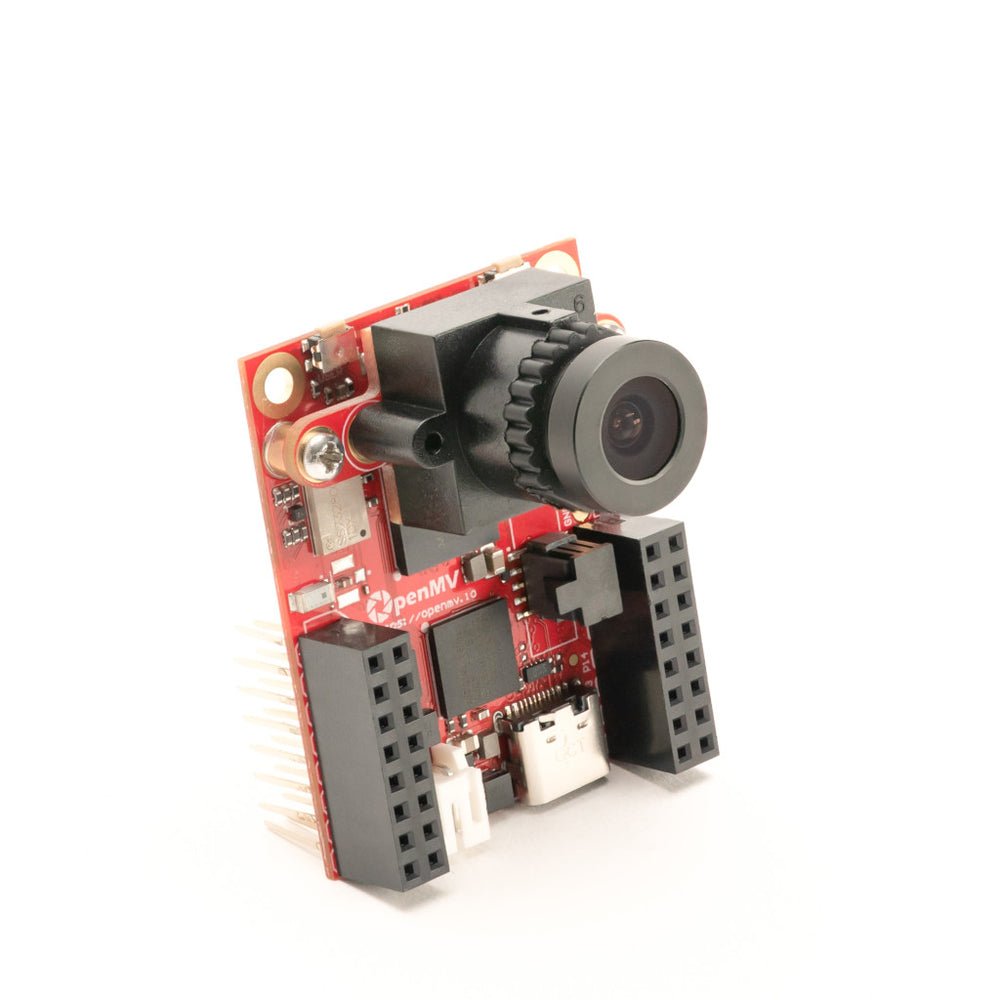
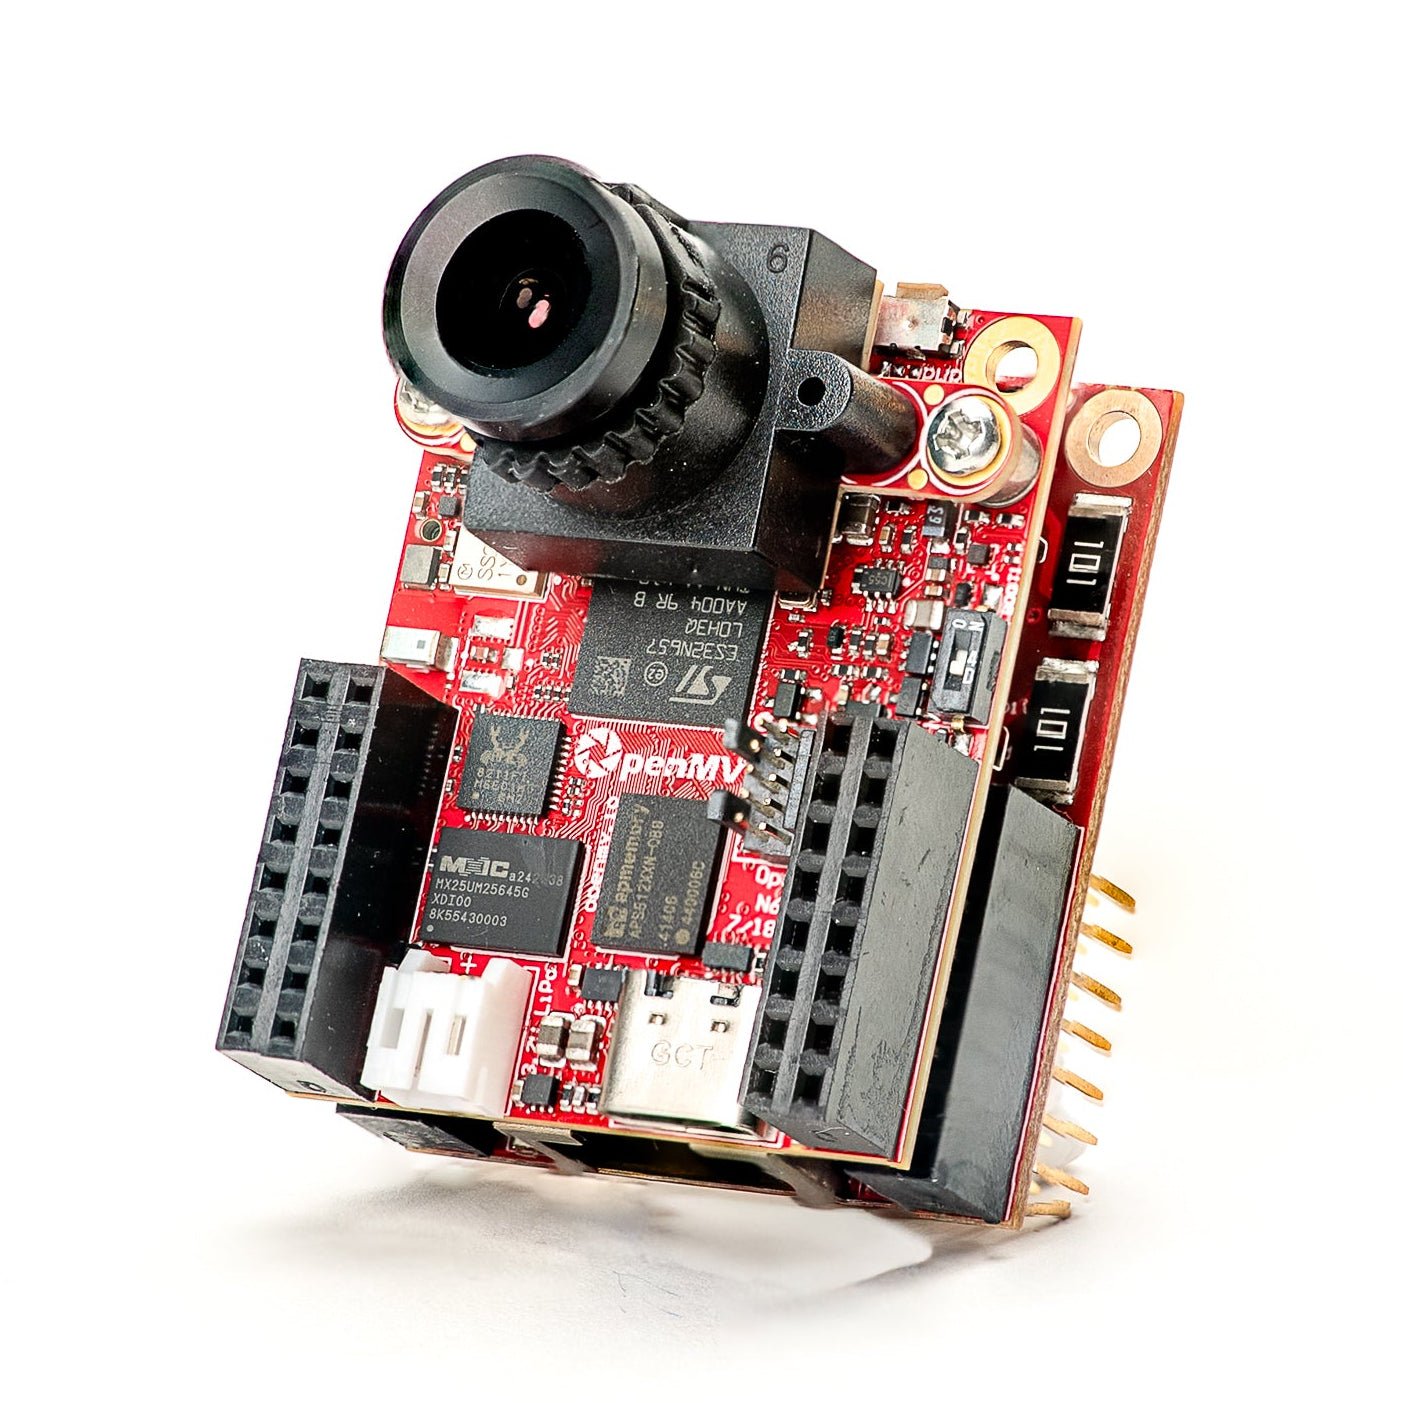
OpenMV RT1062
NXP i.MX RT1062 Cortex-M7、600 MHz、32 MB 外部 SDRAM 搭載。
詳しく見る →
OpenMV H7 Plus
STM32H743、32 MB 外部 SDRAM、5MP OV5640 センサー搭載。
詳しく見る →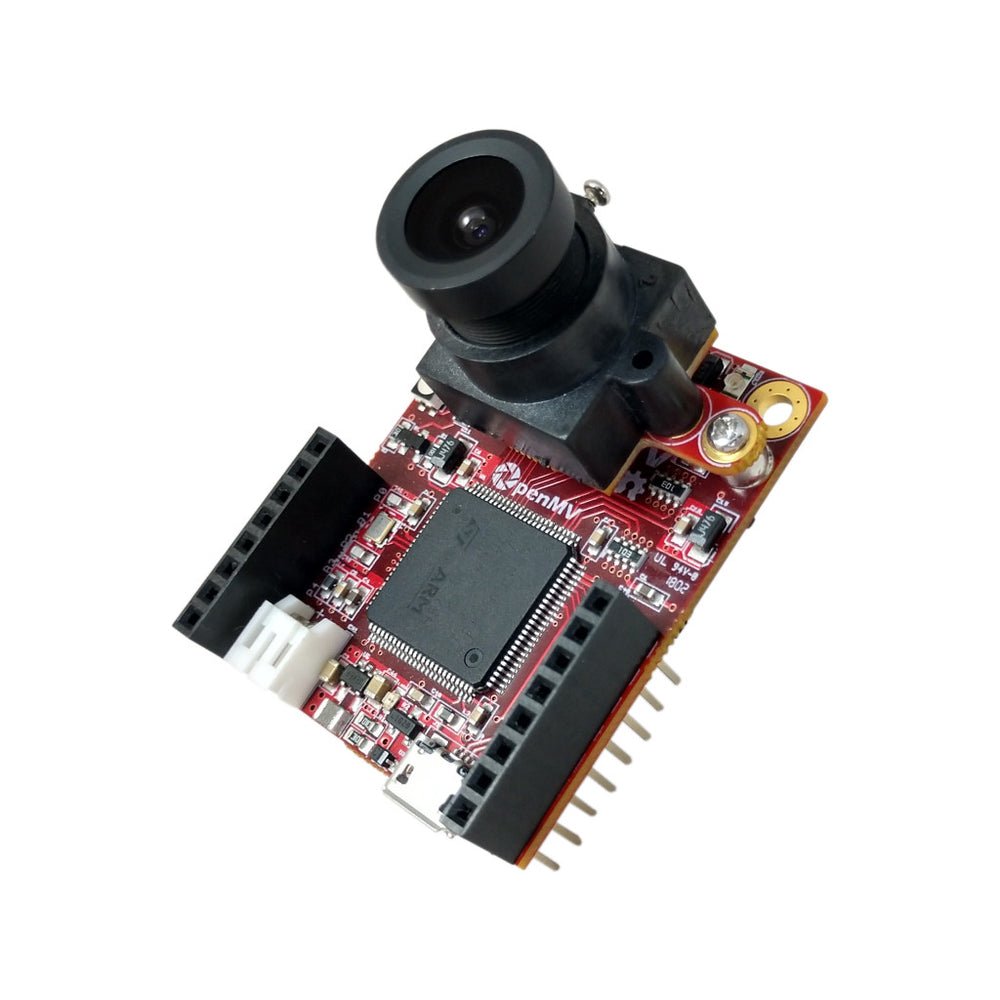
OpenMV H7
取り外し可能なイメージセンサーモジュール搭載 STM32H743 Cortex-M7。
詳しく見る →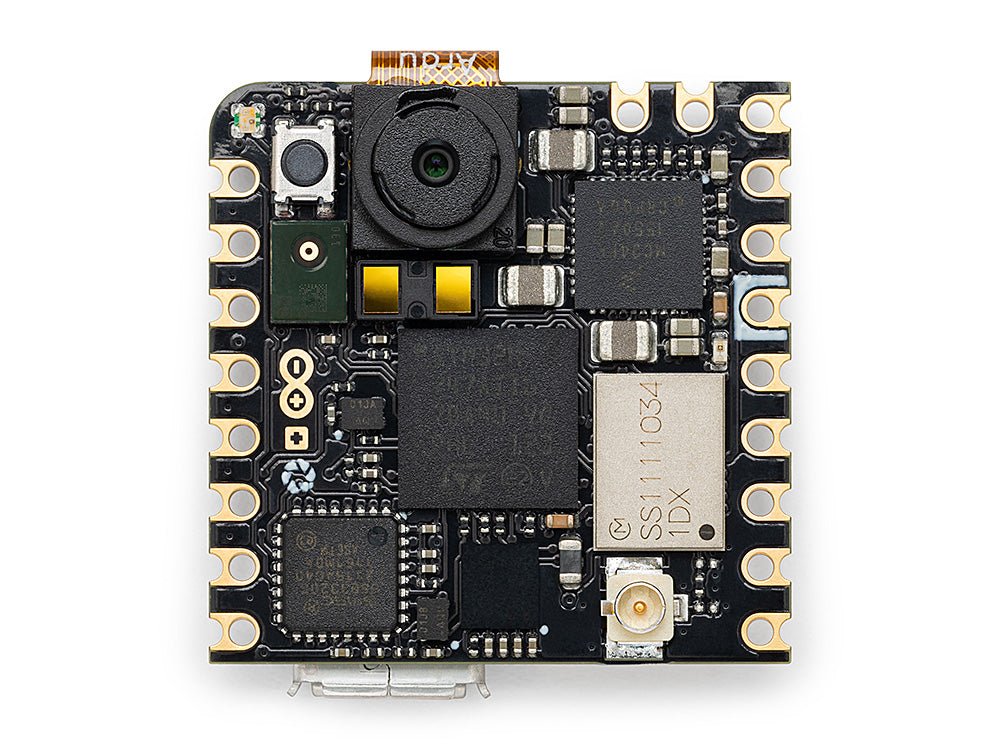
Arduino Nicla Vision
オンボードセンサー搭載のコンパクト 23 × 23 mm STM32H747 ボード。
詳しく見る →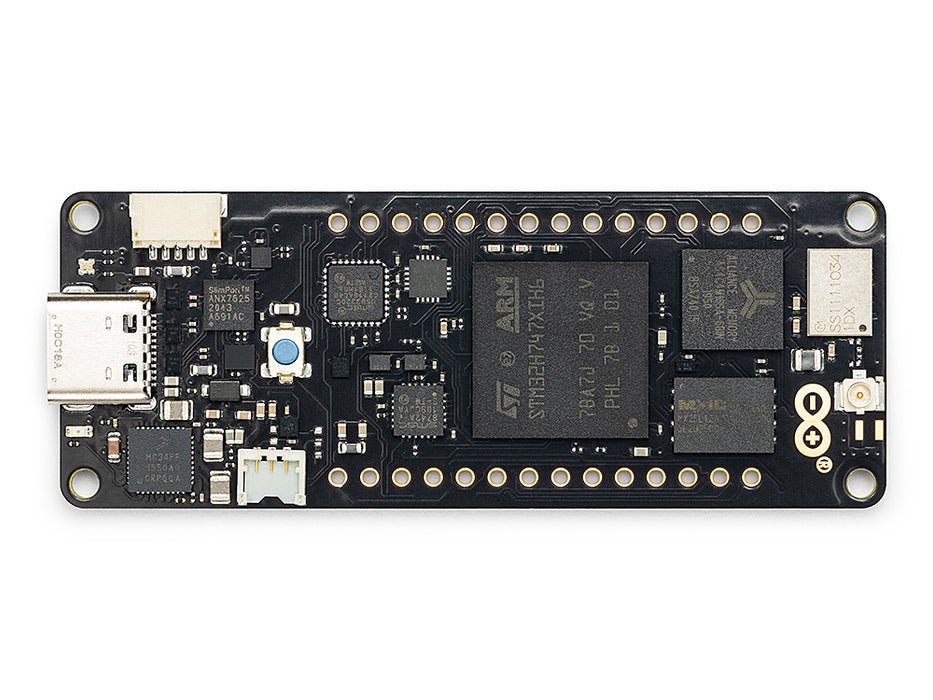
Arduino Portenta
STM32H747、8 MB SDRAM、Vision Shield 対応。
詳しく見る →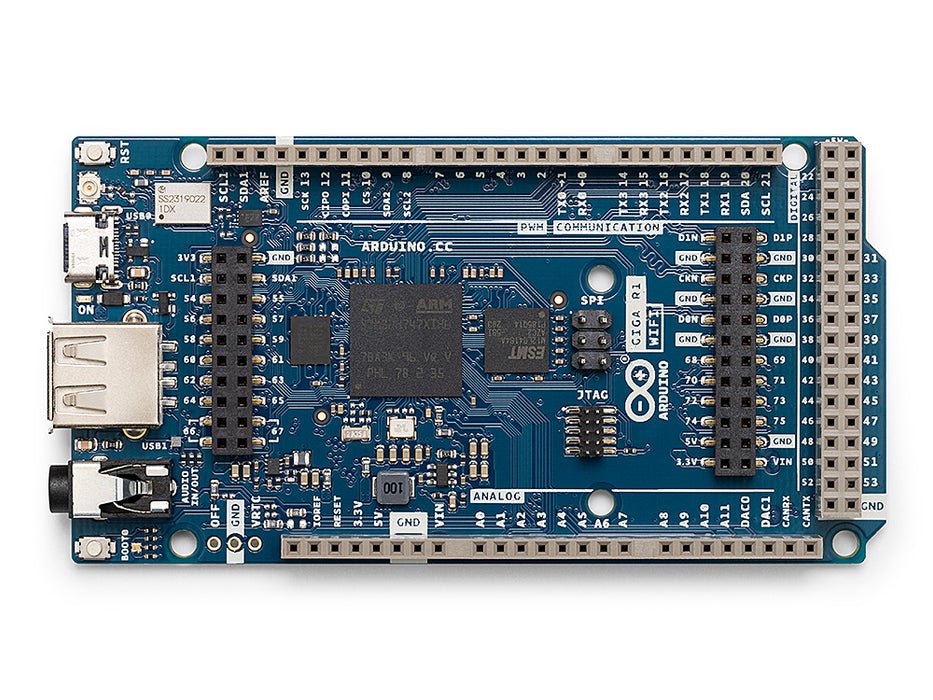
Arduino Giga
STM32H747、8 MB SDRAM、Vision・Display Shield 対応。
詳しく見る →シールド
アドオンOpenMV Cam に接続するアドオンボード — ネットワーキング、モーター制御、ディスプレイなど。
Gigabit PoE Shield
高帯域幅ストリーミング向けの PoE 付き Gigabit Ethernet。
詳しく見る →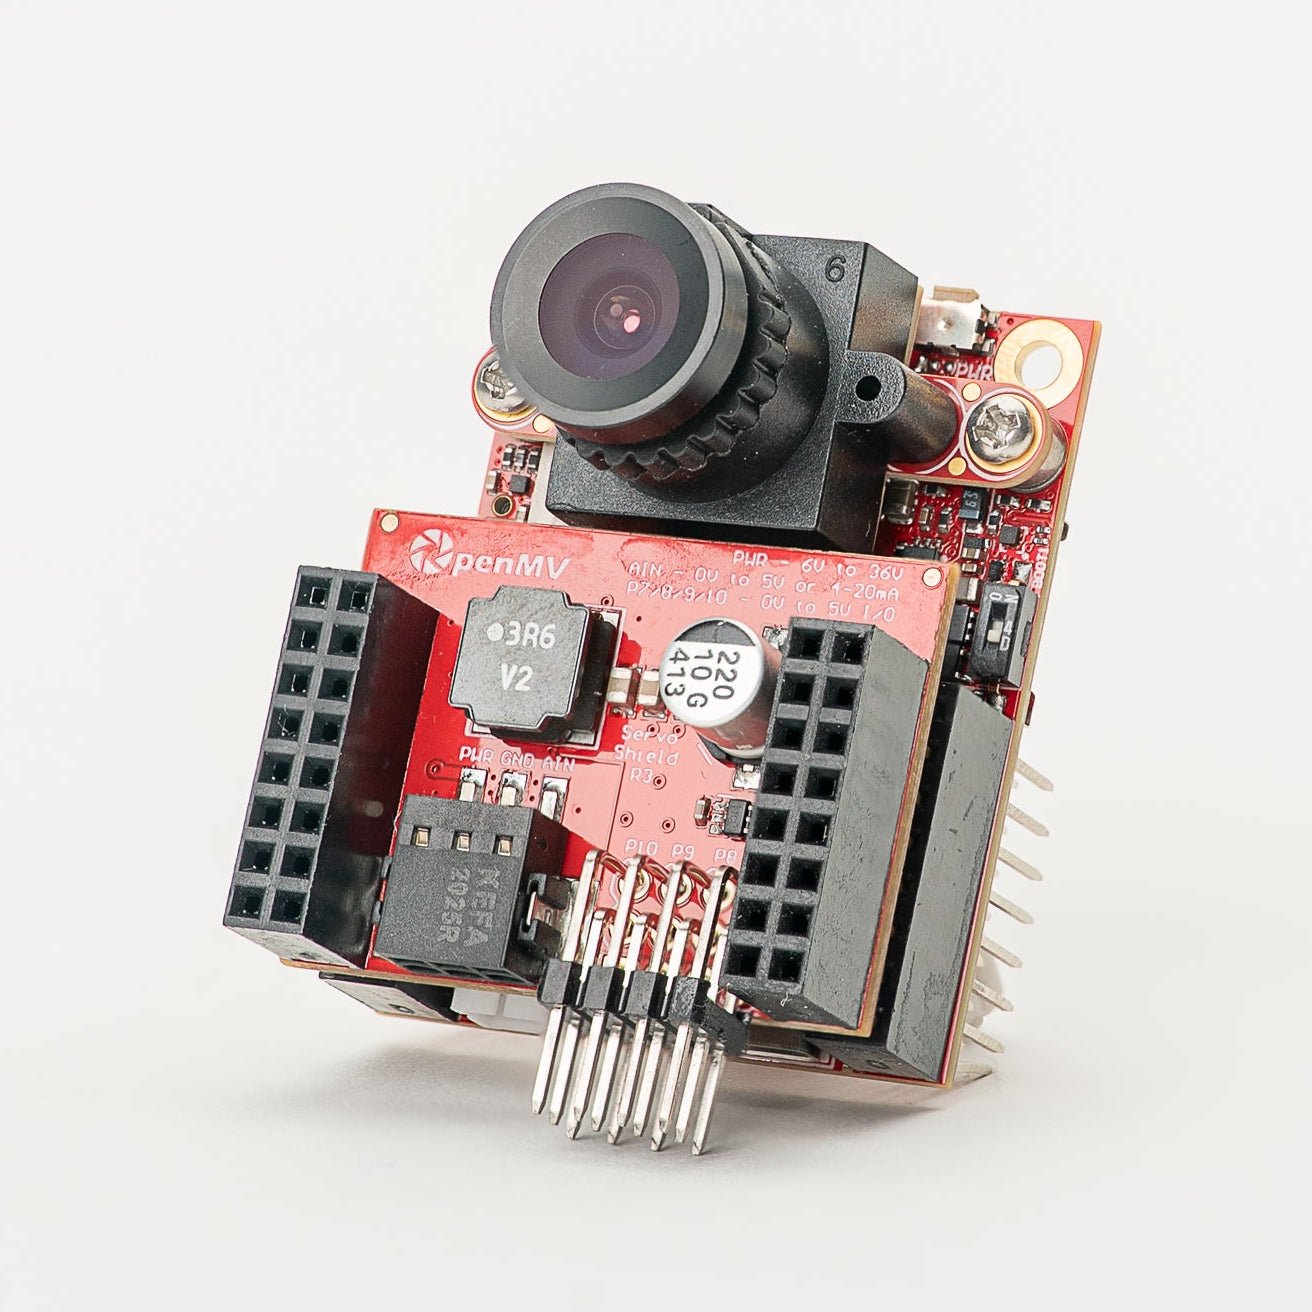
Servo Shield
カメラに給電しながら最大 5A で最大 4 つのサーボを駆動、6〜36V 入力。
詳しく見る →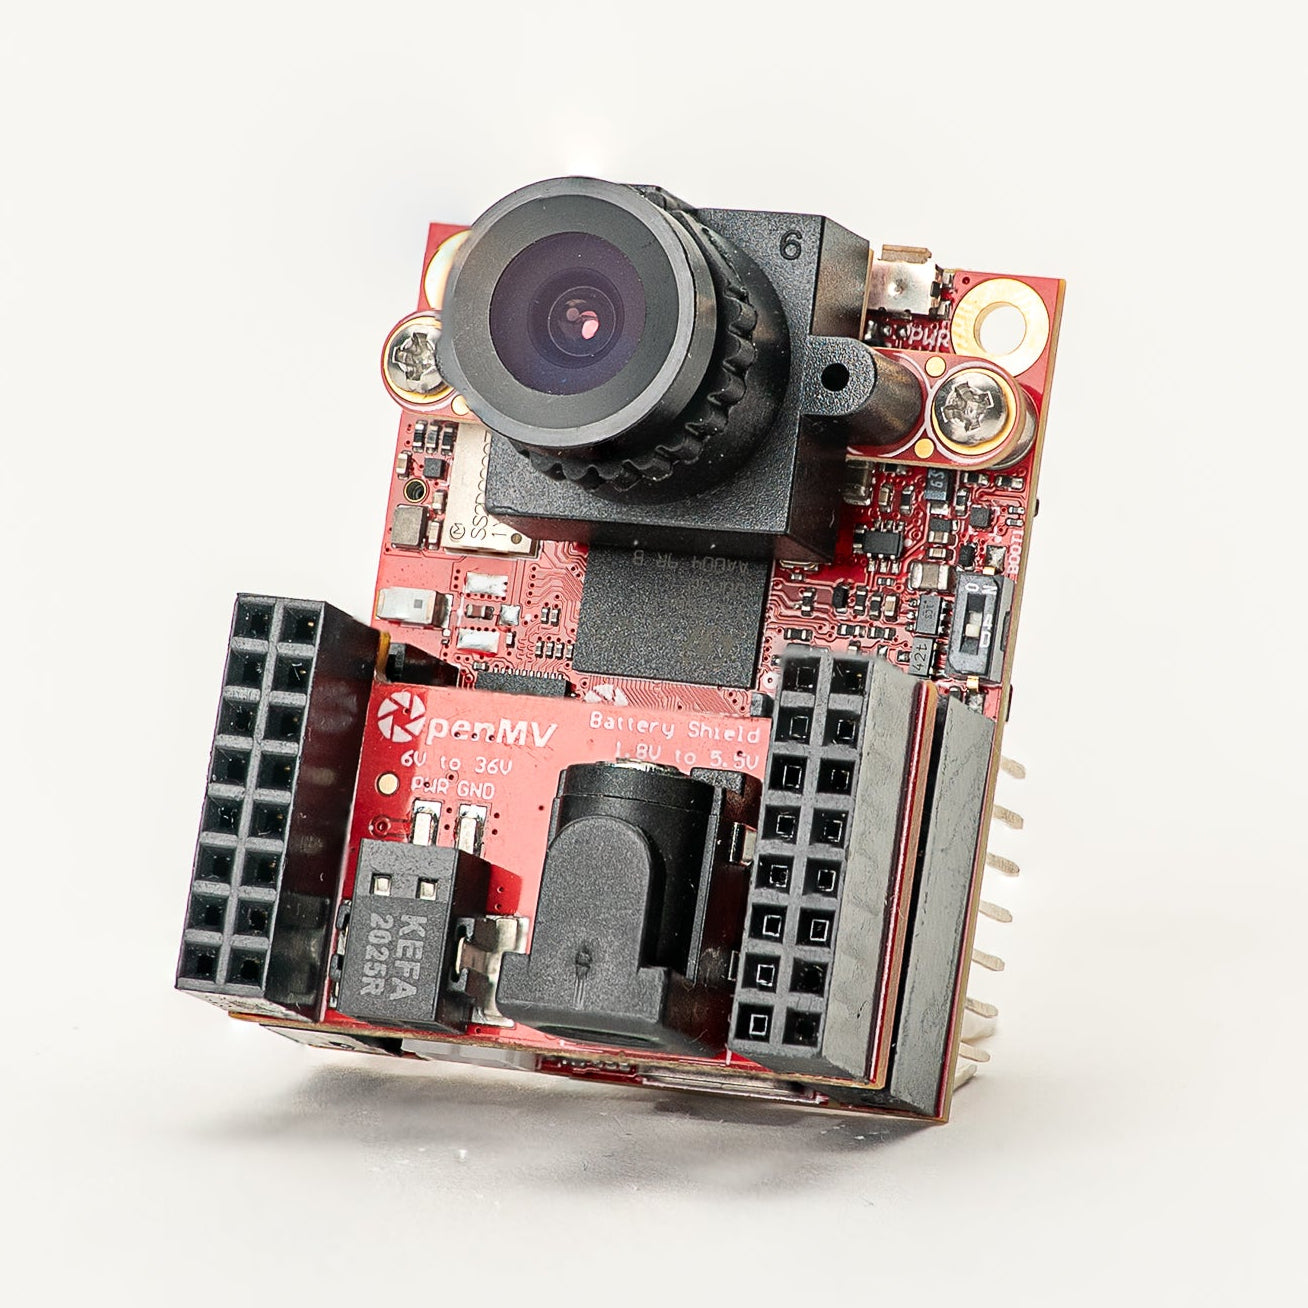
Battery Shield
DC バレルジャック経由の 1.8〜5.5V バッテリー入力。
詳しく見る →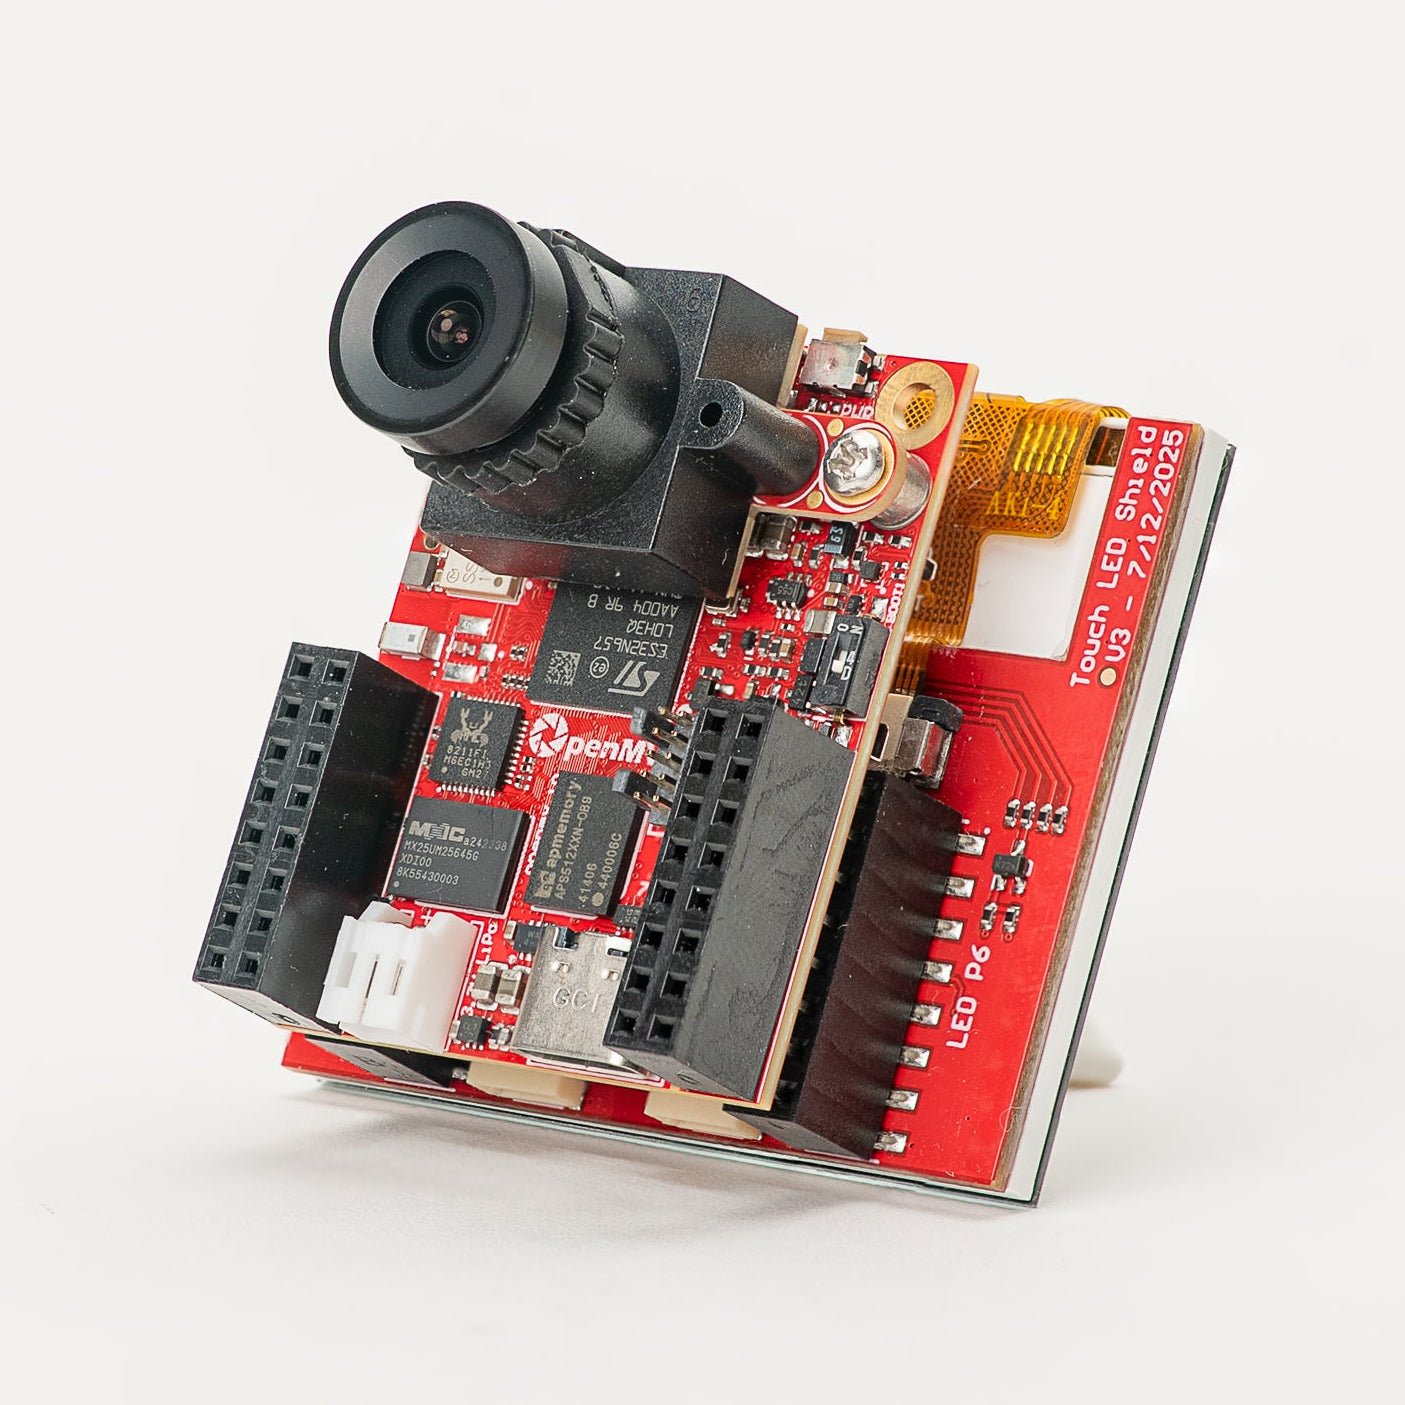
Touch LCD Shield
静電容量式マルチタッチと Qwiic 付きの 2.3" SPI LCD。
詳しく見る →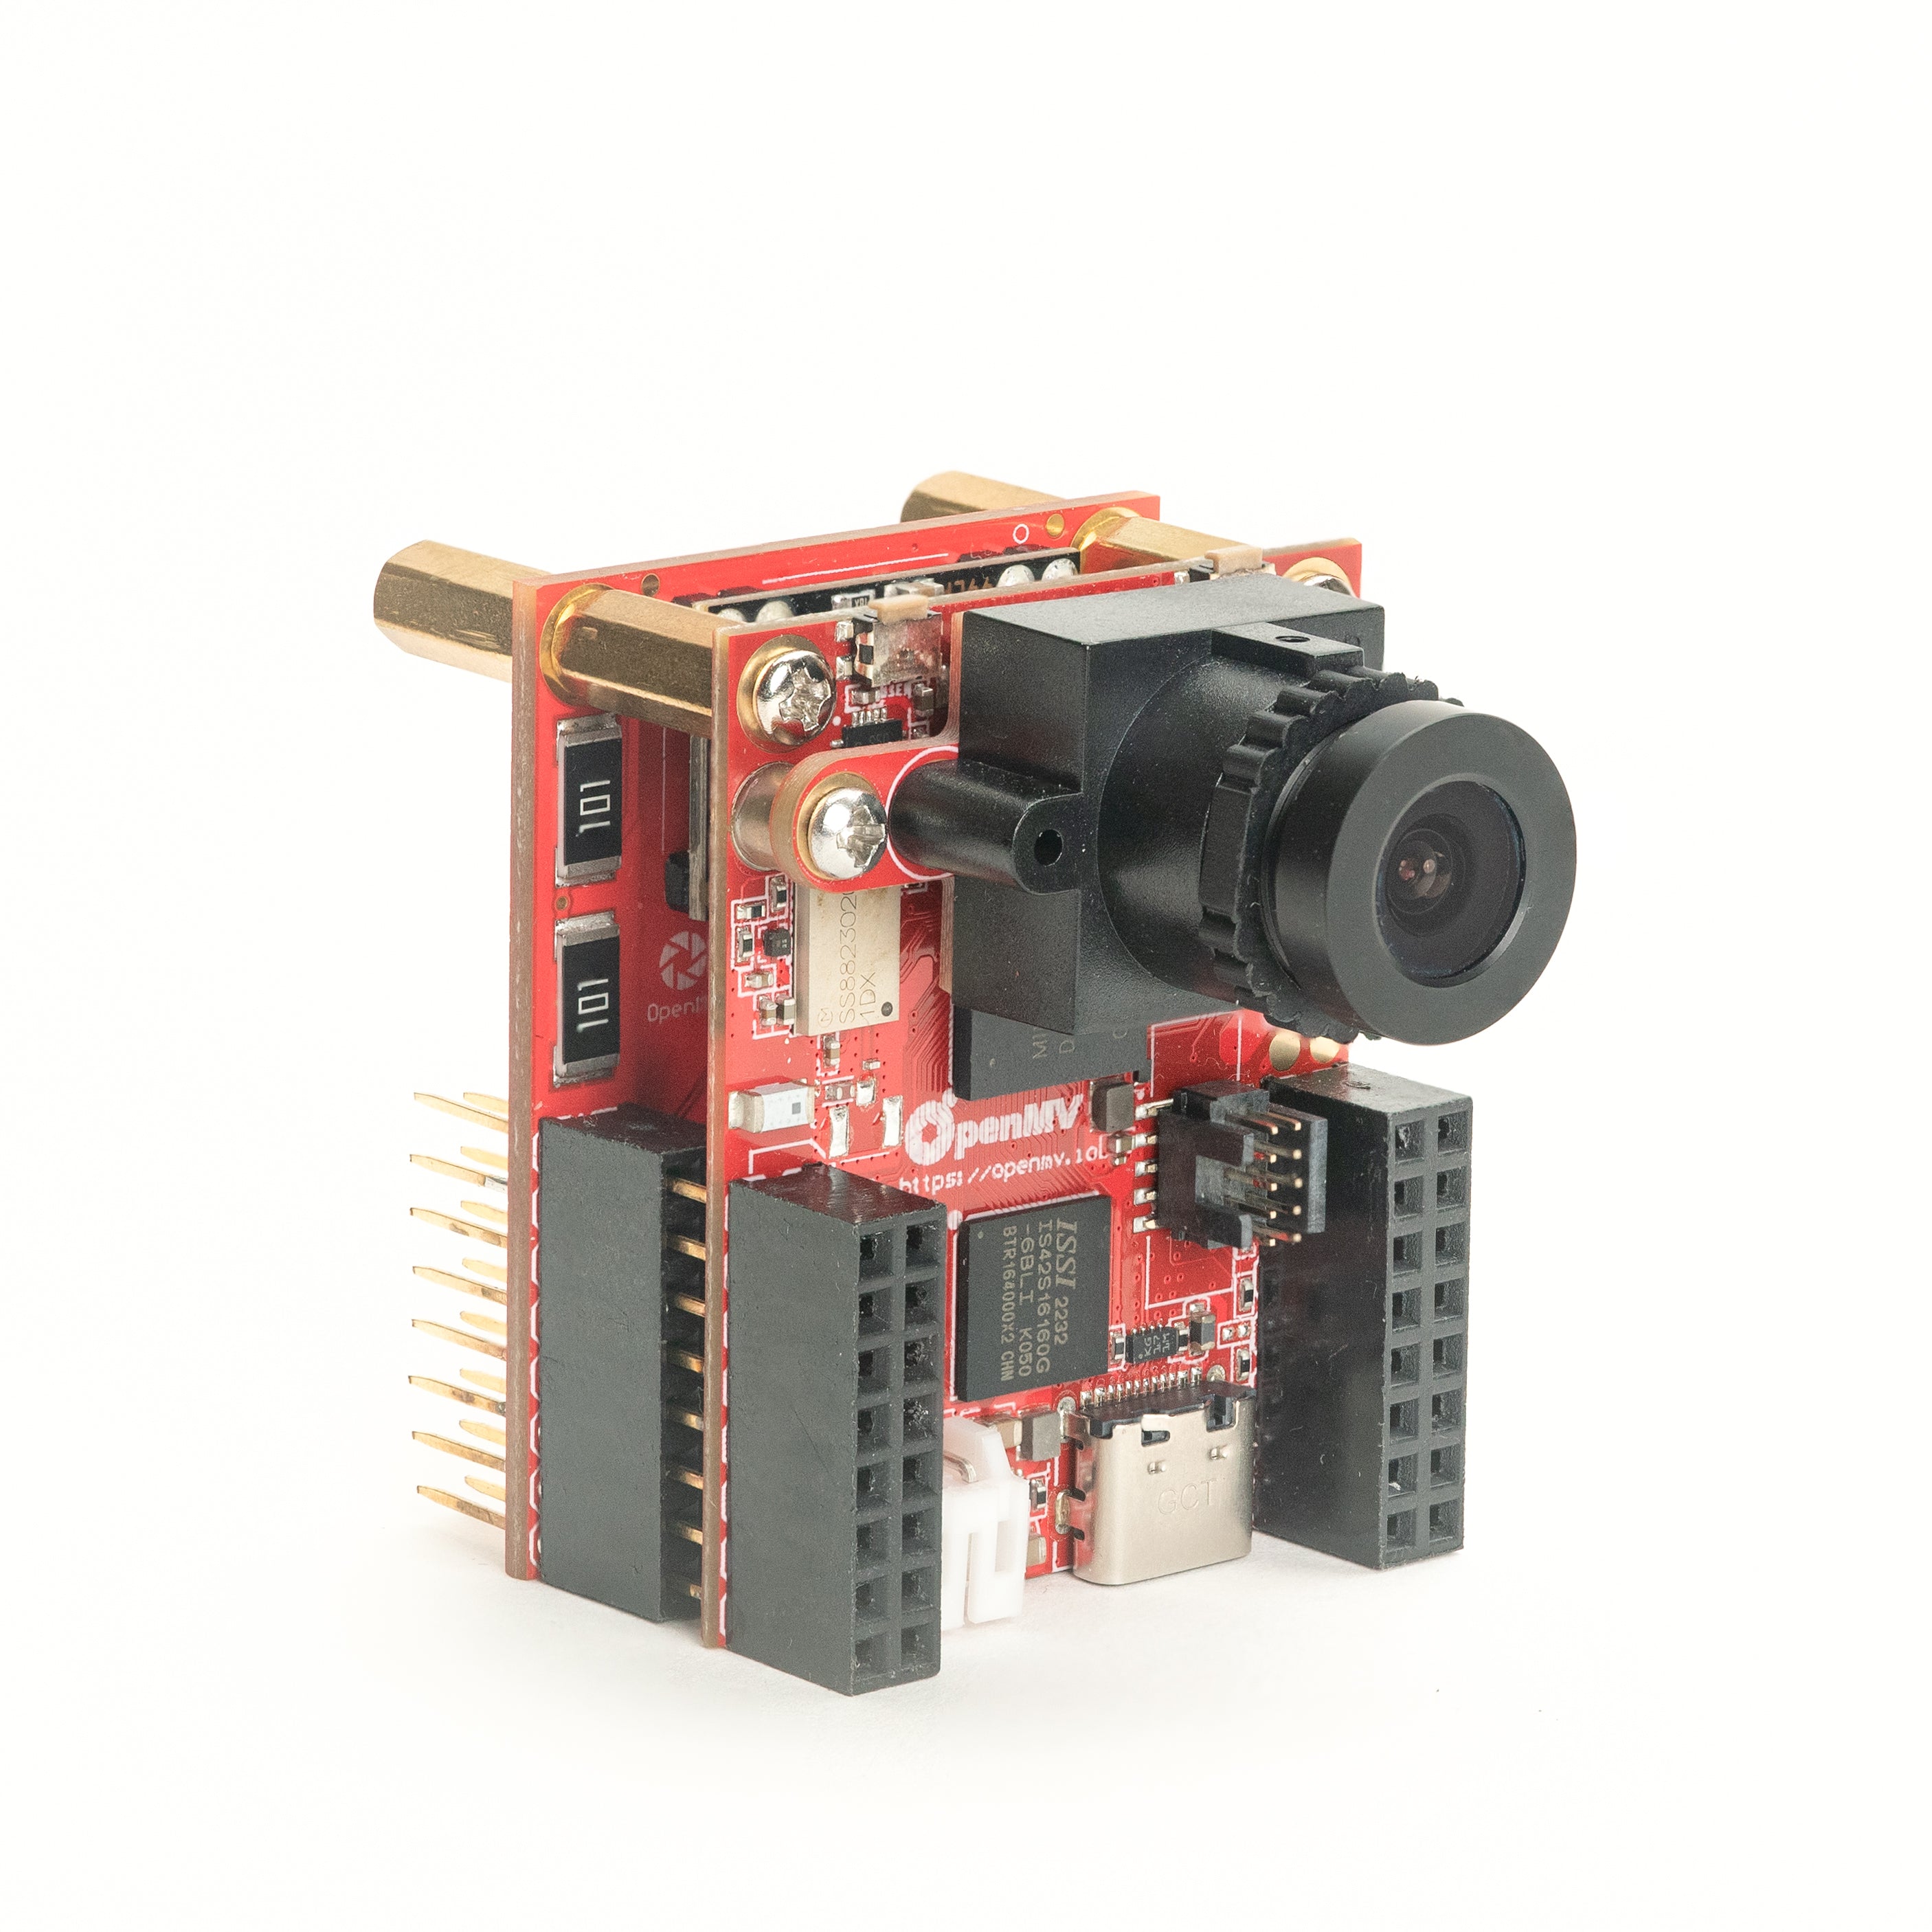
PoE Shield
Power-over-Ethernet 付き 10/100 Ethernet。
詳しく見る →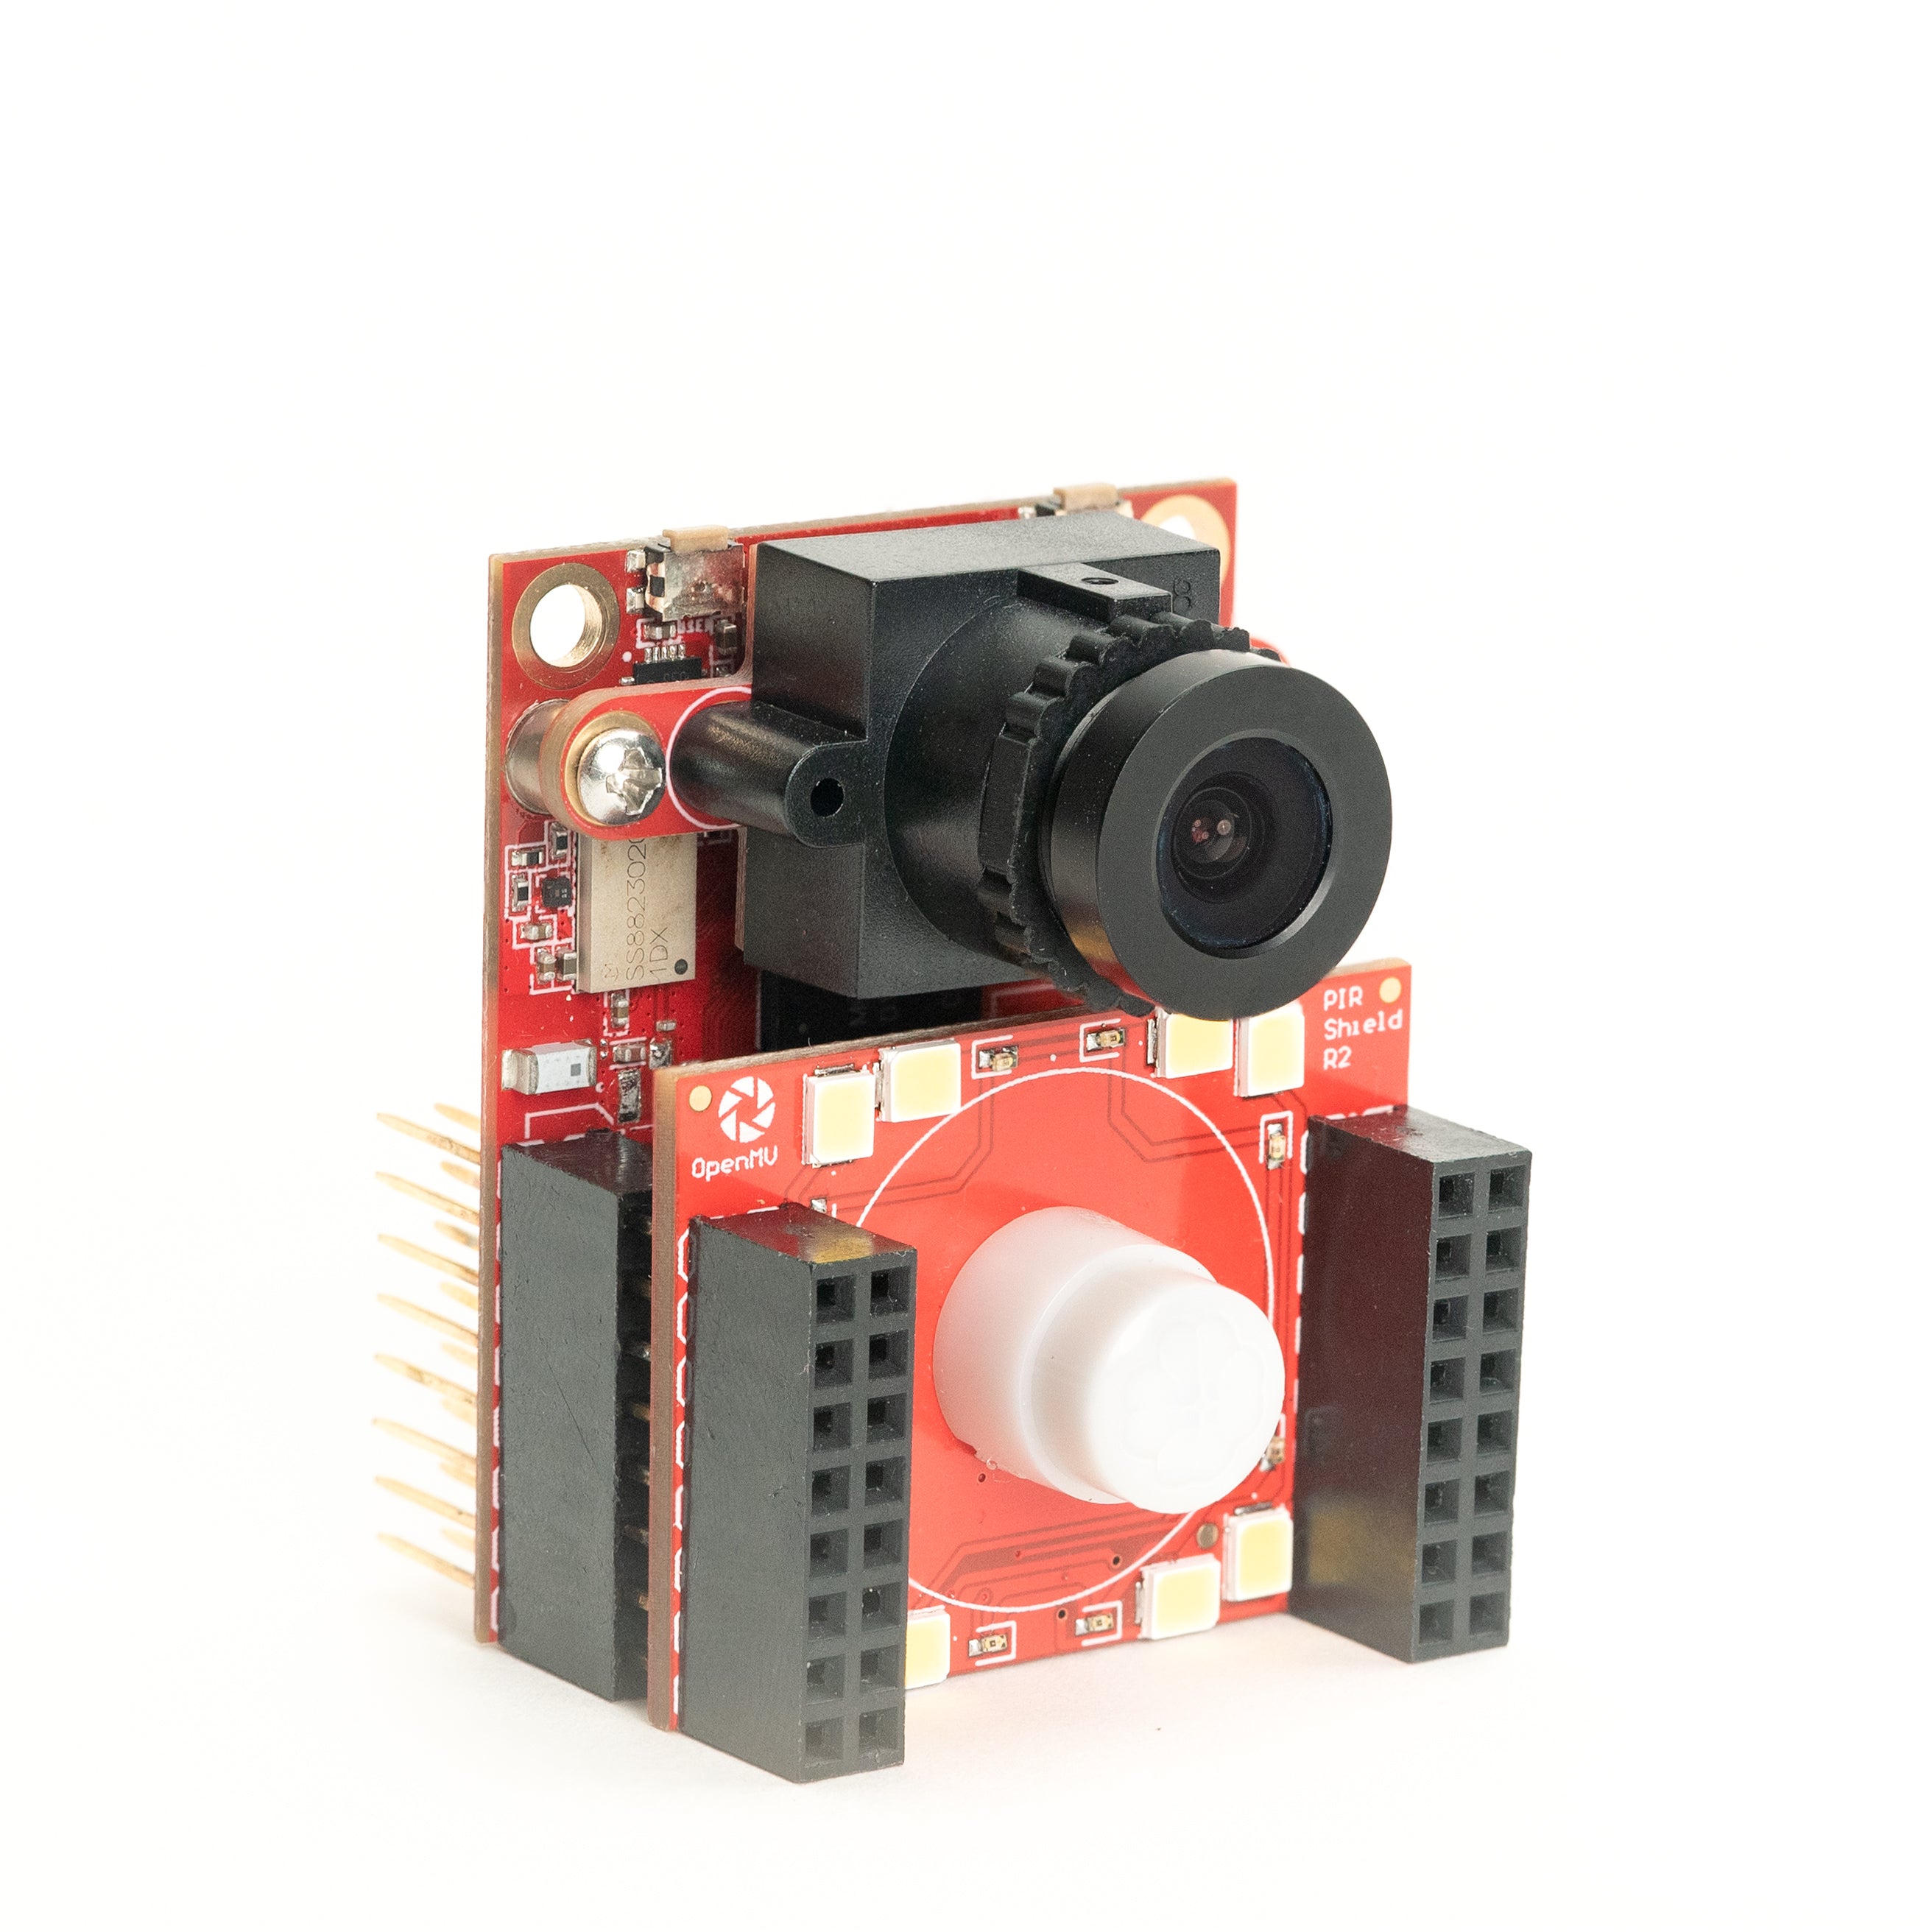
PIR Shield
6µA スタンバイ動体トリガー、白色および 850 nm IR 照明付き。
詳しく見る →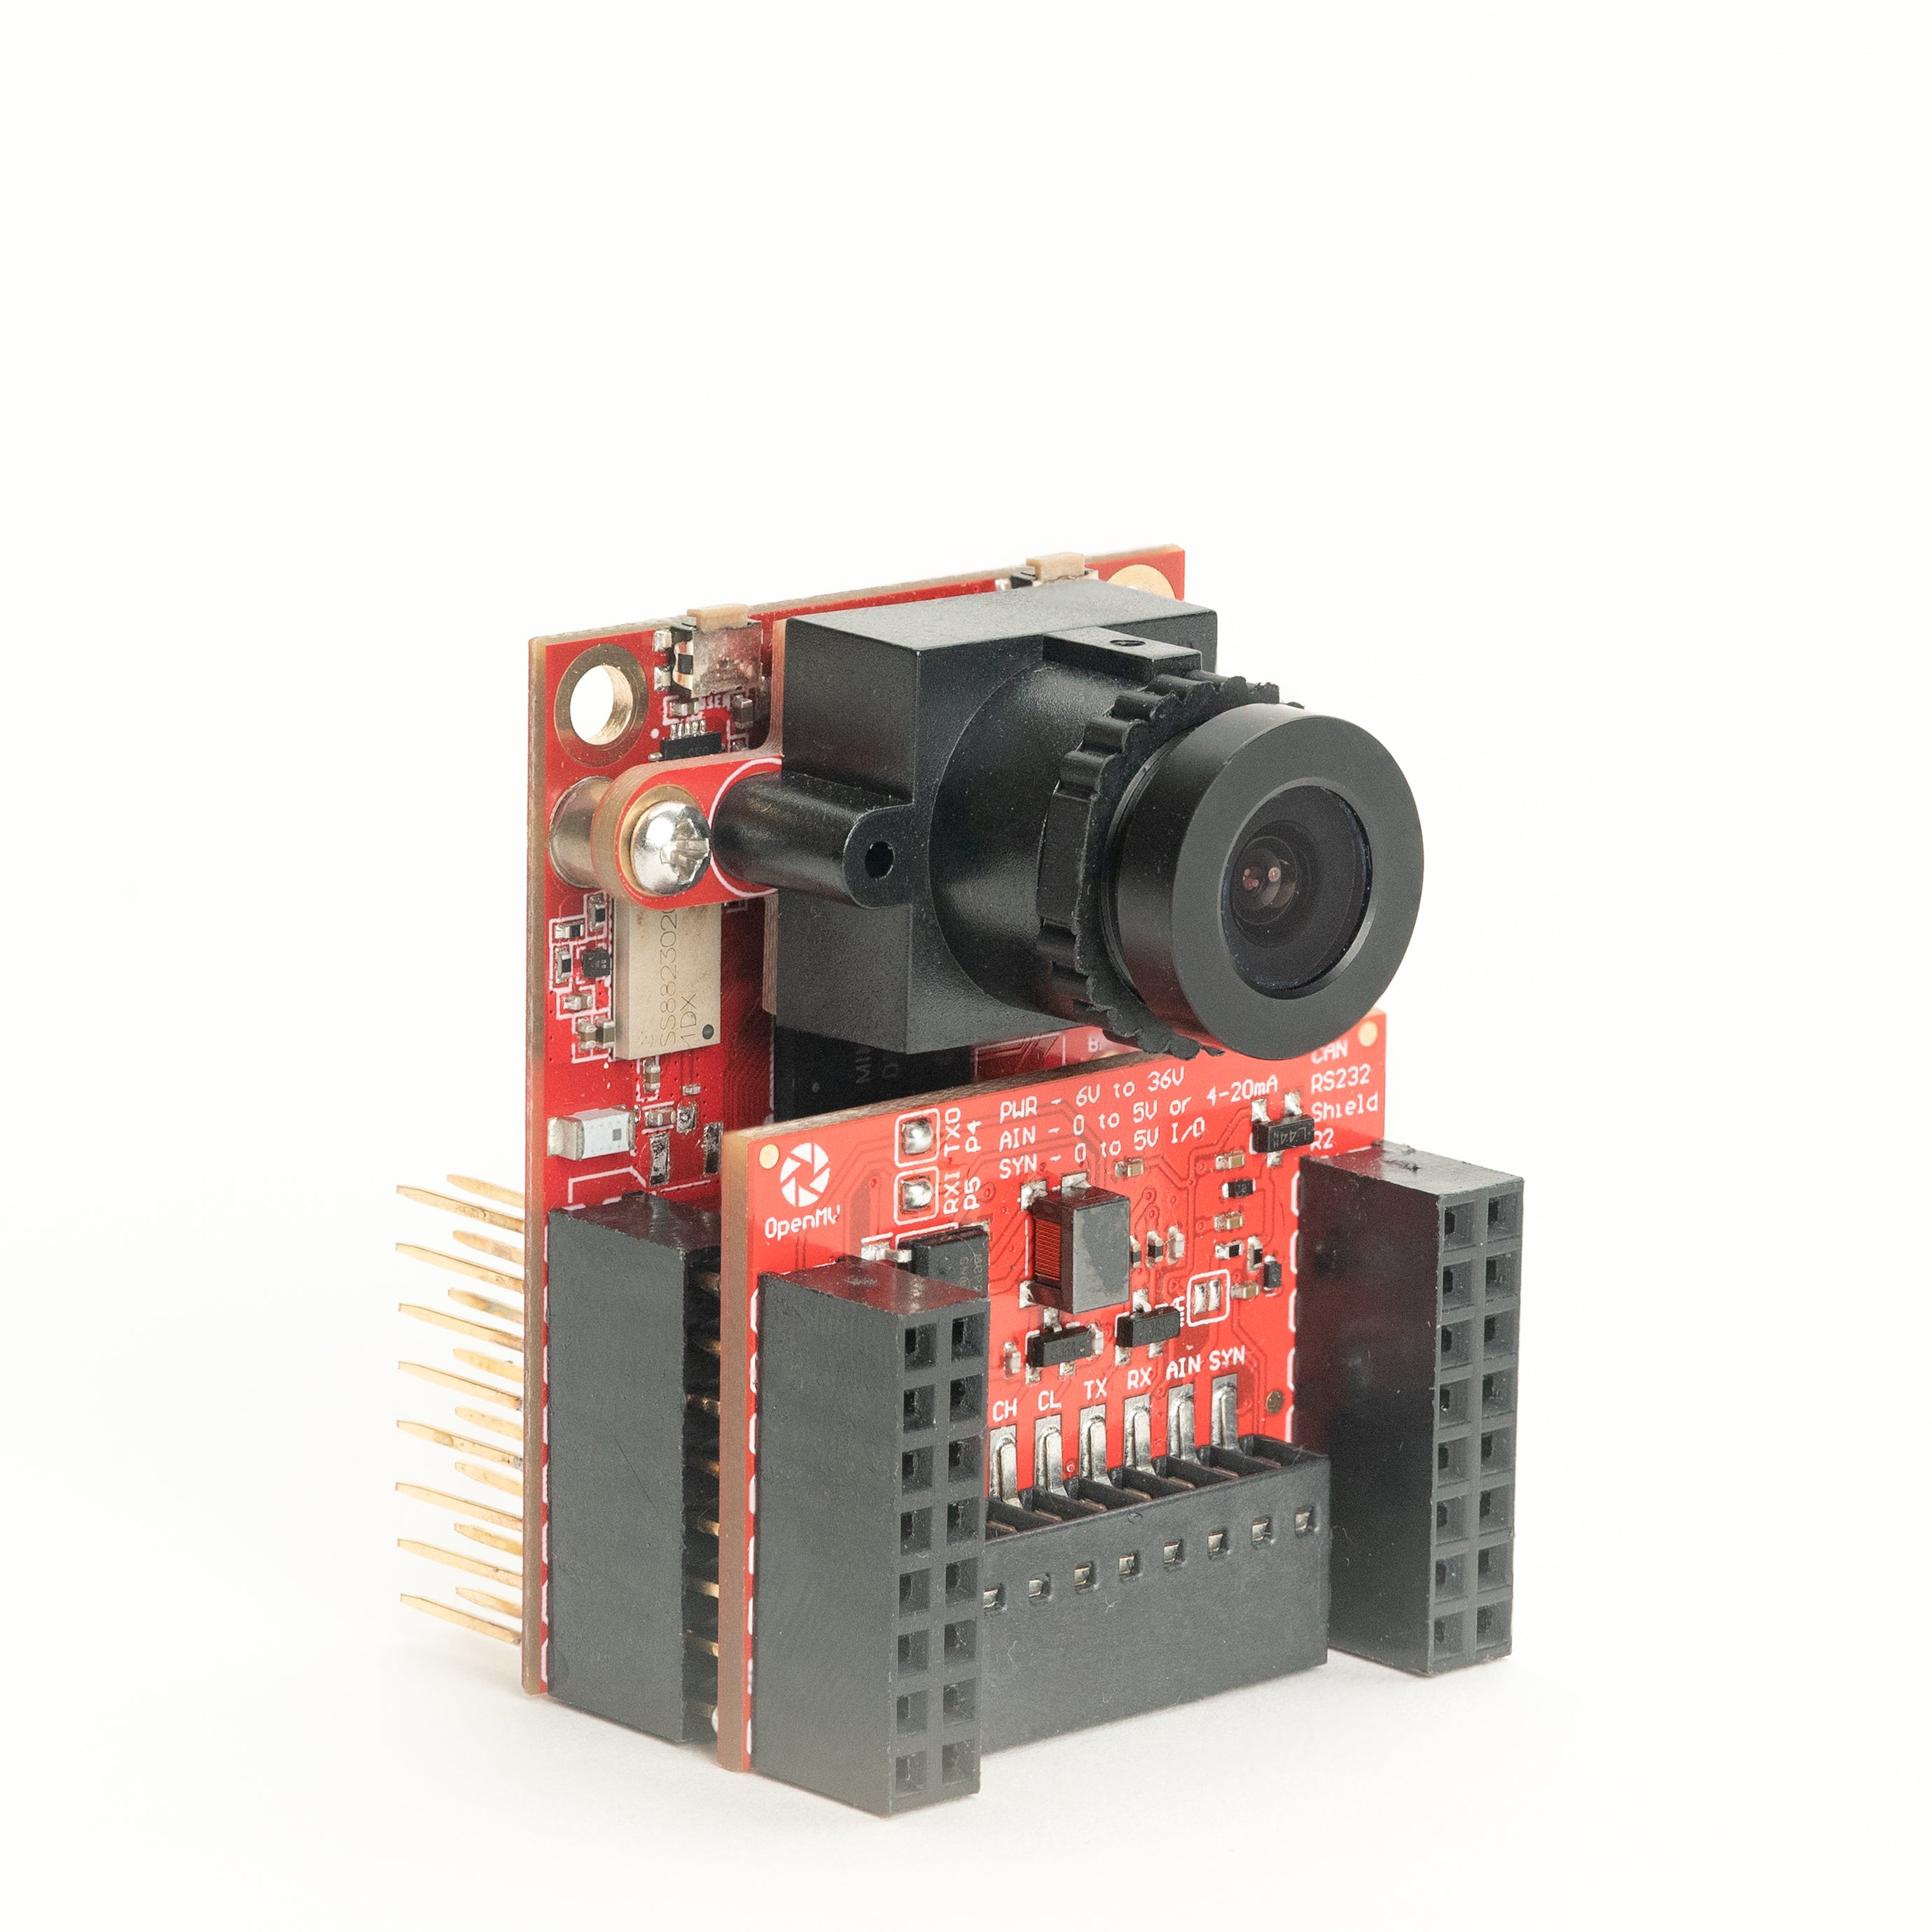
CAN/RS232 Shield
8 Mb/s CAN-FD と 1 Mb/s RS-232 を 1 つのシールドに。
詳しく見る →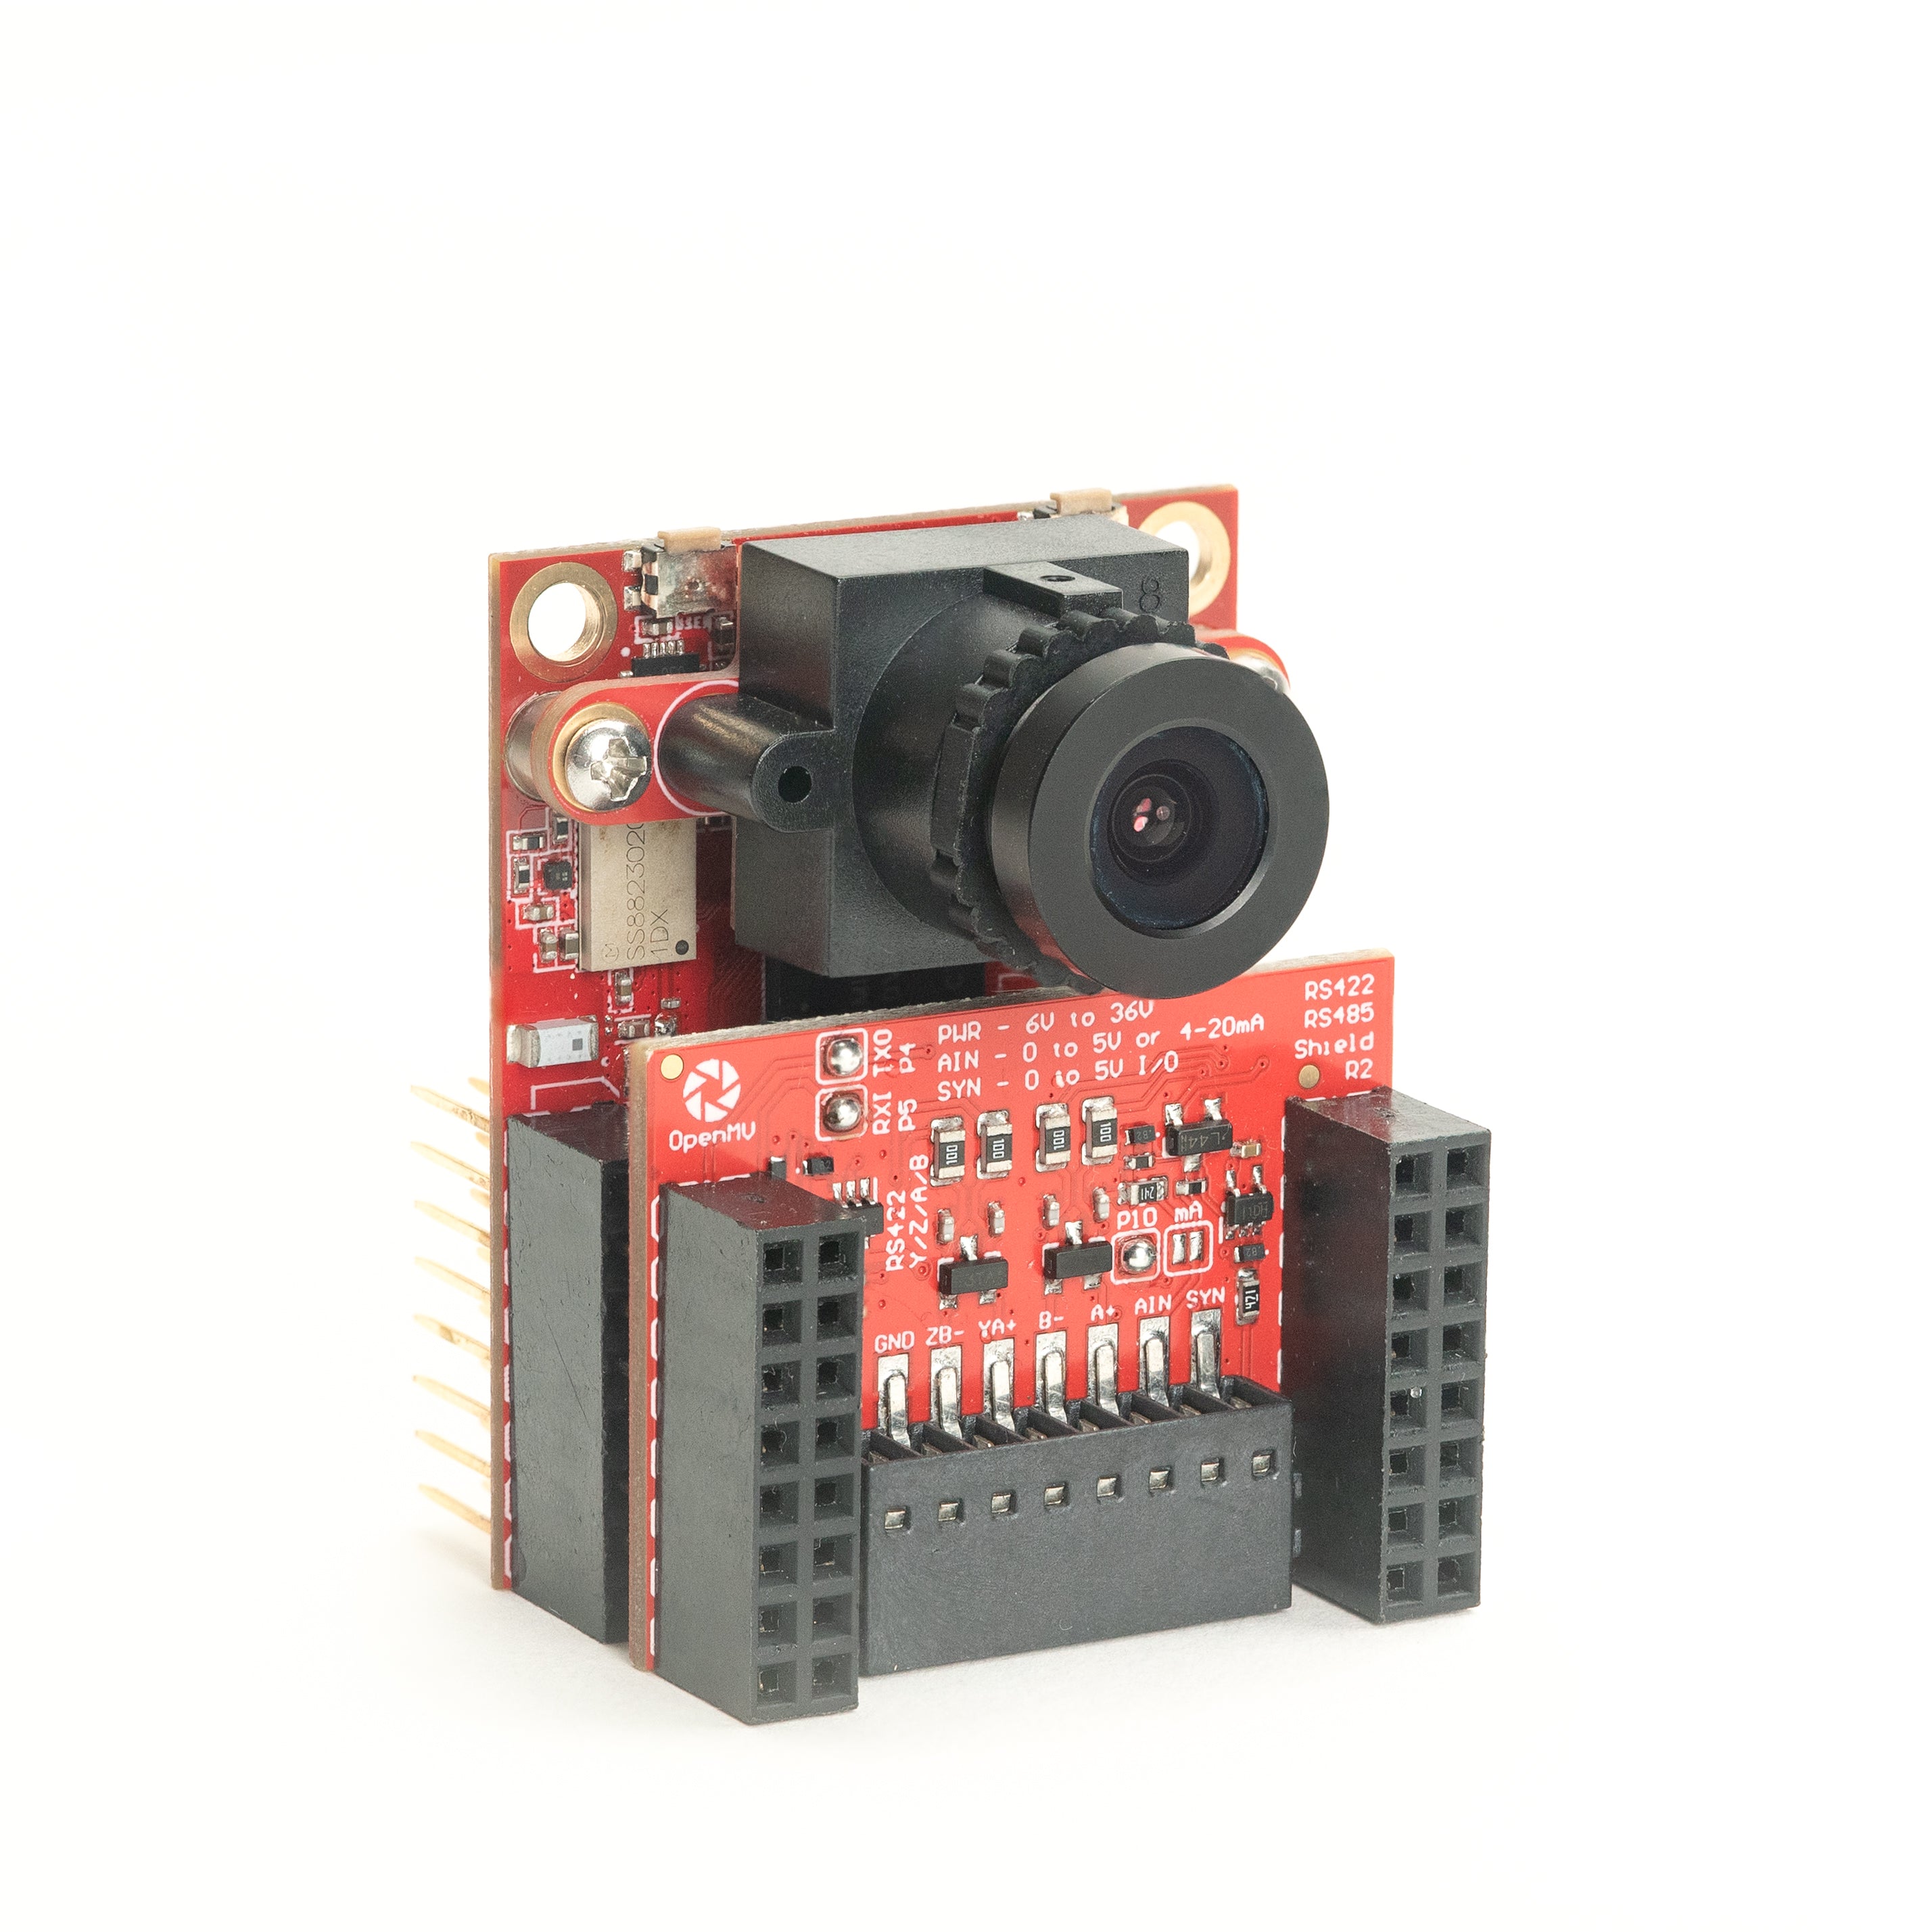
RS422/RS485 Shield
産業用バス向け 10 Mb/s 差動シリアル。
詳しく見る →センサー
カメラモジュールボード間コネクタに接続するカメラモジュールとセンサーアダプター — カラー、モノクロ、サーマル、イベントベースビジョン。
PS5520 5MP HDR Camera
5MP HDR センサー — 過酷な照明条件向けの高ダイナミックレンジ。
詳しく見る →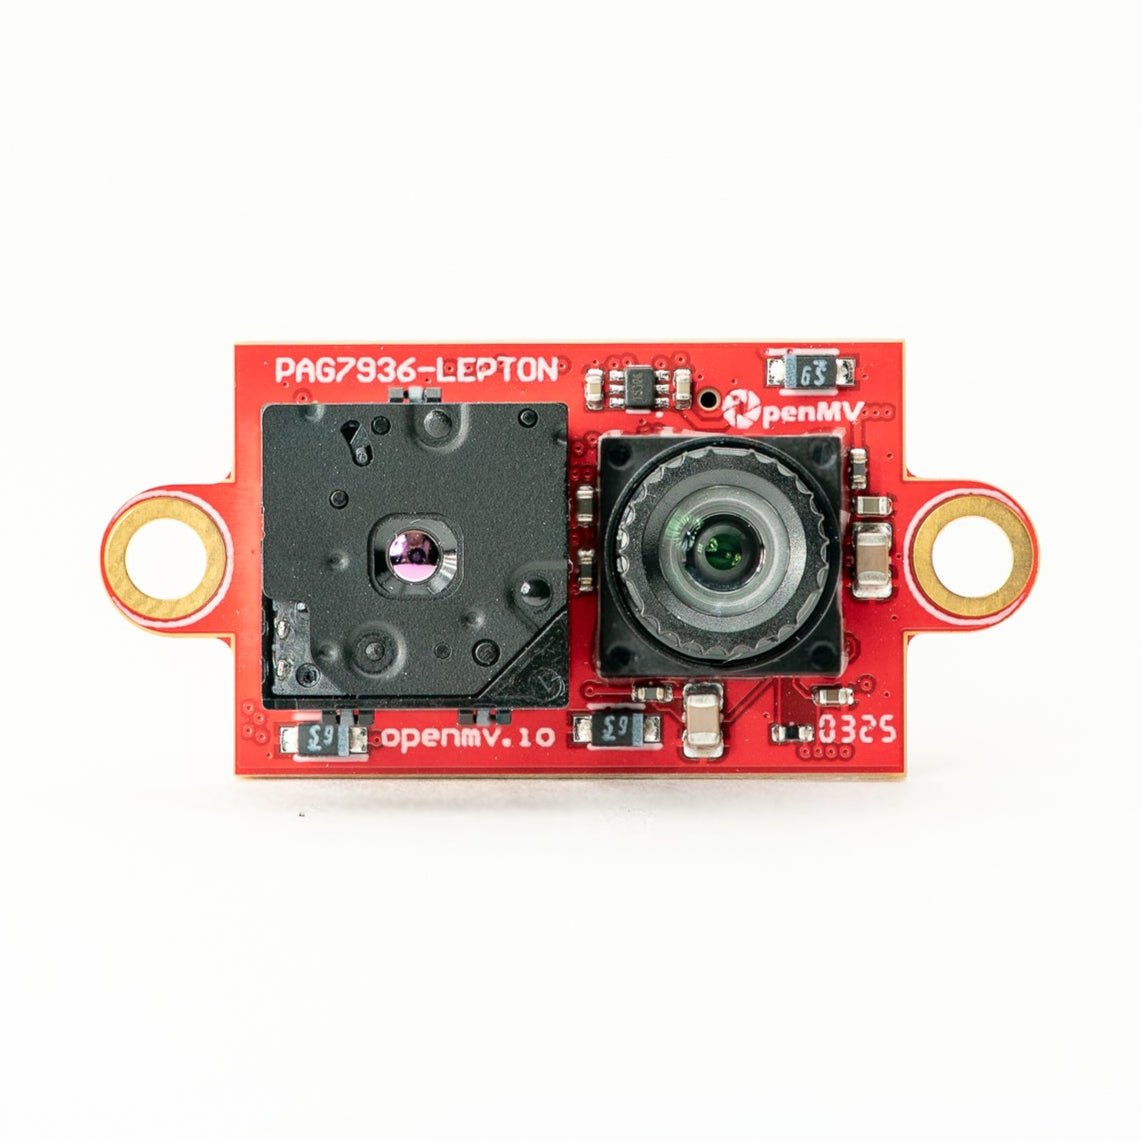
Multispectral Thermal (PAG7936)
1MP グローバルシャッターカラー + FLIR Lepton サーマルを 1 モジュールに。
詳しく見る →
Multispectral Thermal (OV5640)
5MP ローリングシャッターカラー + FLIR Lepton サーマルを 1 モジュールに。
詳しく見る →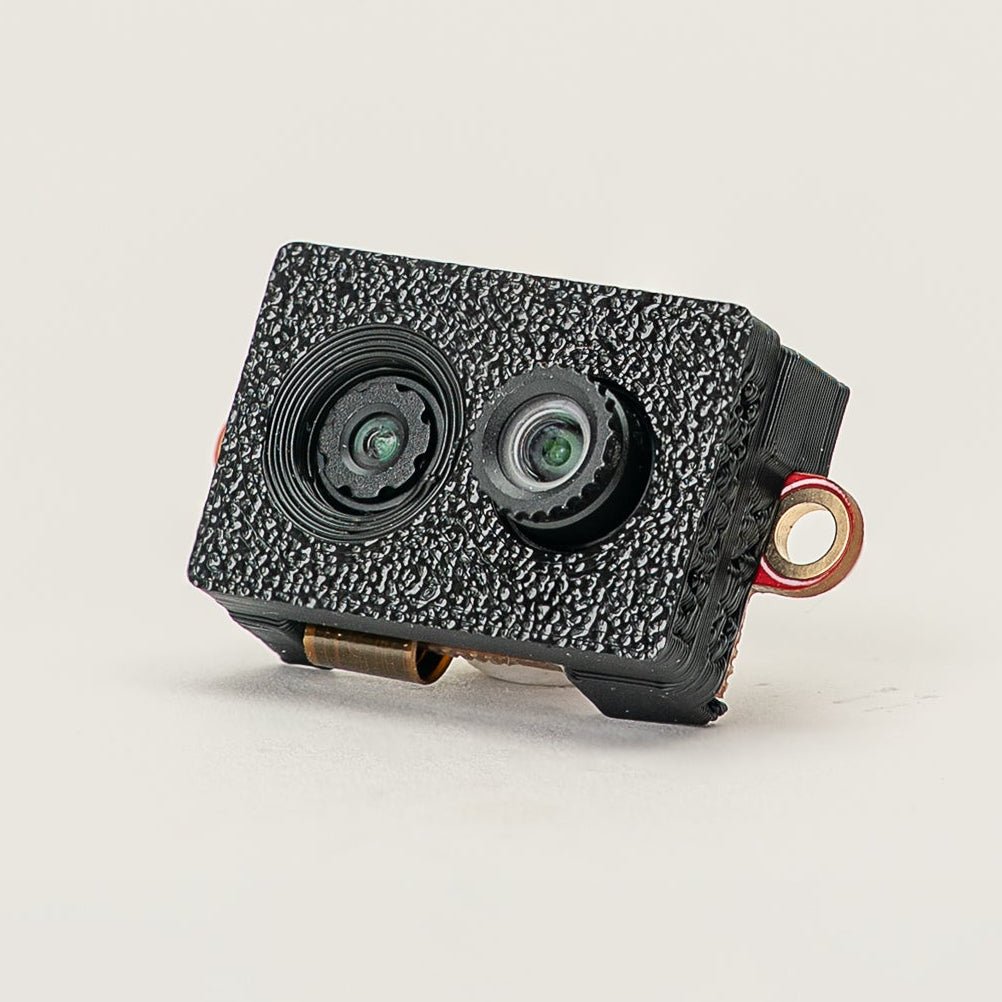
Multispectral Event Camera
GENX320 イベントセンサー + PAG7936 カラーを 1 モジュールに。
詳しく見る →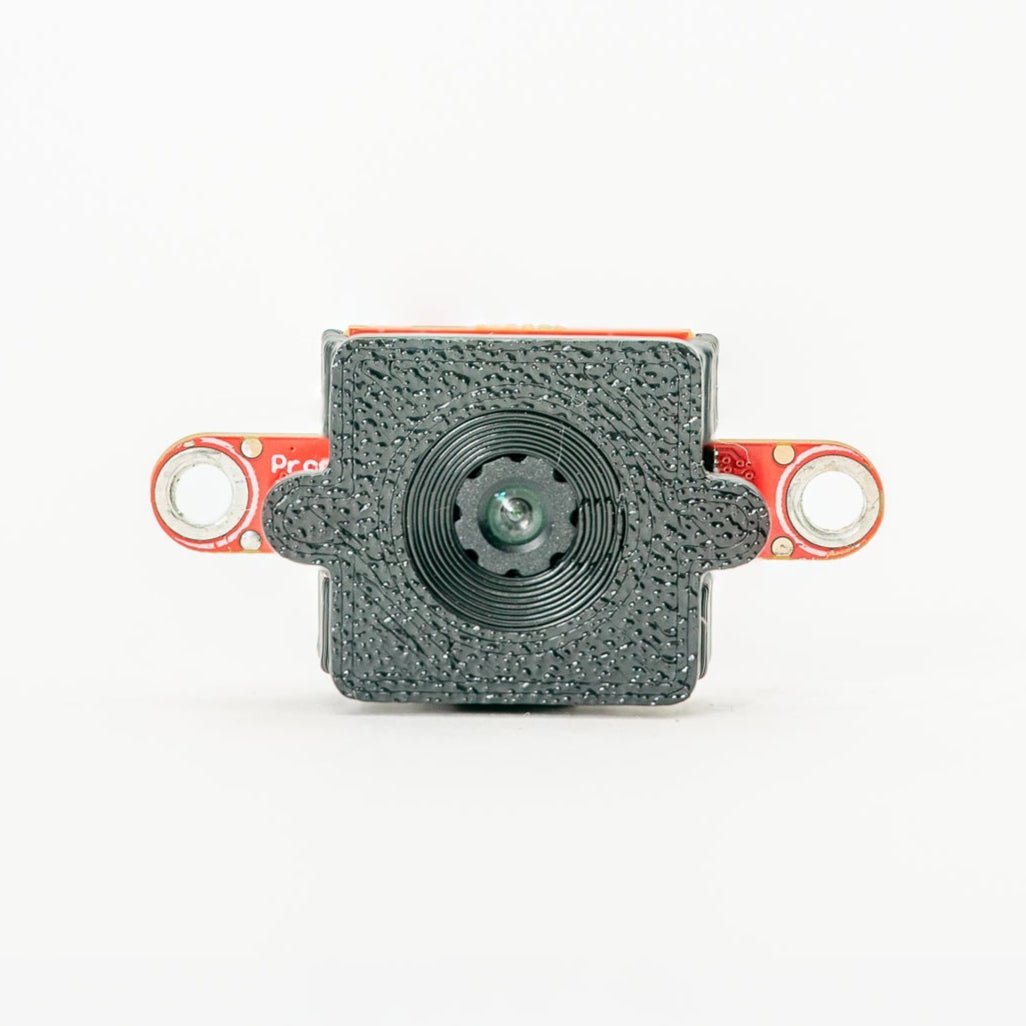
GENX320 Event Camera
Prophesee イベントベースビジョン — マイクロ秒の時間精度。
詳しく見る →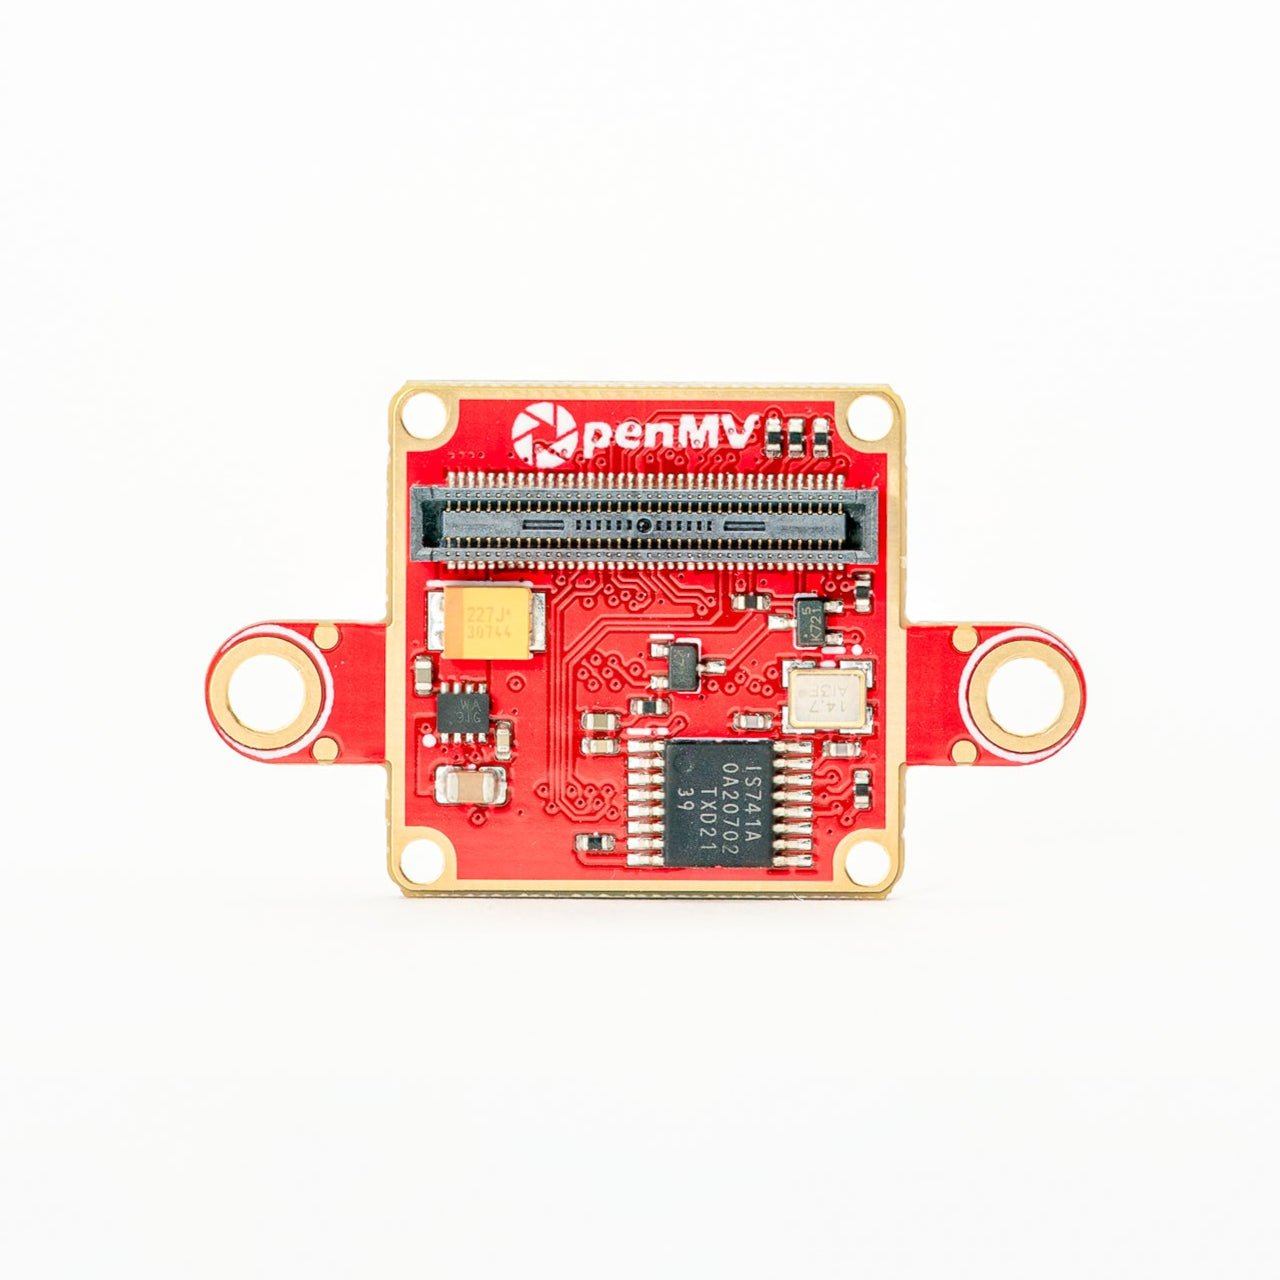
FLIR Boson Adapter
FLIR Boson / Boson+ 用アダプター — 高解像度サーマル。
詳しく見る →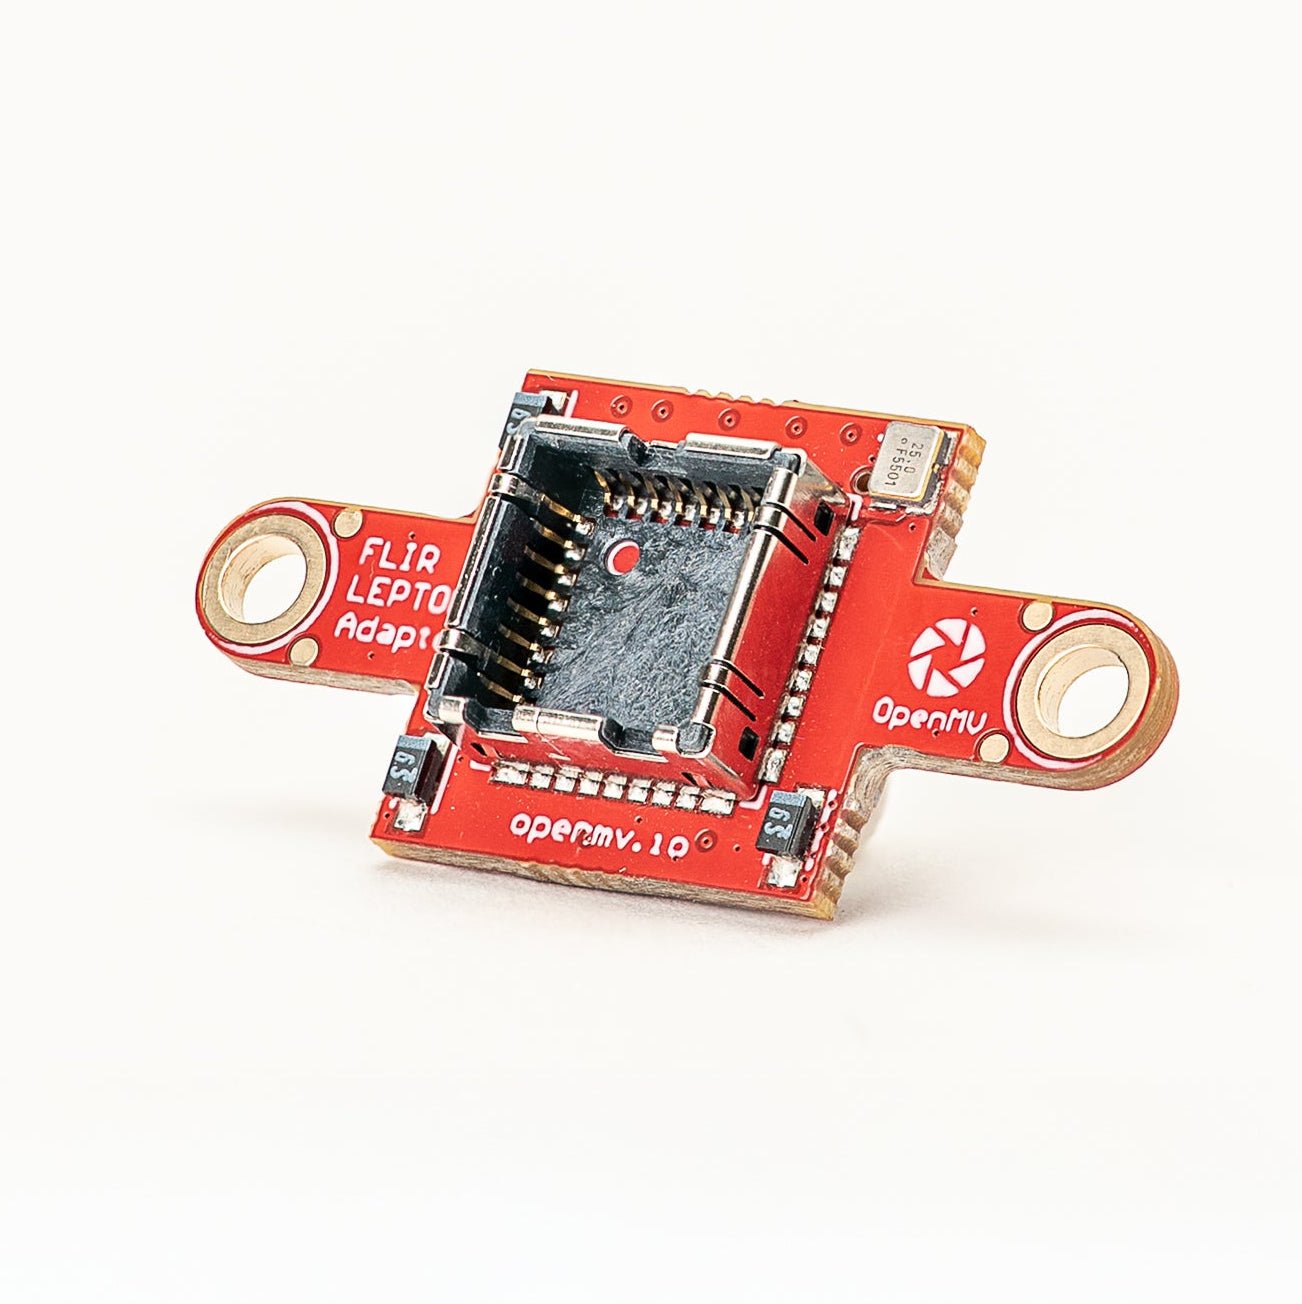
FLIR Lepton Adapter
FLIR Lepton 1.x / 2.x / 3.x サーマルコア用アダプター。
詳しく見る →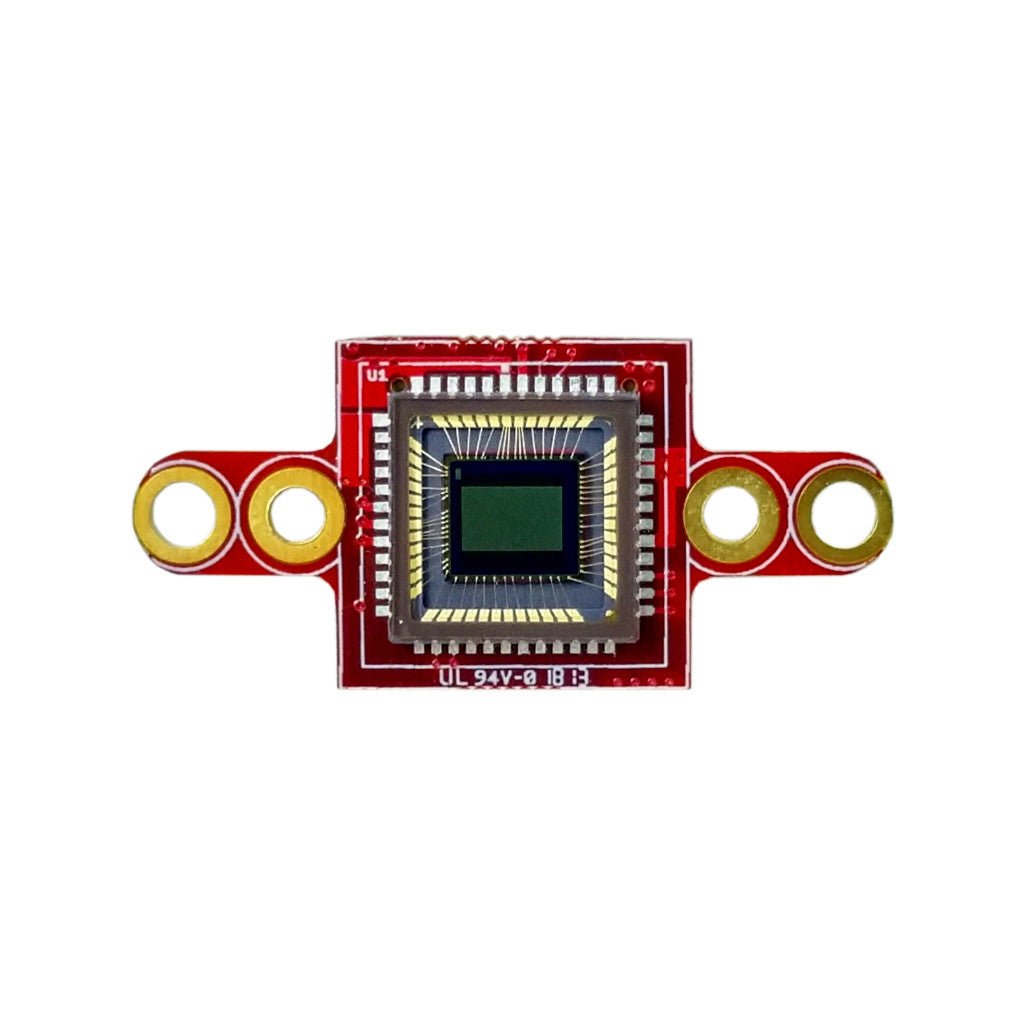
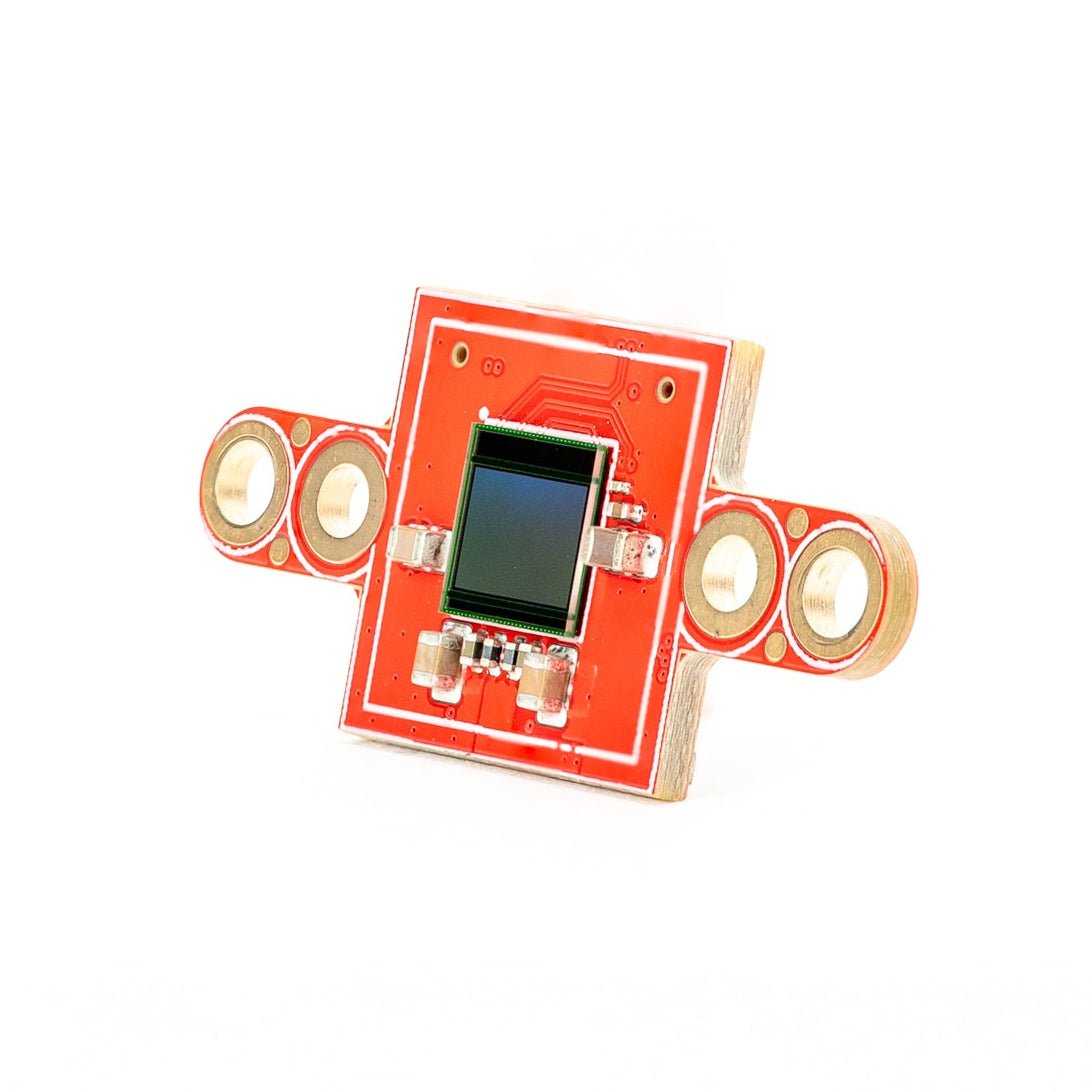
Global Shutter Camera Module
高速モーションキャプチャ向けモノクログローバルシャッターセンサー。
詳しく見る →