Hello world
예제import csi
import time
import ml
from ml.postprocessing.ultralytics import YoloV8
csi0 = csi.CSI()
csi0.reset()
csi0.pixformat(csi.RGB565)
csi0.framesize(csi.VGA)
csi0.snapshot(time=2000) # let AWB/AGC stabilize
# Built-in single-class person detector model.
model = ml.Model("/rom/yolov8n_192.tflite",
postprocess=YoloV8(threshold=0.4))
clock = time.clock()
while True:
clock.tick()
img = csi0.snapshot()
# predict returns a list per class of ((x, y, w, h), score) tuples.
for class_dets in model.predict([img]):
for rect, score in class_dets:
img.draw_rectangle(rect, color=(0, 255, 0))
print(clock.fps(), "fps")
실시간 사람 추적
온보드 YOLOv8 모델은 단일 클래스 사람 감지기 — int8 양자화되어 ROM에 탑재됩니다.
/rom/yolov8n_192.tflite에서 로드 — SD 카드나 다운로드 불필요.import csi
import math
import time
csi0 = csi.CSI()
csi0.reset()
csi0.pixformat(csi.RGB565)
csi0.framesize(csi.QVGA)
csi0.snapshot(time=2000) # let AWB/AGC stabilize
csi0.auto_gain(False)
csi0.auto_whitebal(False)
clock = time.clock()
while True:
clock.tick()
img = csi0.snapshot()
for tag in img.find_apriltags():
img.draw_detection(tag, color1=(255, 0, 0), color2=(0, 255, 0))
deg = math.degrees(tag.rotation)
print("ID %d rotation %.1f deg" % (tag.id, deg))
print(clock.fps(), "fps")
AprilTag 위치 파악 및 식별
AprilTag는 2D 기준 마커로 — 모션 블러와 부분 가려짐에 강하며 완전한 3D 포즈를 제공합니다.
x/y/z 이동 및 x/y/z 회전.import csi
import time
import ml
from ml.postprocessing.mediapipe import BlazeFace
csi0 = csi.CSI()
csi0.reset()
csi0.pixformat(csi.RGB565)
csi0.framesize(csi.VGA)
csi0.window((400, 400)) # square window for best results
csi0.snapshot(time=2000) # let AWB/AGC stabilize
model = ml.Model("/rom/blazeface_front_128.tflite",
postprocess=BlazeFace(threshold=0.4))
clock = time.clock()
while True:
clock.tick()
img = csi0.snapshot()
for rect, score, keypoints in model.predict([img]):
img.draw_rectangle(rect, color=(0, 0, 255))
ml.utils.draw_keypoints(img, keypoints, color=(255, 0, 0))
print(clock.fps(), "fps")
BlazeFace로 얼굴 감지
Google의 BlazeFace는 경량 TensorFlow Lite 얼굴 감지기로 바운딩 박스와 얼굴당 6개의 랜드마크를 반환합니다.
/rom/blazeface_front_128.tflite에서 로드 — 사전 양자화되어 다운로드 불필요.import csi
import time
csi0 = csi.CSI()
csi0.reset()
csi0.pixformat(csi.RGB565)
csi0.framesize(csi.QVGA)
csi0.snapshot(time=2000) # let AWB/AGC stabilize
csi0.auto_gain(False)
clock = time.clock()
while True:
clock.tick()
img = csi0.snapshot()
for code in img.find_qrcodes():
img.draw_rectangle(code.rect, color=(255, 0, 0))
print(code.payload)
print(clock.fps(), "fps")
실시간 피드에서 QR 코드 스캔
내장 QR 디코더는 기울어지거나 왜곡되거나 부분적으로 가려진 코드를 처리합니다.
import csi
import time

csi0 = csi.CSI()
csi0.reset()
csi0.pixformat(csi.RGB565)
csi0.framesize(csi.QVGA)
csi0.snapshot(time=2000)  # let AWB/AGC stabilize
csi0.auto_gain(False)
csi0.auto_whitebal(False)

# LAB thresholds: (L_min, L_max, A_min, A_max, B_min, B_max)
thresholds = [
    (30, 100, 15, 127, 15, 127),   # red
    (30, 100, -64, -8, -32, 32),   # green
]

clock = time.clock()

while True:
    clock.tick()
    img = csi0.snapshot()
    for blob in img.find_blobs(thresholds, pixels_threshold=200):
        img.draw_rectangle(blob.rect, color=(255, 0, 0))
        img.draw_cross((blob.cx, blob.cy))
    print(clock.fps(), "fps")
색상 블롭 찾기
find_blobs는 하나 이상의 LAB 임계값과 일치하는 연결된 픽셀 영역을 반환합니다.
pixels_threshold는 작은 감지를 필터링하고, merge=True는 겹치는 블롭을 합칩니다.import csi
import time
csi0 = csi.CSI()
csi0.reset()
csi0.pixformat(csi.GRAYSCALE)
csi0.framesize(csi.VGA)
csi0.window((640, 80)) # narrow strip for fast linear scanning
csi0.snapshot(time=2000) # let AWB/AGC stabilize
csi0.auto_gain(False)
csi0.auto_whitebal(False)
clock = time.clock()
while True:
clock.tick()
img = csi0.snapshot()
for code in img.find_barcodes():
img.draw_rectangle(code.rect, color=(0, 255, 0))
print(code.payload, "(quality %d)" % code.quality)
print(clock.fps(), "fps")
1D 바코드 읽기
프레임 어디서든 1D 바코드를 찾고 페이로드를 디코딩합니다.
import csi
import time
import ml
from ml.postprocessing.mediapipe import HandLandmarks

csi0 = csi.CSI()
csi0.reset()
csi0.pixformat(csi.RGB565)
csi0.framesize(csi.VGA)
csi0.window((400, 400))  # square window for the model
csi0.snapshot(time=2000)  # let AWB/AGC stabilize

# Connections between the 21 keypoints — palm + 5 fingers.
hand_lines = ((0, 1), (1, 2), (2, 3), (3, 4), (0, 5), (5, 6),
              (6, 7), (7, 8), (5, 9), (9, 10), (10, 11), (11, 12),
              (9, 13), (13, 14), (14, 15), (15, 16), (13, 17), (17, 18),
              (18, 19), (19, 20), (0, 17))

model = ml.Model("/rom/hand_landmarks_full_224.tflite",
                 postprocess=HandLandmarks(threshold=0.4))
clock = time.clock()

while True:
    clock.tick()
    img = csi0.snapshot()
    # predict returns a list per hand: index 0 = left, index 1 = right.
    for detections in model.predict([img]):
        for rect, score, keypoints in detections:
            ml.utils.draw_skeleton(img, keypoints, hand_lines,
                                   kp_color=(255, 0, 0),
                                   line_color=(0, 255, 0))
    print(clock.fps(), "fps")
손 키포인트 21개 추적
Google의 MediaPipe Hand Landmarks 모델은 감지된 각 손에 21개의 관절을 배치합니다 — 손목, 관절, 손가락 끝.
/rom/hand_landmarks_full_224.tflite에서 로드 — 손바닥 감지 없이 독립 실행.ml.utils.draw_skeleton은 한 번의 호출로 21개의 관절과 연결을 모두 그립니다.OpenMV가 처음이신가요?
단계별 튜토리얼부터 시작하세요 — 하드웨어 설정, IDE, 기본 스크립트, 첫 번째 실제 프로젝트를 위한 팁을 다룹니다.
핵심 라이브러리
API하드웨어, 카메라, 이미지 처리, ndarray, ML, 멀티태스킹, 네트워킹, 웹 서버, Bluetooth — 모두 MicroPython으로.
machine
저수준 하드웨어: GPIO, SPI, I²C, UART, PWM, ADC, 타이머.
탐색 →csi
카메라 제어: 픽셀 형식, 프레임 크기, 노출, 게인, 화이트 밸런스.
탐색 →image
머신 비전: 블롭, 에지, 선, 원, 특징, 그리기.
탐색 →ulab
온디바이스 수치 계산 — ndarray, FFT, 선형 대수.
탐색 →ml
온디바이스 신경망 추론 — 분류, 감지, 분할.
탐색 →asyncio
협력적 멀티태스킹 — 카메라, 네트워크, I/O를 병렬로 실행.
탐색 →network
IoT 및 원격 통신을 위한 Wi-Fi, 이더넷, 소켓.
탐색 →microdot
최소 HTTP 서버 — 라우트, 세션, 로그인, SSE, WebSocket.
탐색 →aioble
비동기 Bluetooth Low Energy — 주변 장치, 광고, GATT.
탐색 →보드별 탐색
하드웨어OpenMV Cam을 선택하여 핀아웃, 사양, 보드별 빠른 참조를 확인하세요.
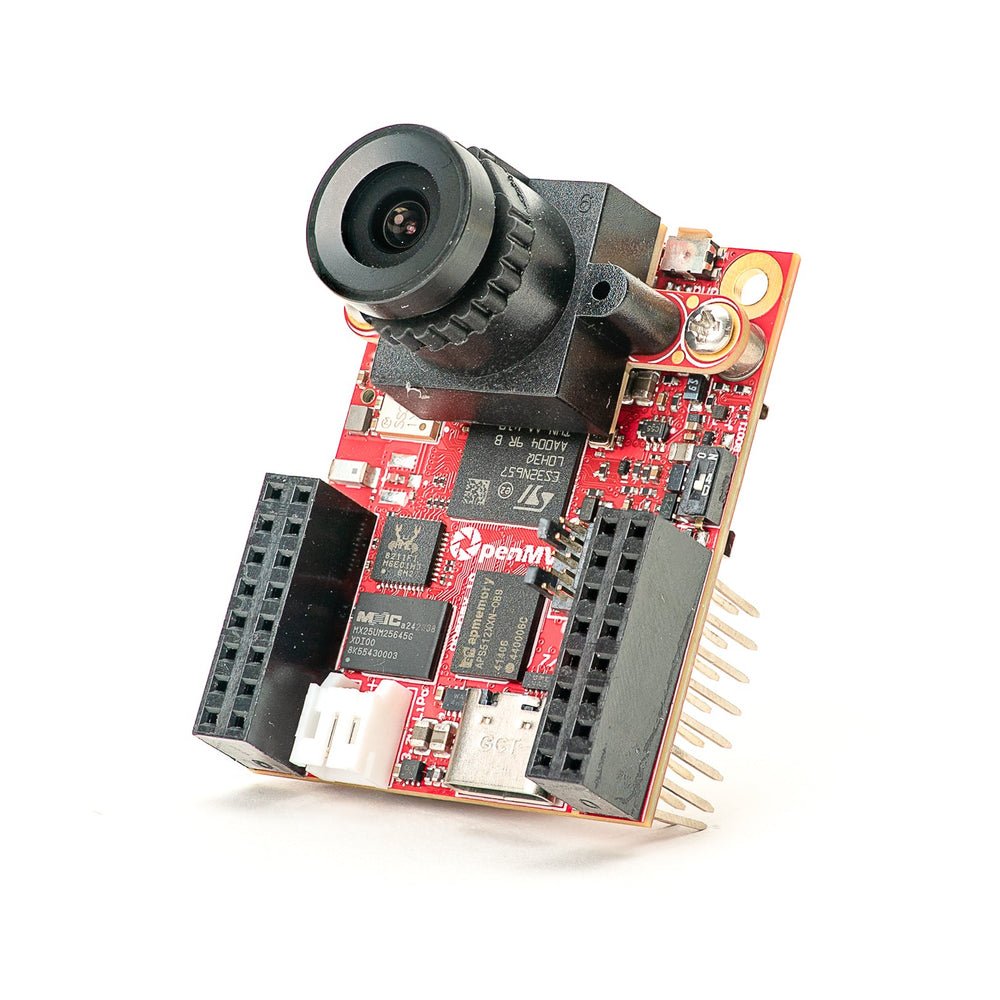
OpenMV N6 신규
내장 NPU를 갖춘 STM32N6 — STMicro의 첫 번째 AI 가속 MCU.
탐색 →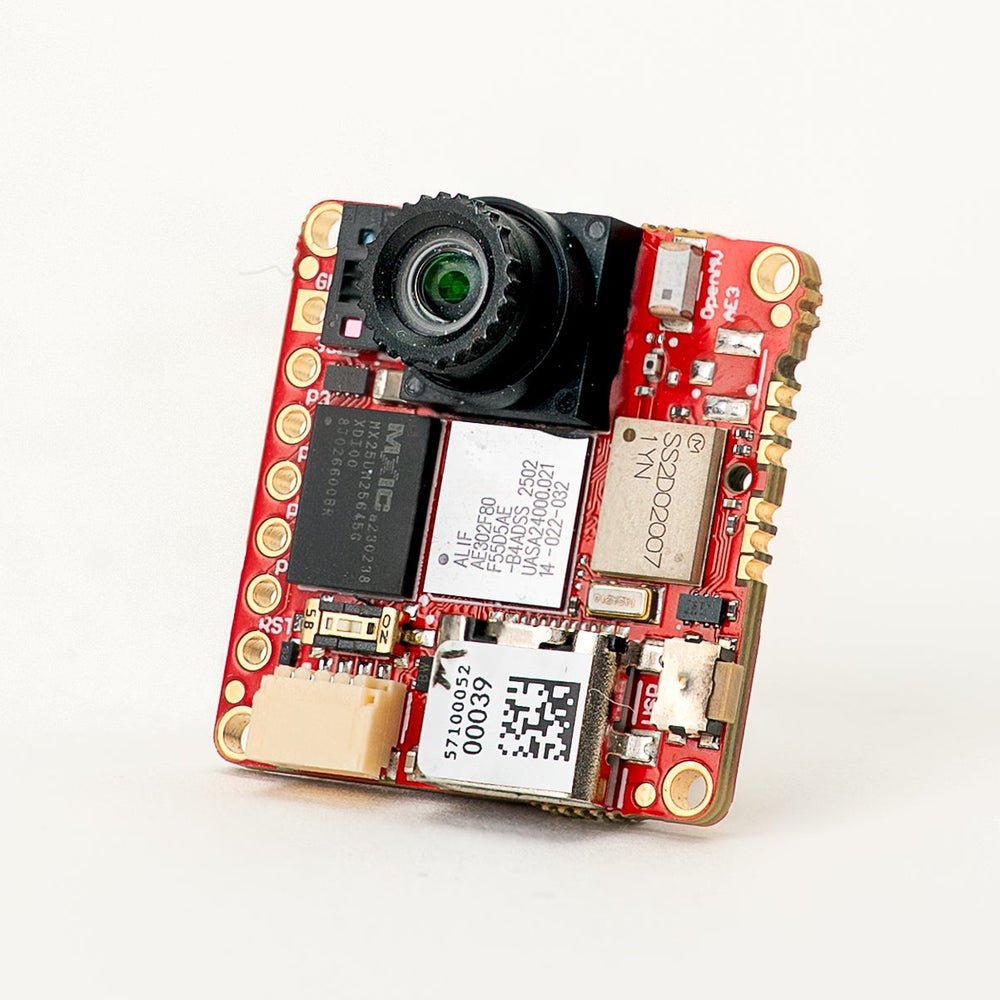
OpenMV AE3 신규
퓨전 클래스 Cortex-M55와 Ethos-U55 NPU를 갖춘 Alif Ensemble E3.
탐색 →
OpenMV RT1062
600 MHz의 NXP i.MX RT1062 Cortex-M7, 32 MB 외부 SDRAM 탑재.
탐색 →
OpenMV H7 Plus
32 MB 외부 SDRAM과 5MP OV5640 센서를 갖춘 STM32H743.
탐색 →
OpenMV H7
탈착 가능한 이미지 센서 모듈을 갖춘 STM32H743 Cortex-M7.
탐색 →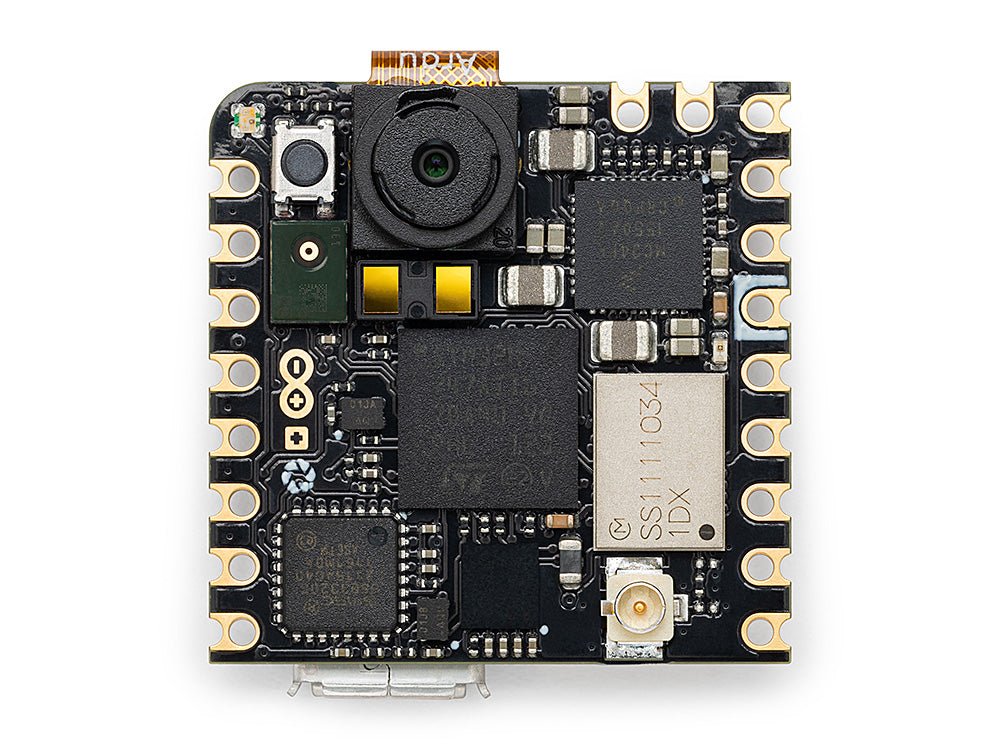
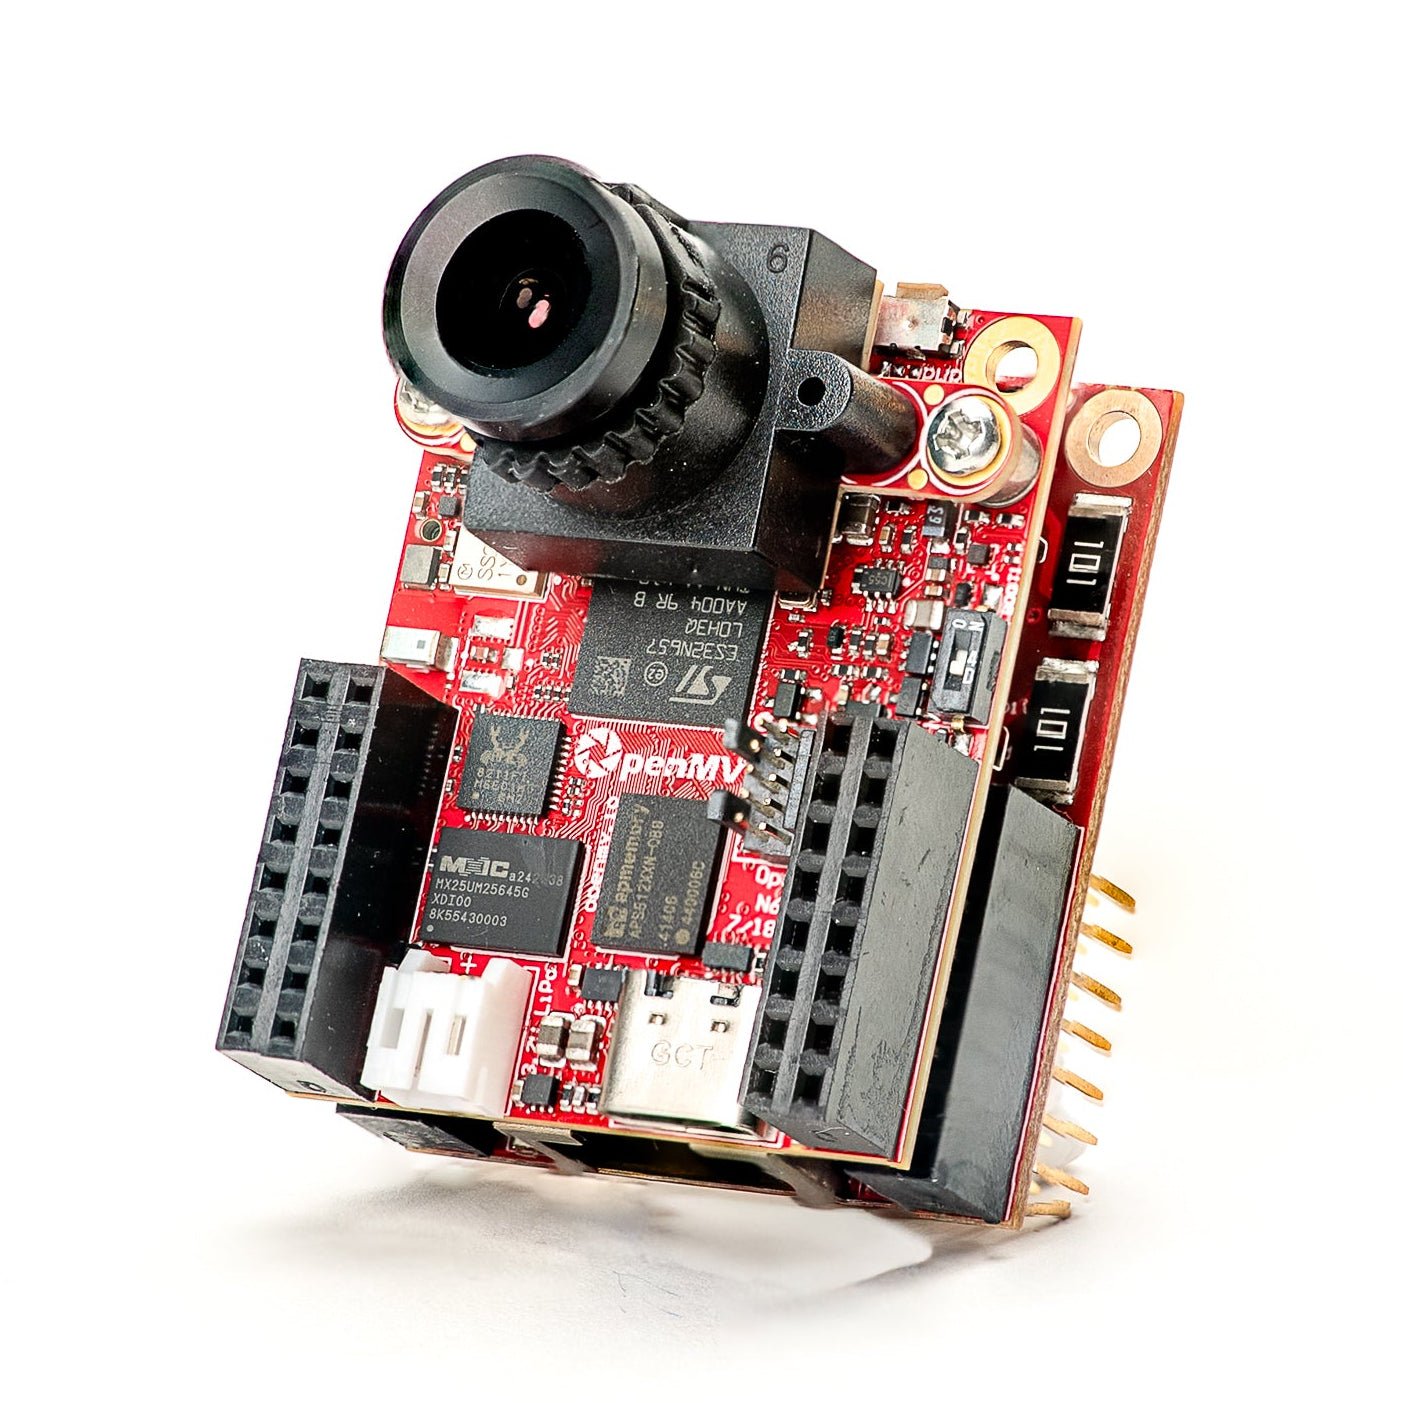
Arduino Nicla Vision
온보드 센서를 갖춘 소형 23 × 23 mm STM32H747 보드.
탐색 →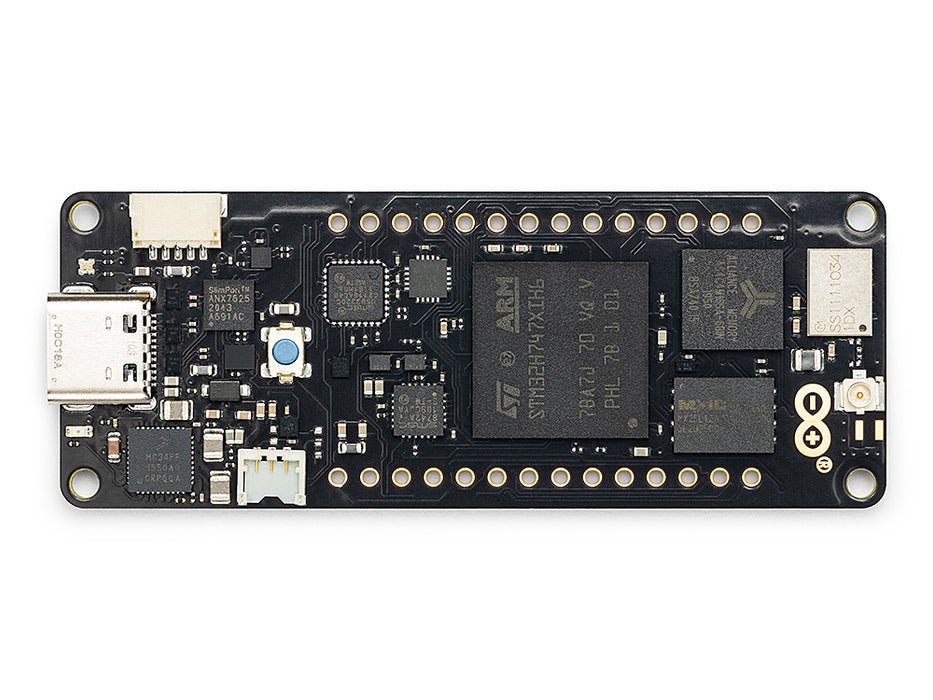
Arduino Portenta
8 MB SDRAM과 Vision Shield를 지원하는 STM32H747.
탐색 →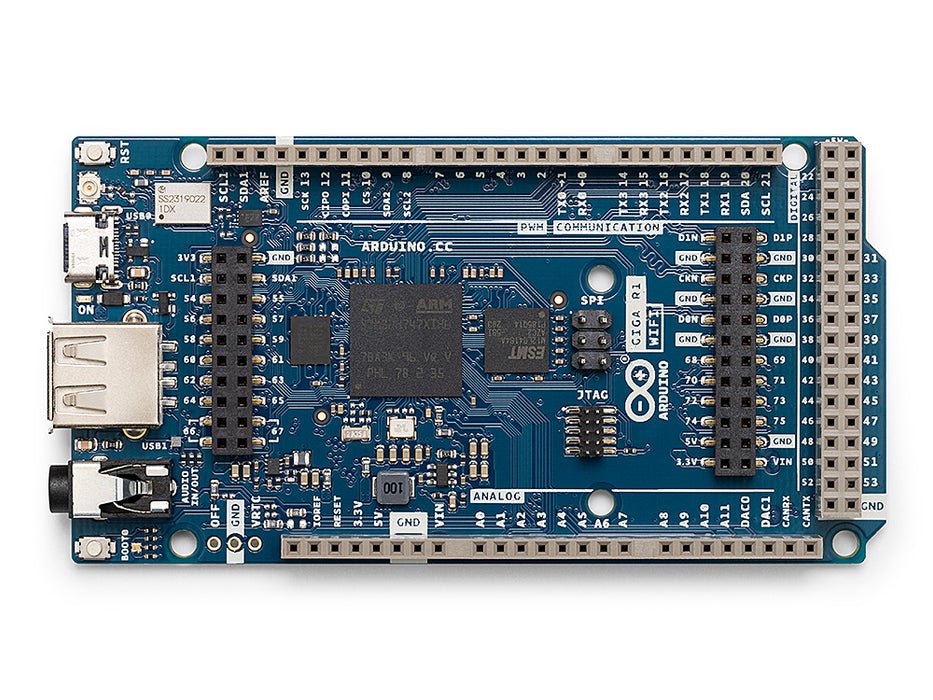
Arduino Giga
8 MB SDRAM, Vision 및 Display Shield를 지원하는 STM32H747.
탐색 →쉴드
애드온OpenMV Cam에 연결하는 애드온 보드 — 네트워킹, 모터 제어, 디스플레이 등.
Gigabit PoE Shield
더 높은 대역폭 스트리밍을 위한 PoE 지원 기가비트 이더넷.
탐색 →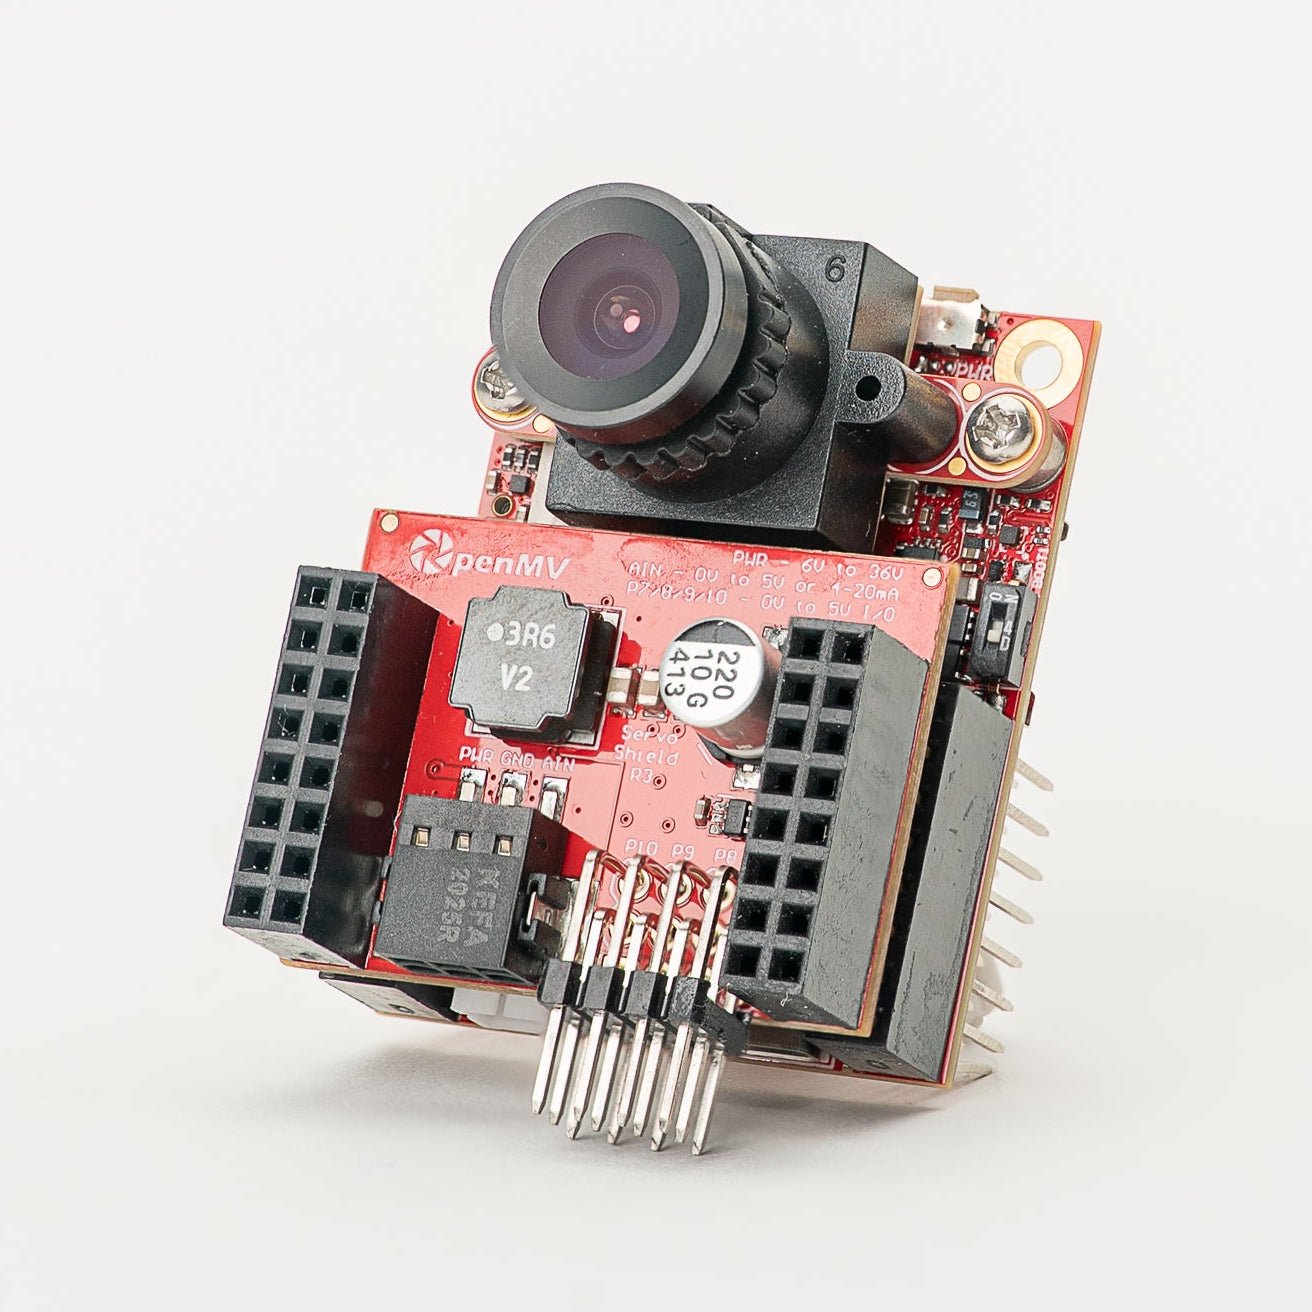
Servo Shield
카메라 전원 공급 중 최대 5A를 사용하는 서보 4개 구동, 6–36V 입력.
탐색 →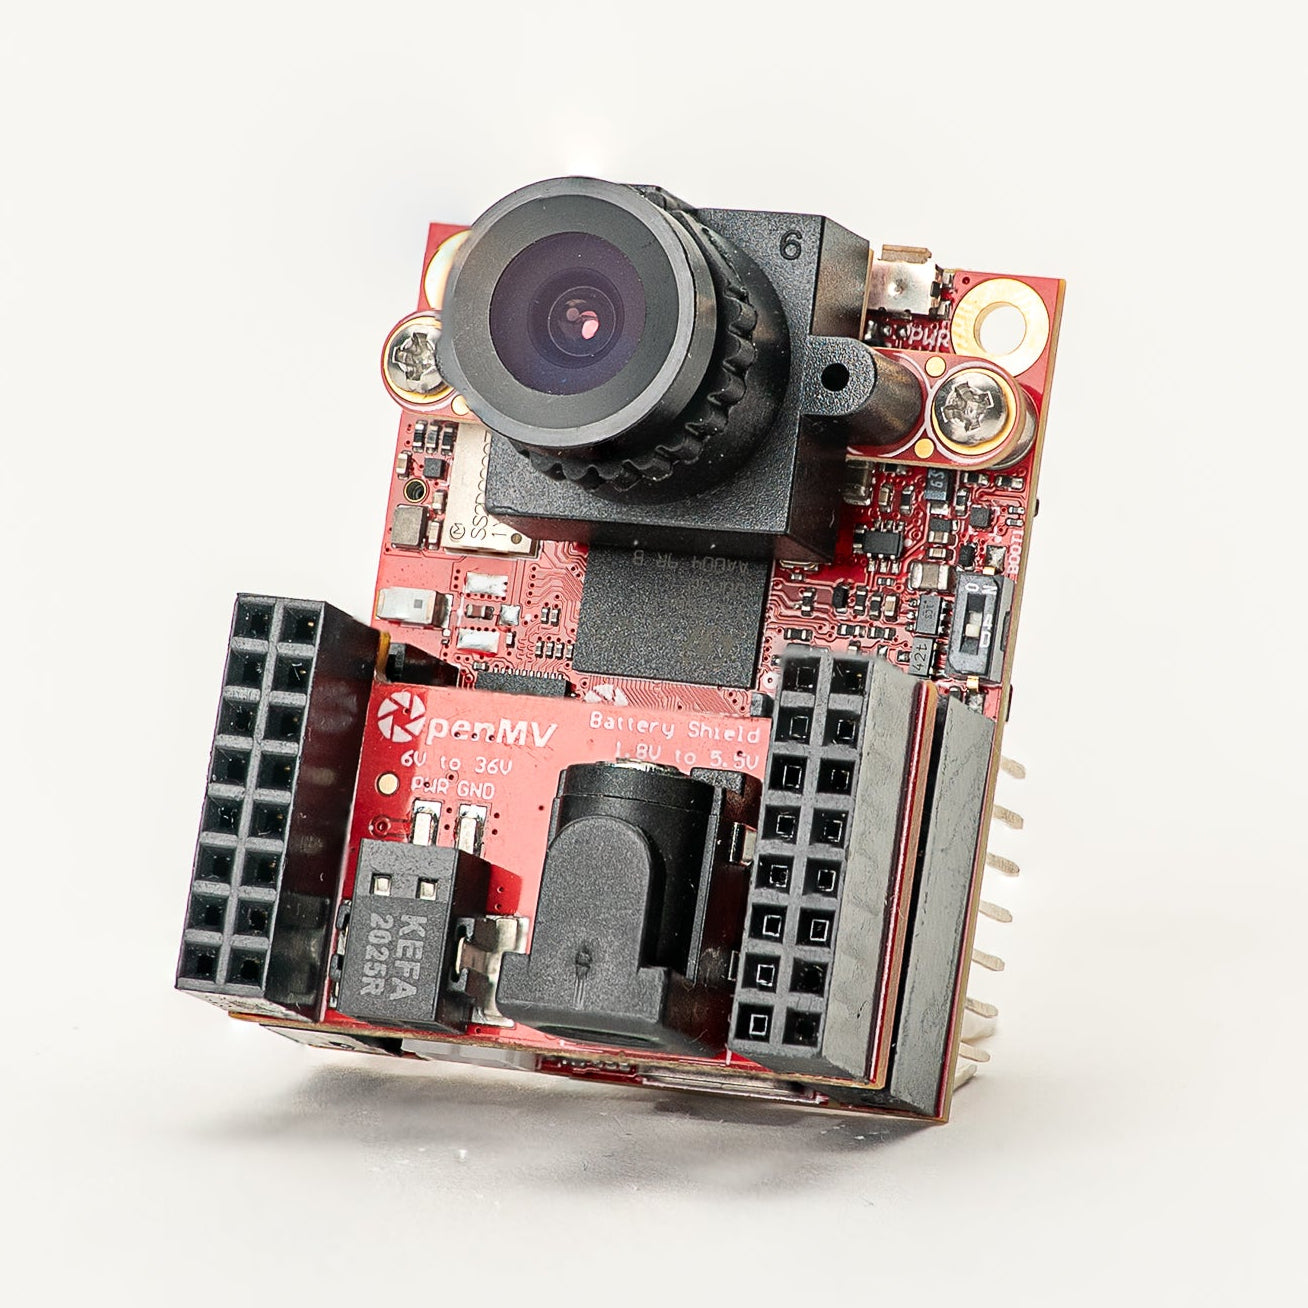
Battery Shield
DC 배럴 잭을 통한 1.8–5.5V 배터리 입력.
탐색 →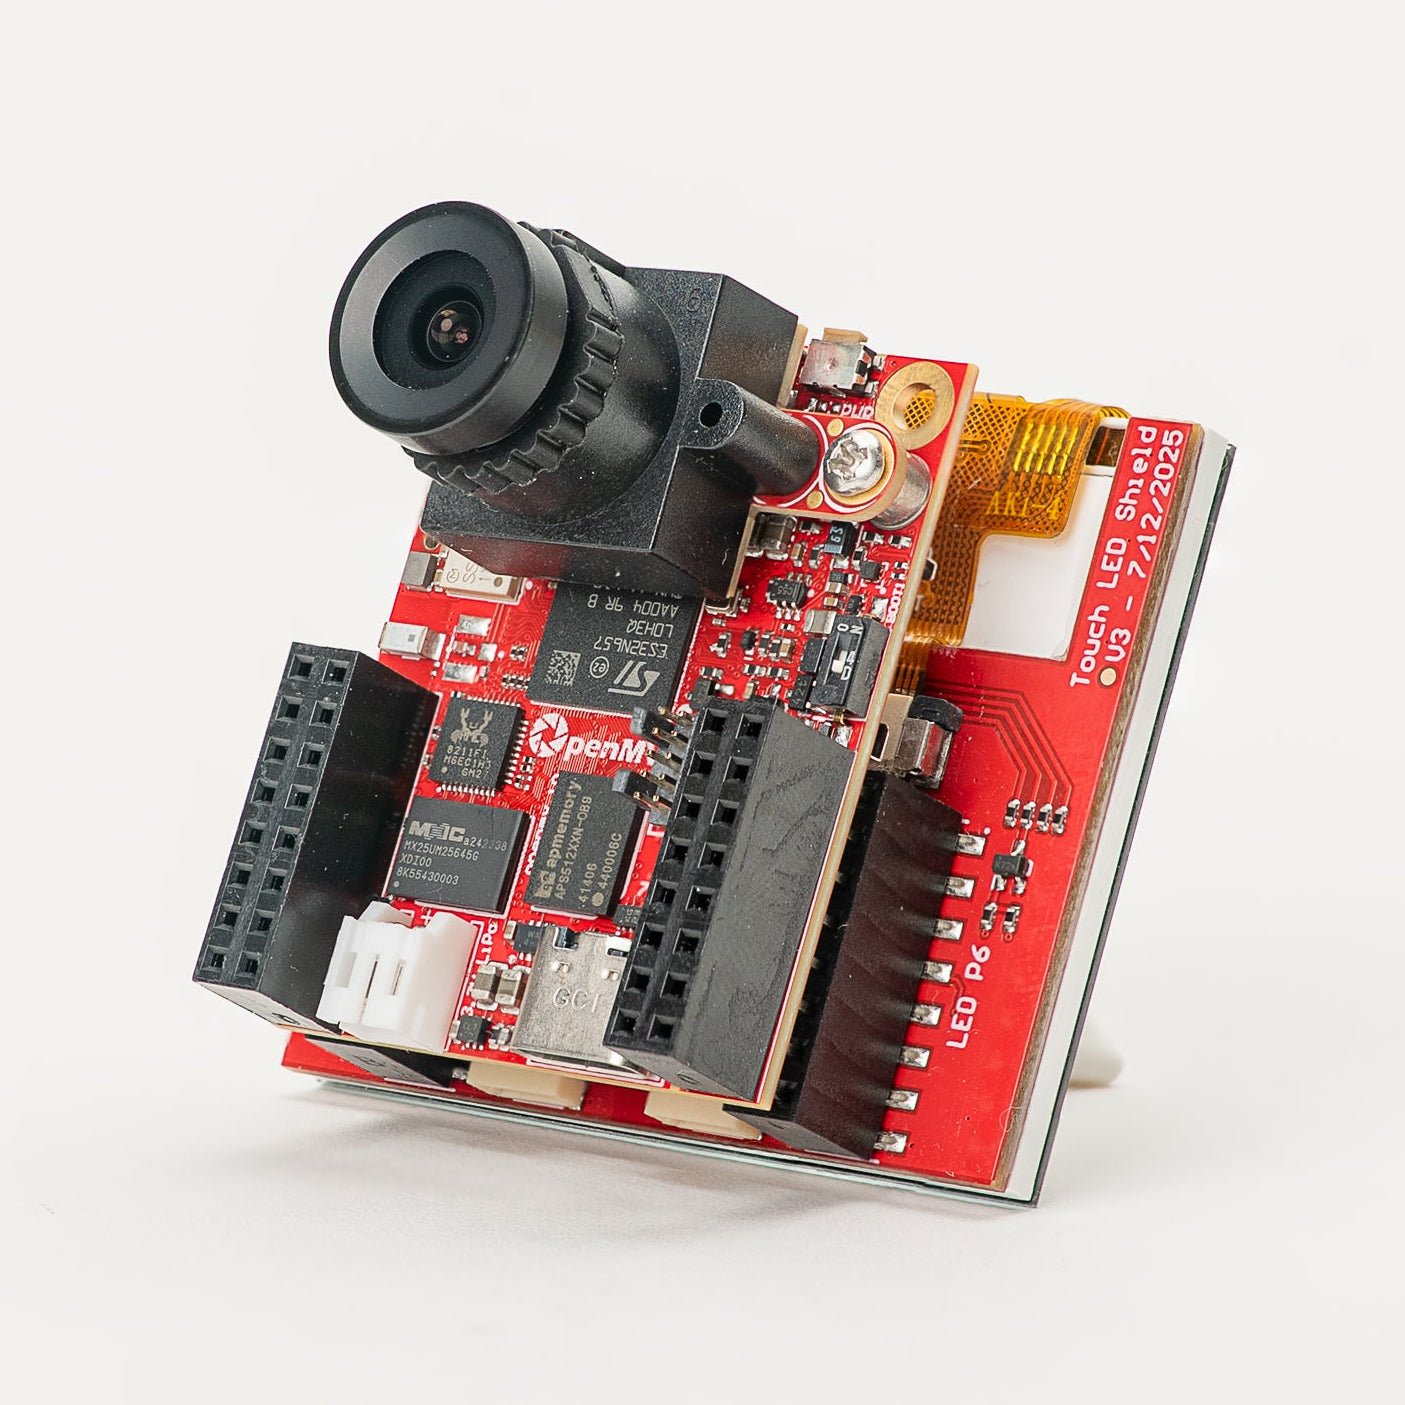
Touch LCD Shield
정전식 멀티터치와 Qwiic을 갖춘 2.3" SPI LCD.
탐색 →
PoE Shield
Power-over-Ethernet 지원 10/100 이더넷.
탐색 →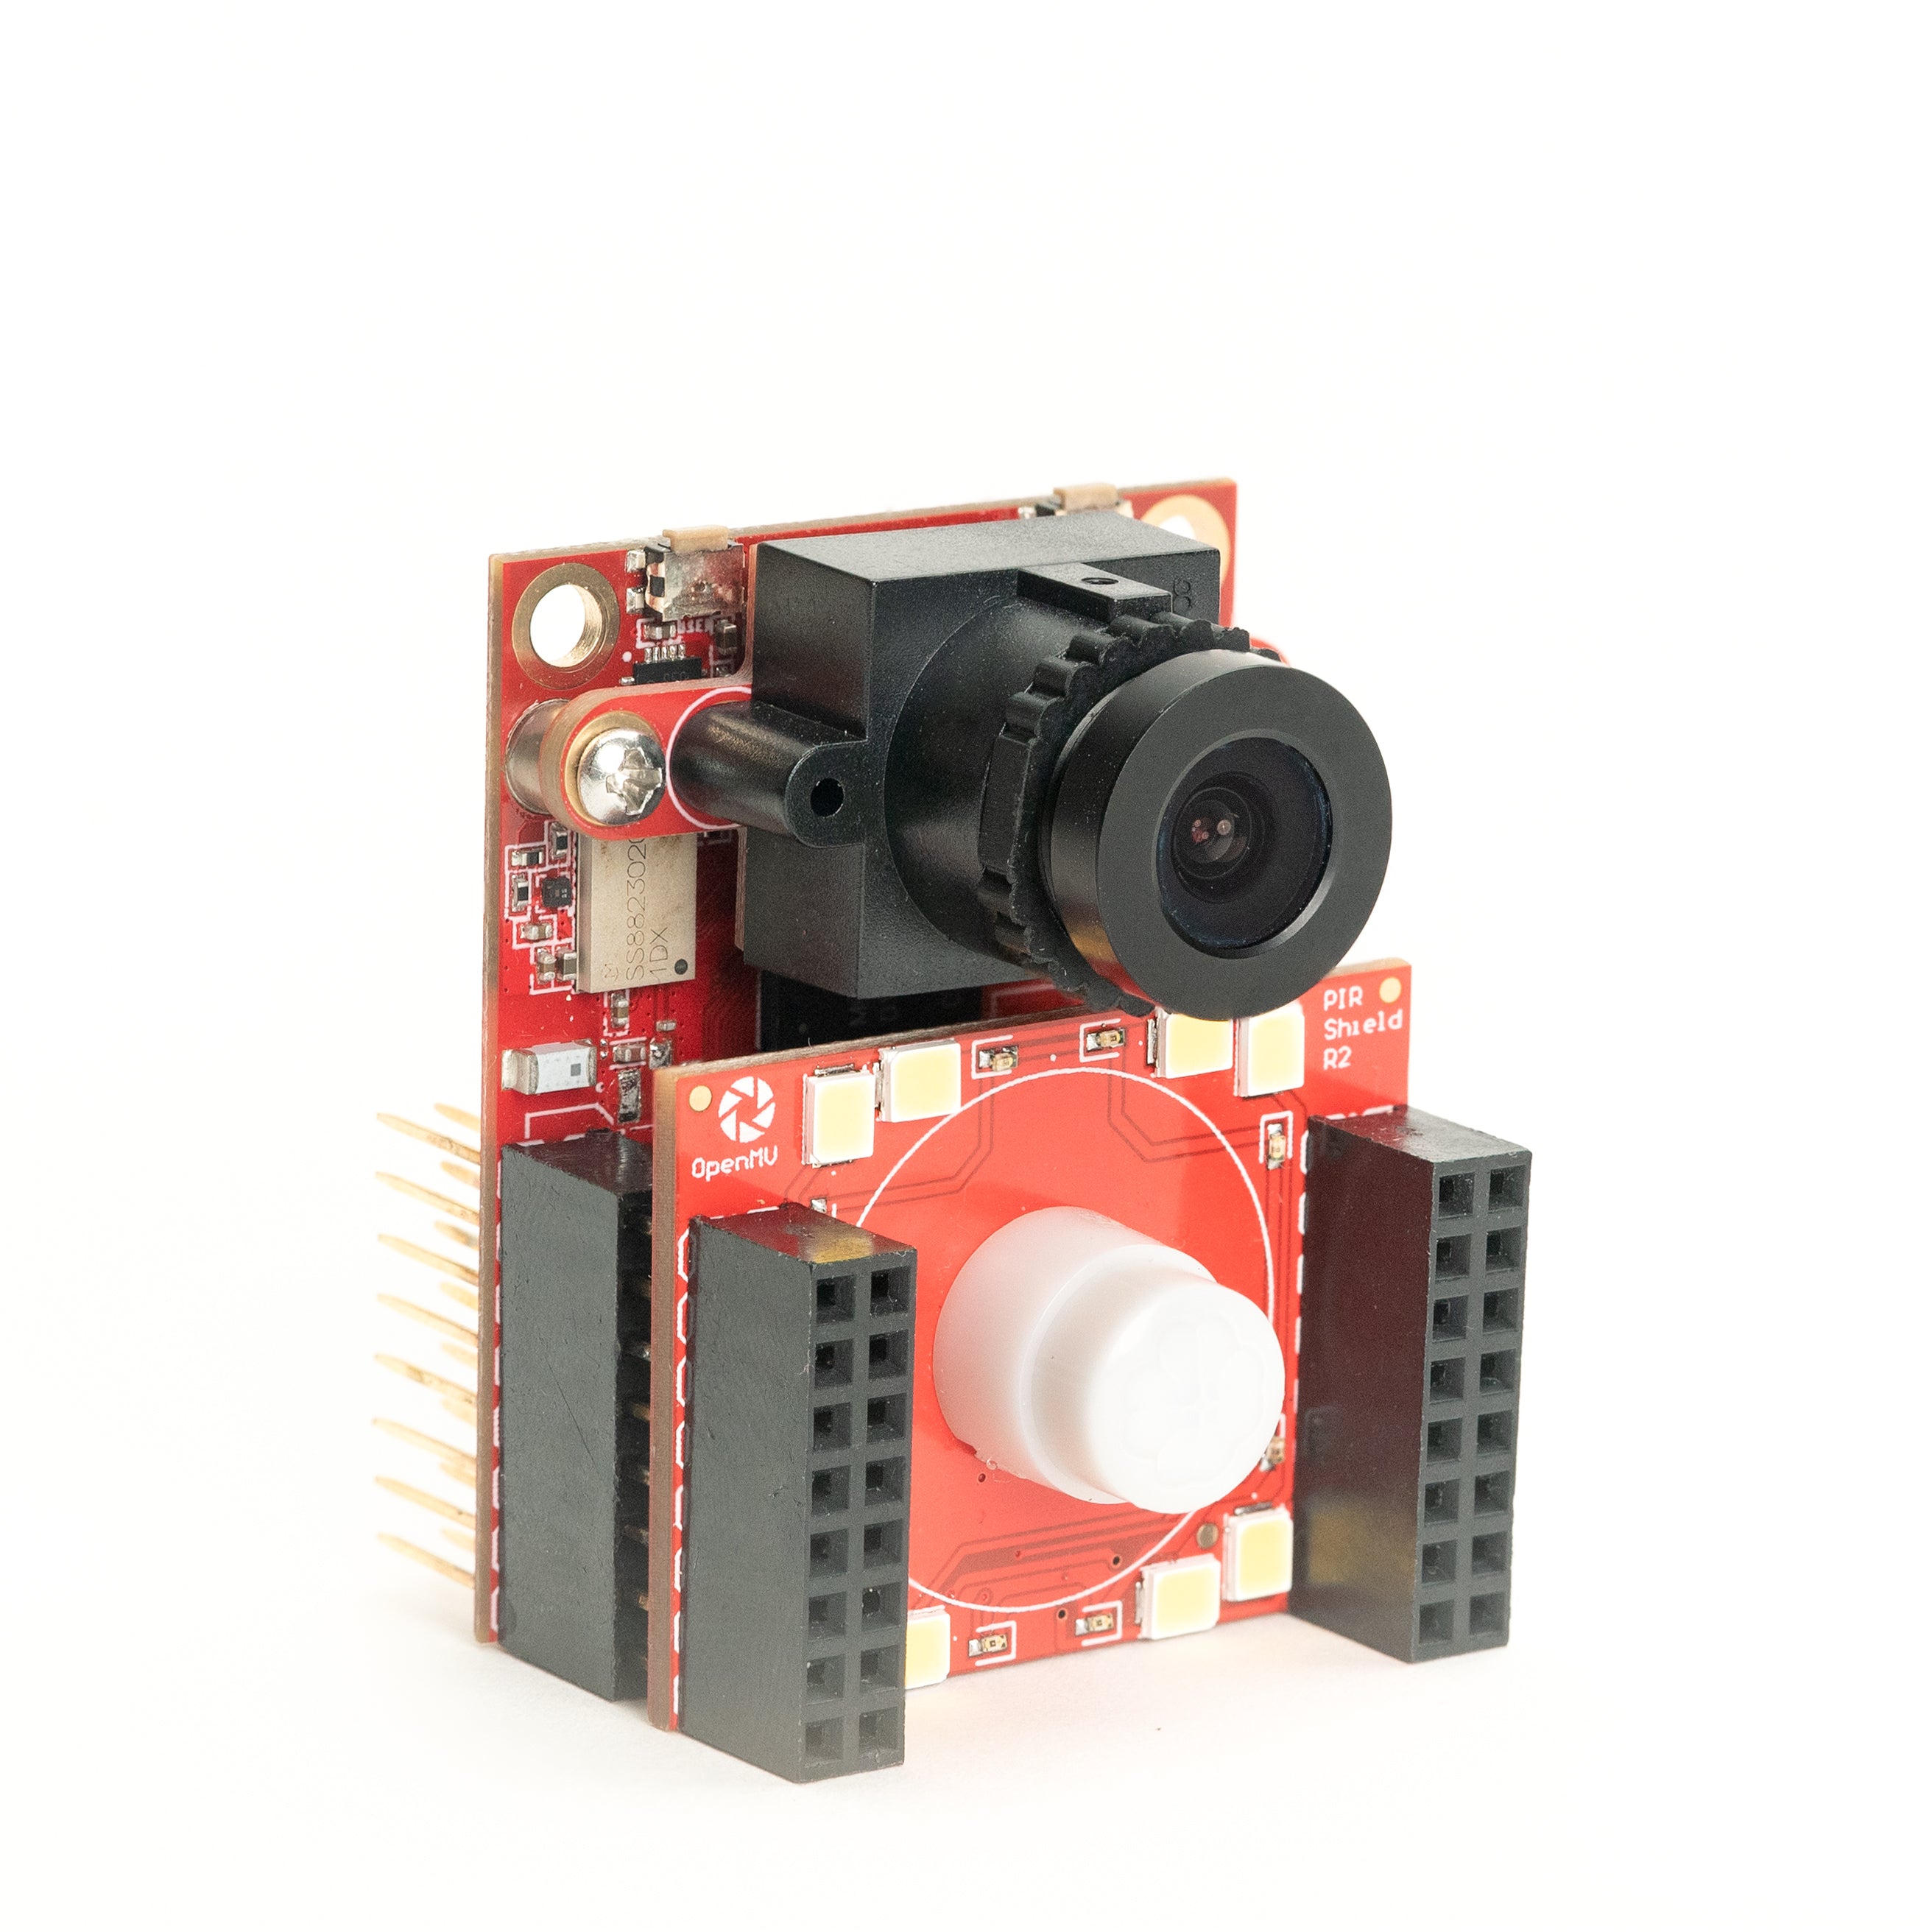
PIR Shield
6µA 대기 동작 감지 트리거, 백색 및 850 nm IR.
탐색 →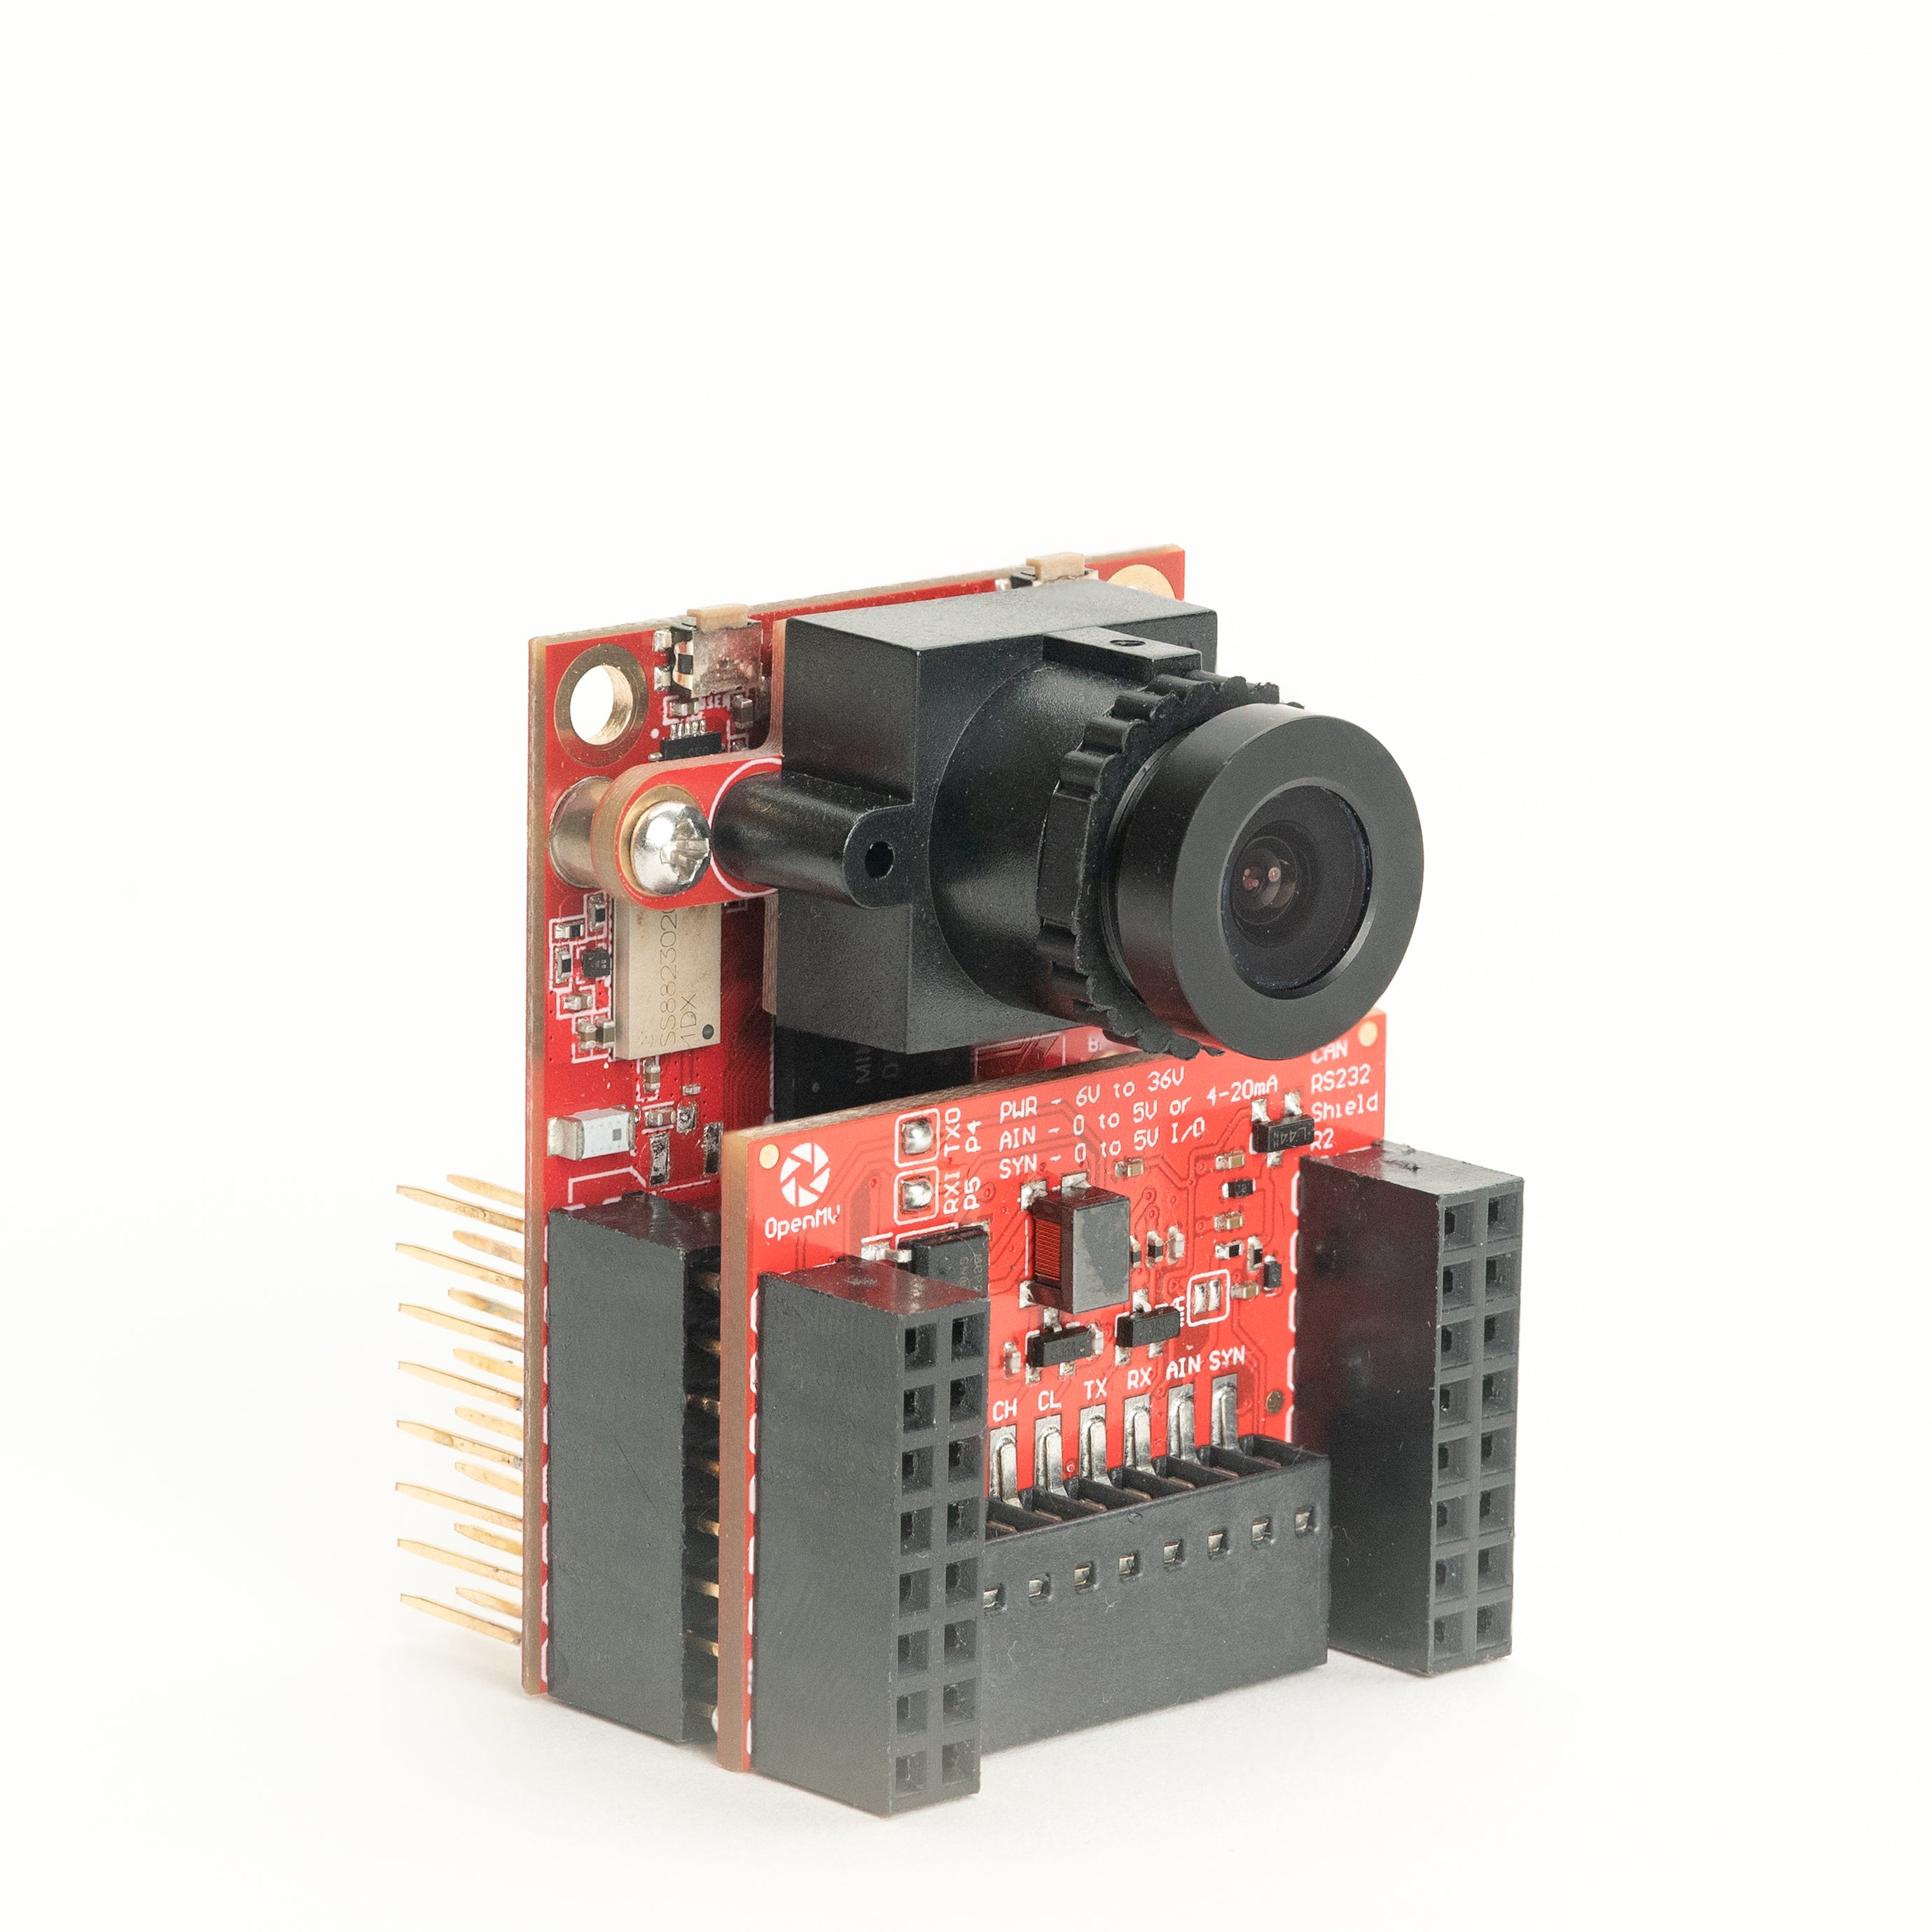
CAN/RS232 Shield
하나의 쉴드에 8 Mb/s CAN-FD와 1 Mb/s RS-232.
탐색 →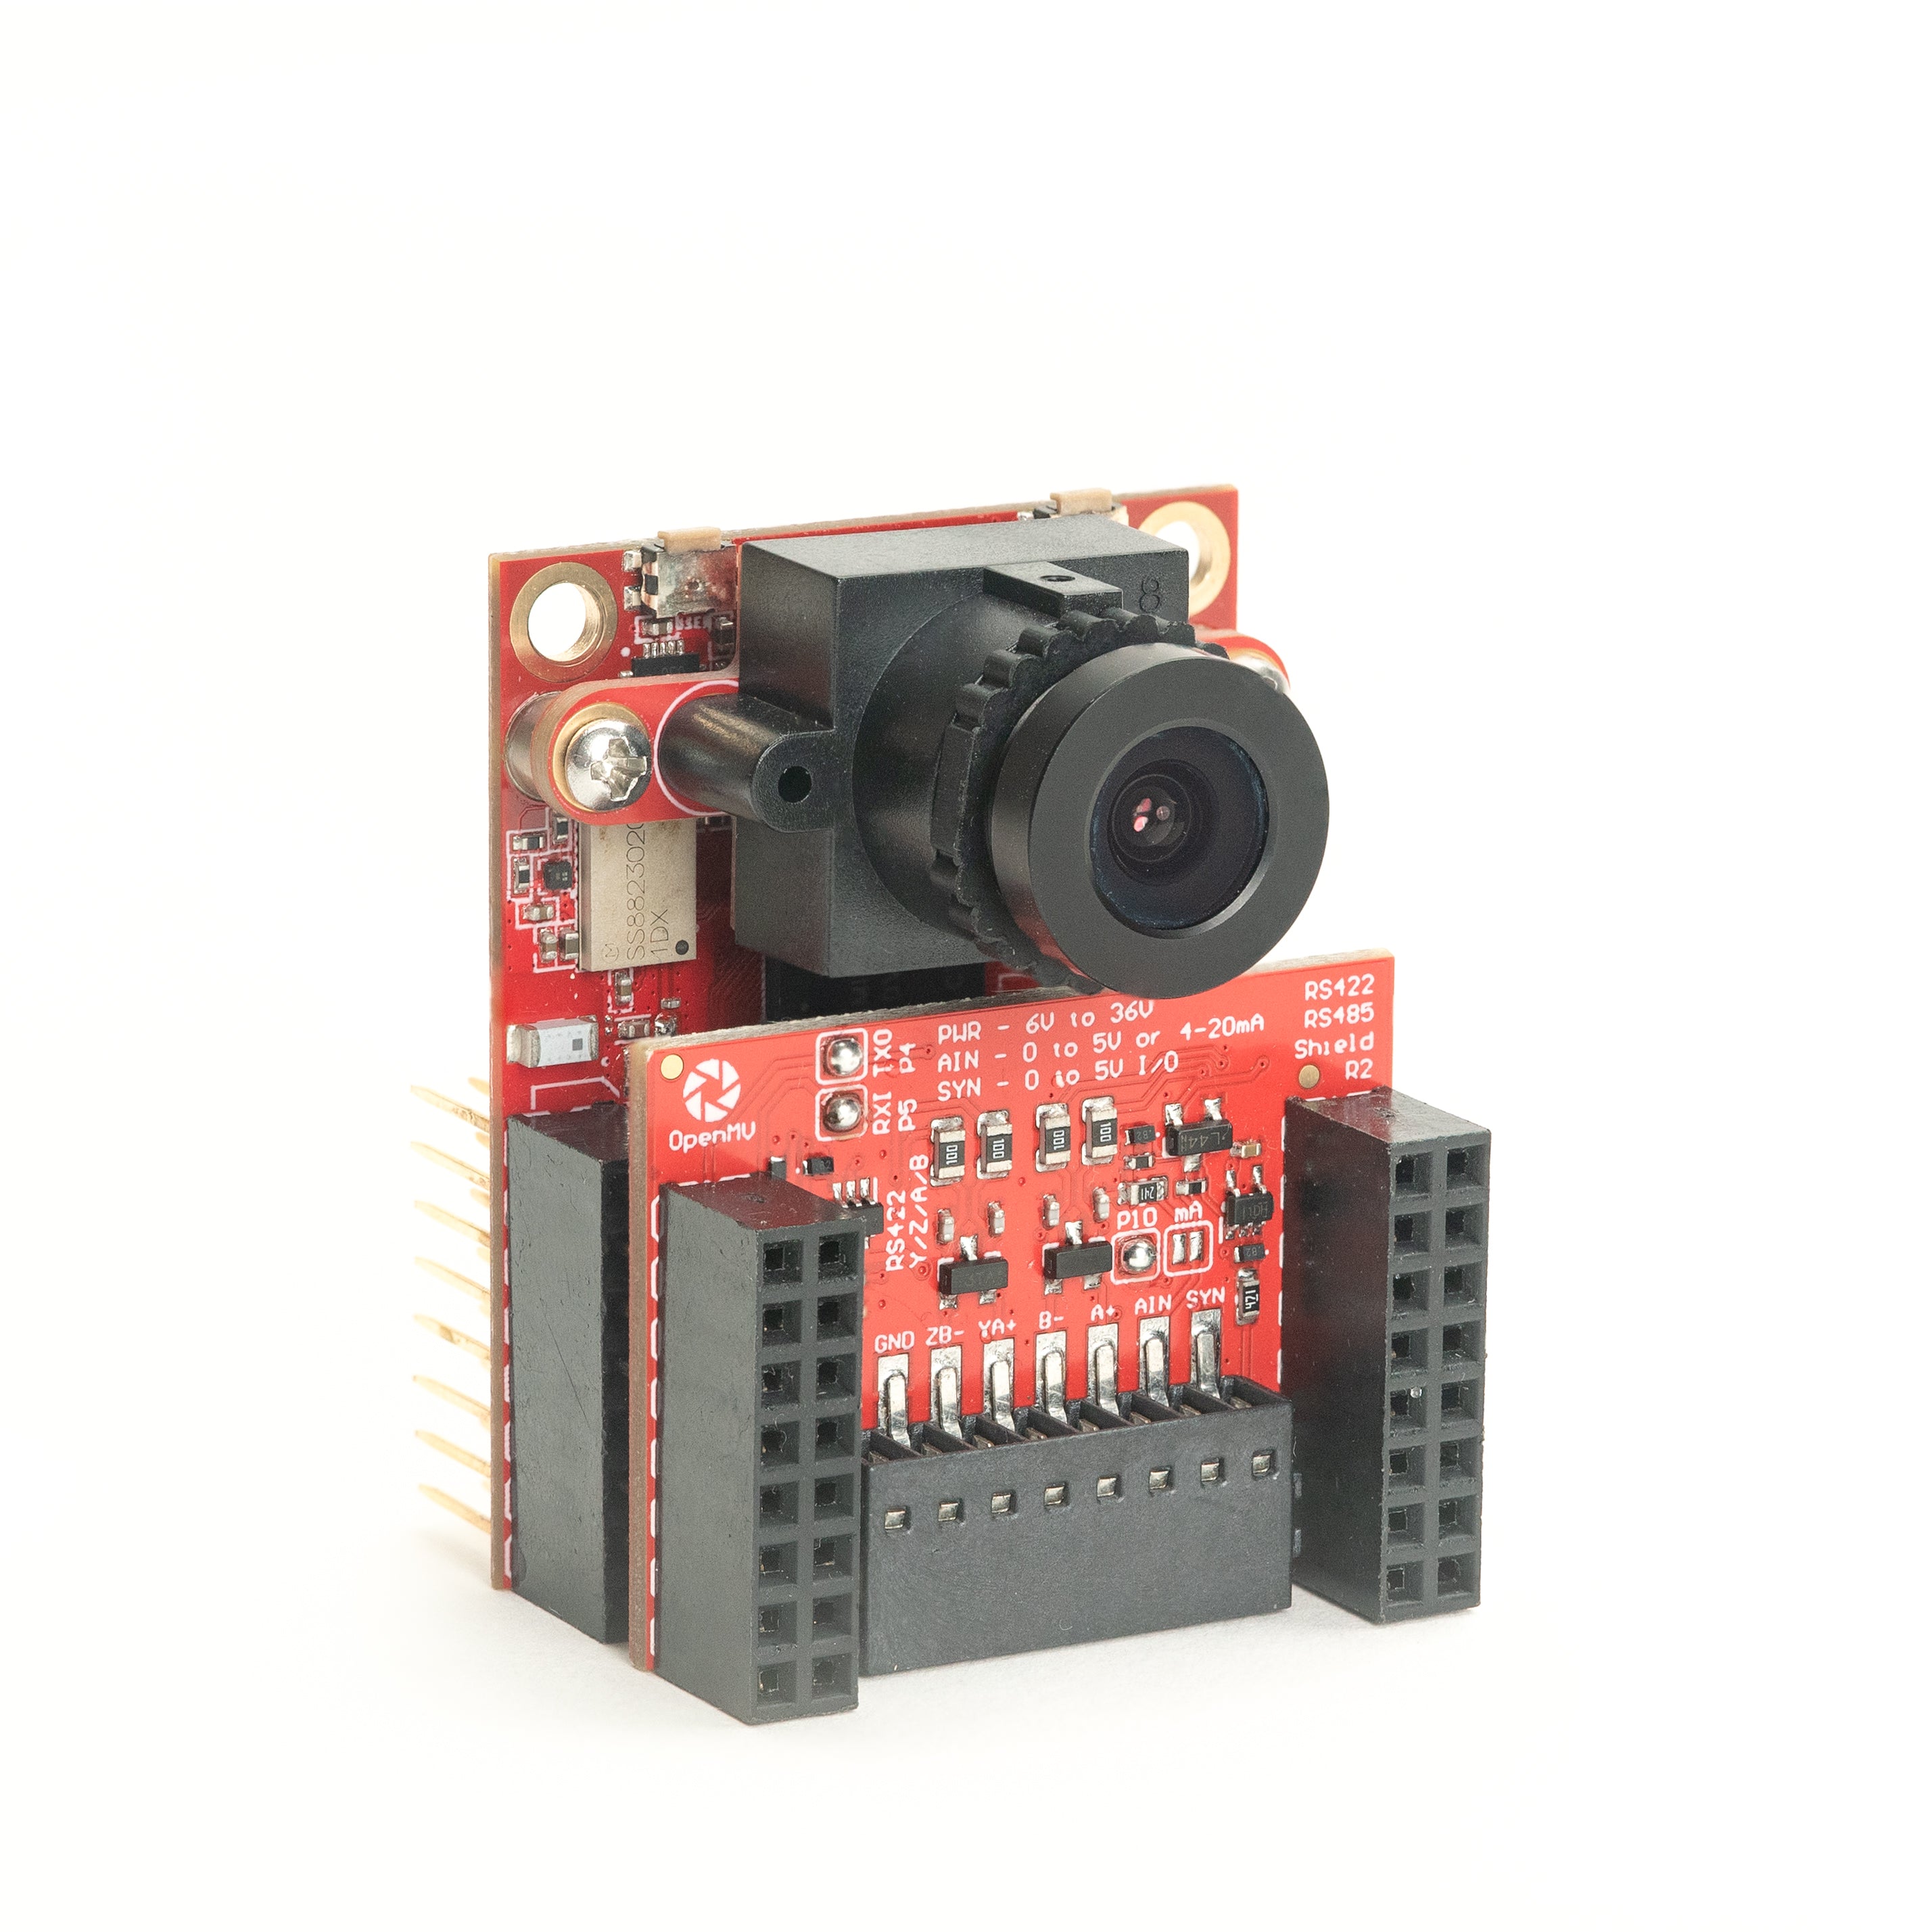
RS422/RS485 Shield
산업용 버스를 위한 10 Mb/s 차동 시리얼.
탐색 →센서
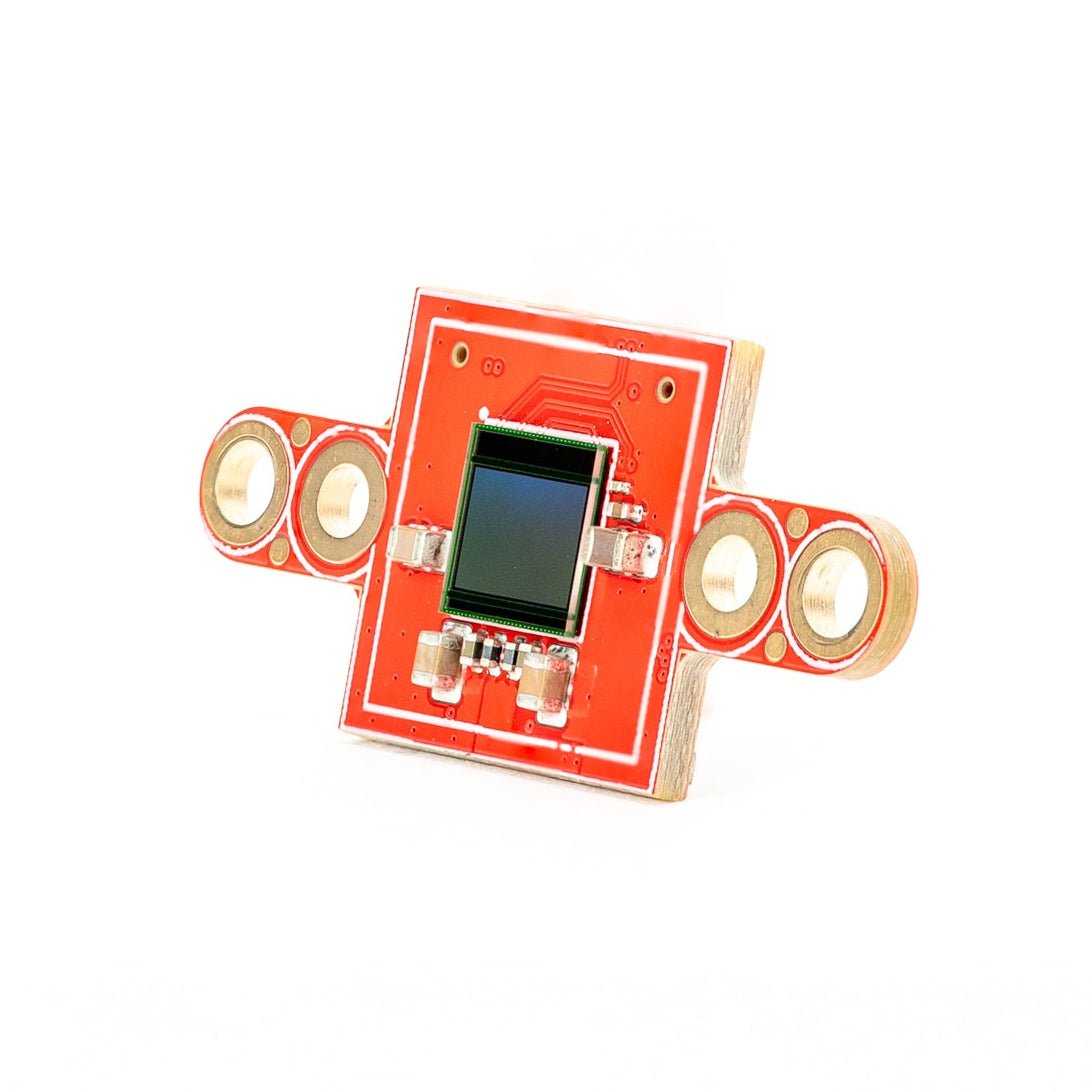
카메라 모듈보드 간 커넥터에 연결하는 카메라 모듈 및 센서 어댑터 — 컬러, 모노크롬, 열화상, 이벤트 기반 비전.
PS5520 5MP HDR Camera
5MP HDR 센서 — 까다로운 조명을 위한 고동적 범위.
탐색 →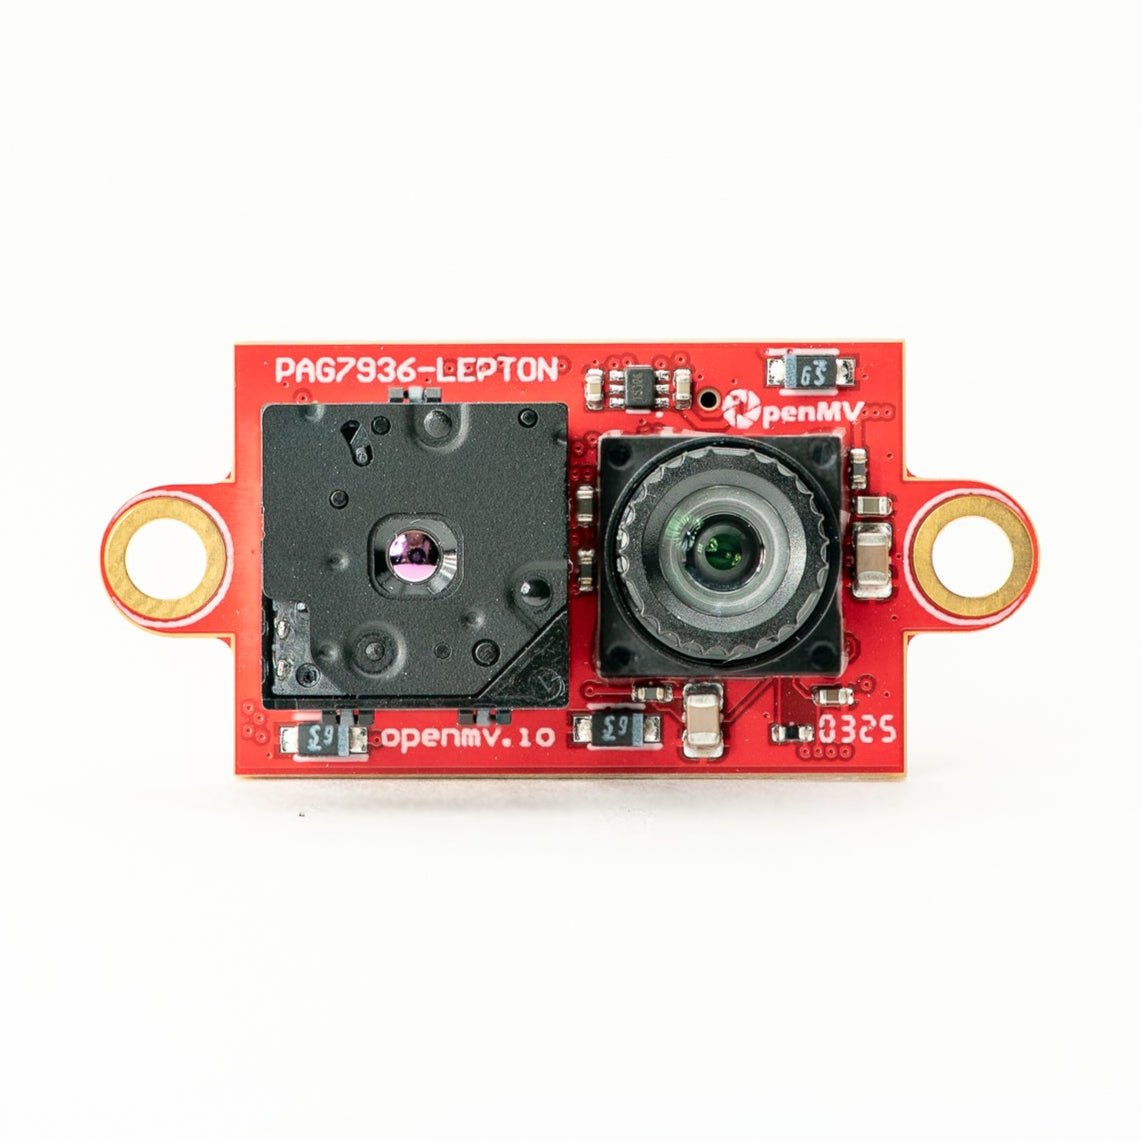
Multispectral Thermal (PAG7936)
1MP 글로벌 셔터 컬러 + FLIR Lepton 열화상을 하나의 모듈에.
탐색 →
Multispectral Thermal (OV5640)
5MP 롤링 셔터 컬러 + FLIR Lepton 열화상을 하나의 모듈에.
탐색 →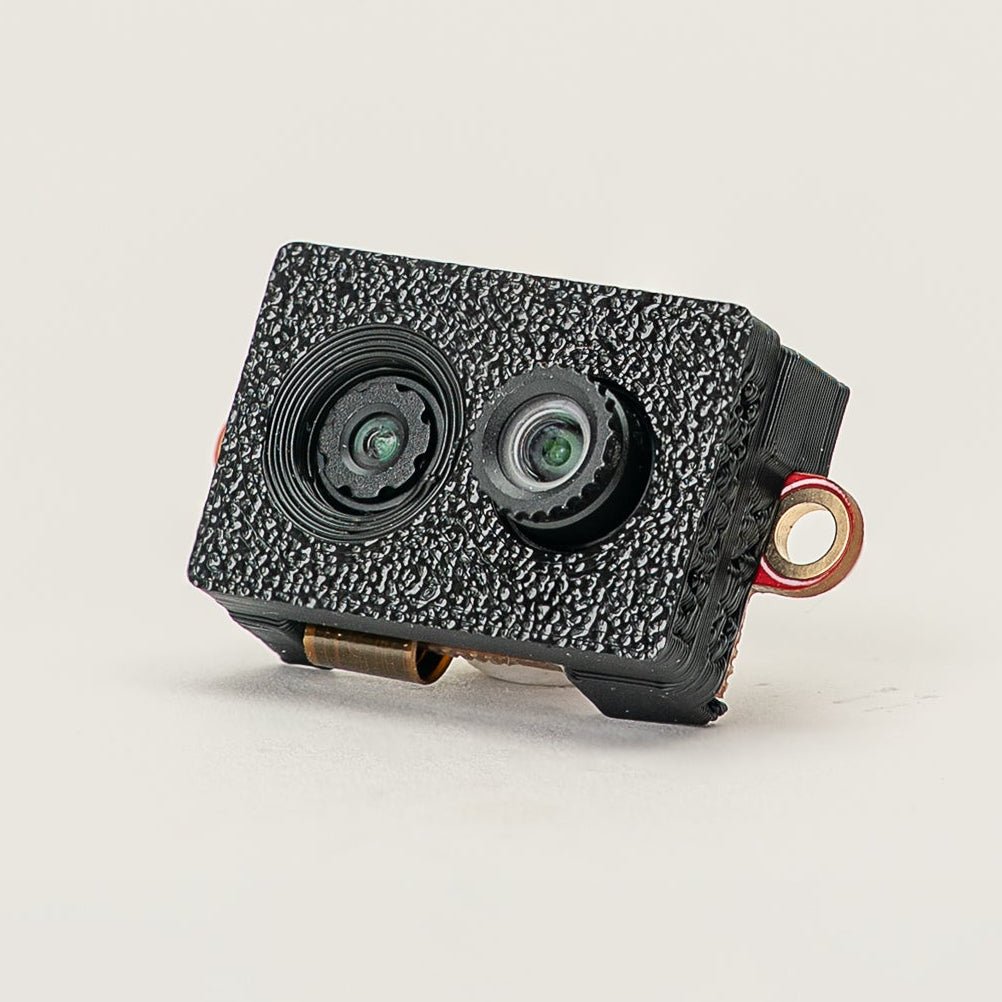
Multispectral Event Camera
GENX320 이벤트 센서 + PAG7936 컬러를 하나의 모듈에.
탐색 →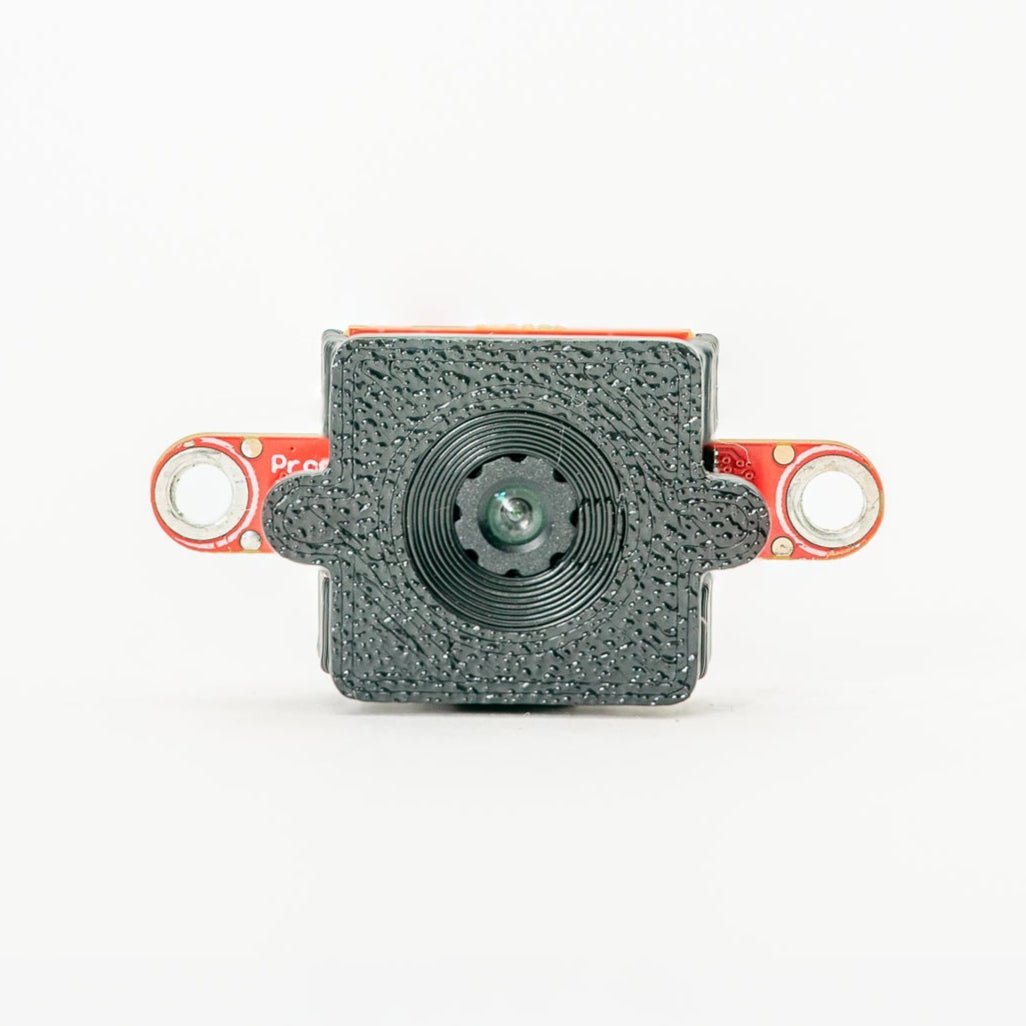
GENX320 Event Camera
Prophesee 이벤트 기반 비전 — 마이크로초 시간 정밀도.
탐색 →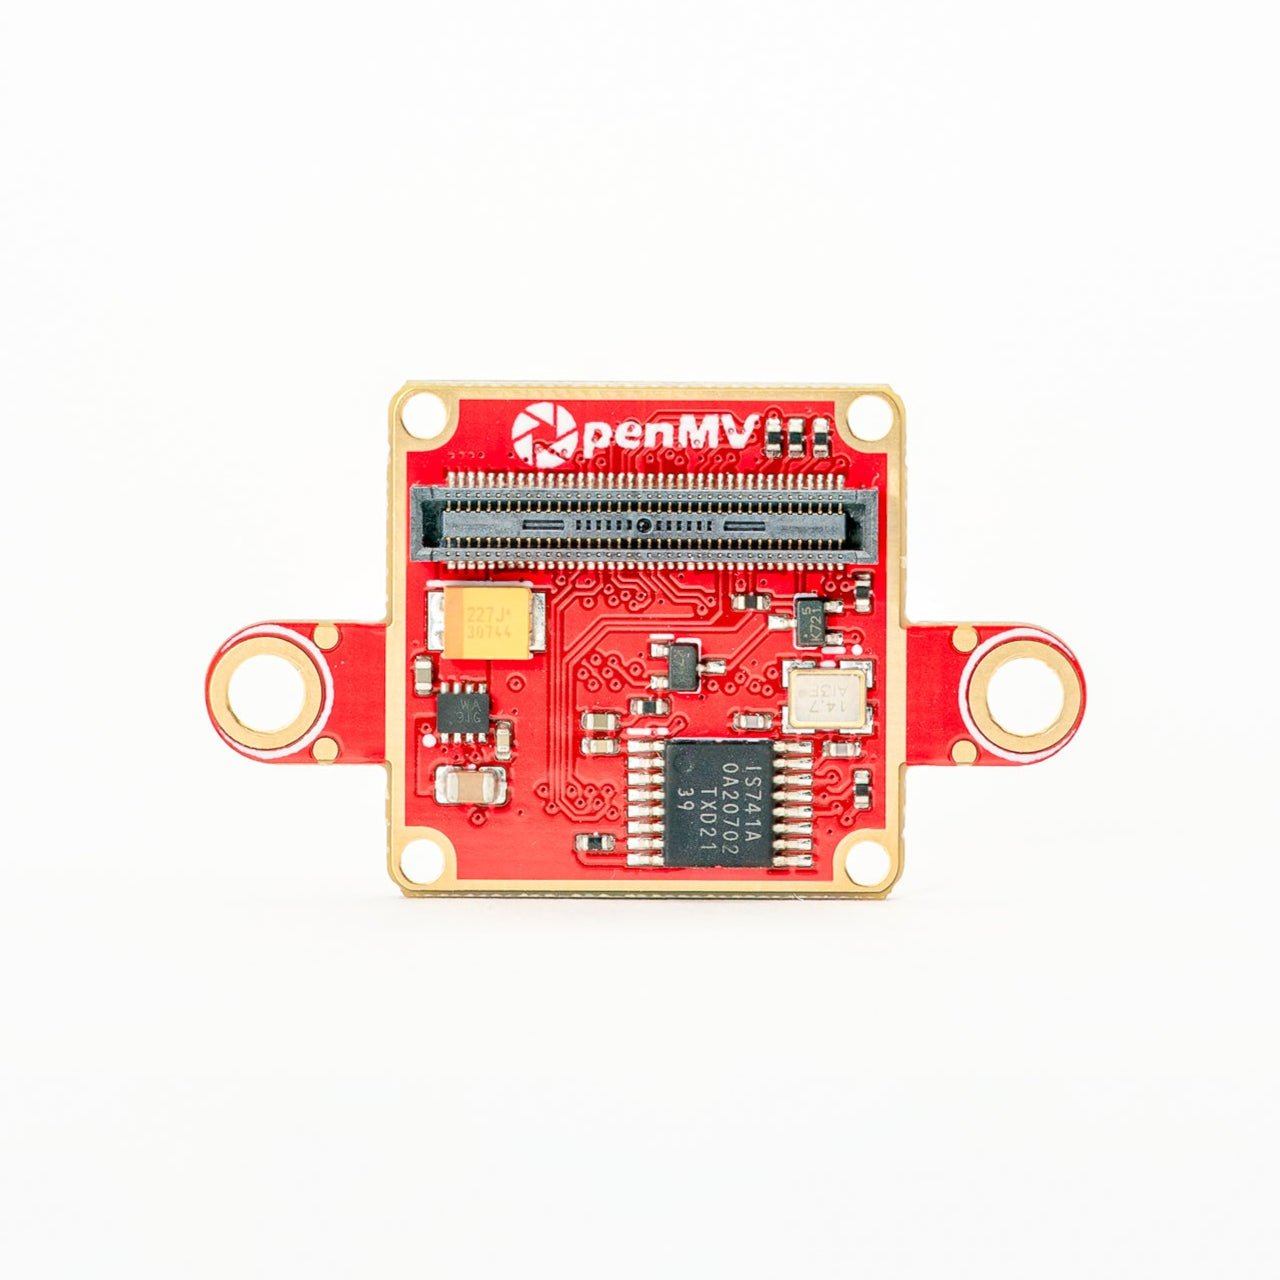
FLIR Boson Adapter
FLIR Boson / Boson+ 코어용 어댑터 — 더 높은 해상도의 열화상.
탐색 →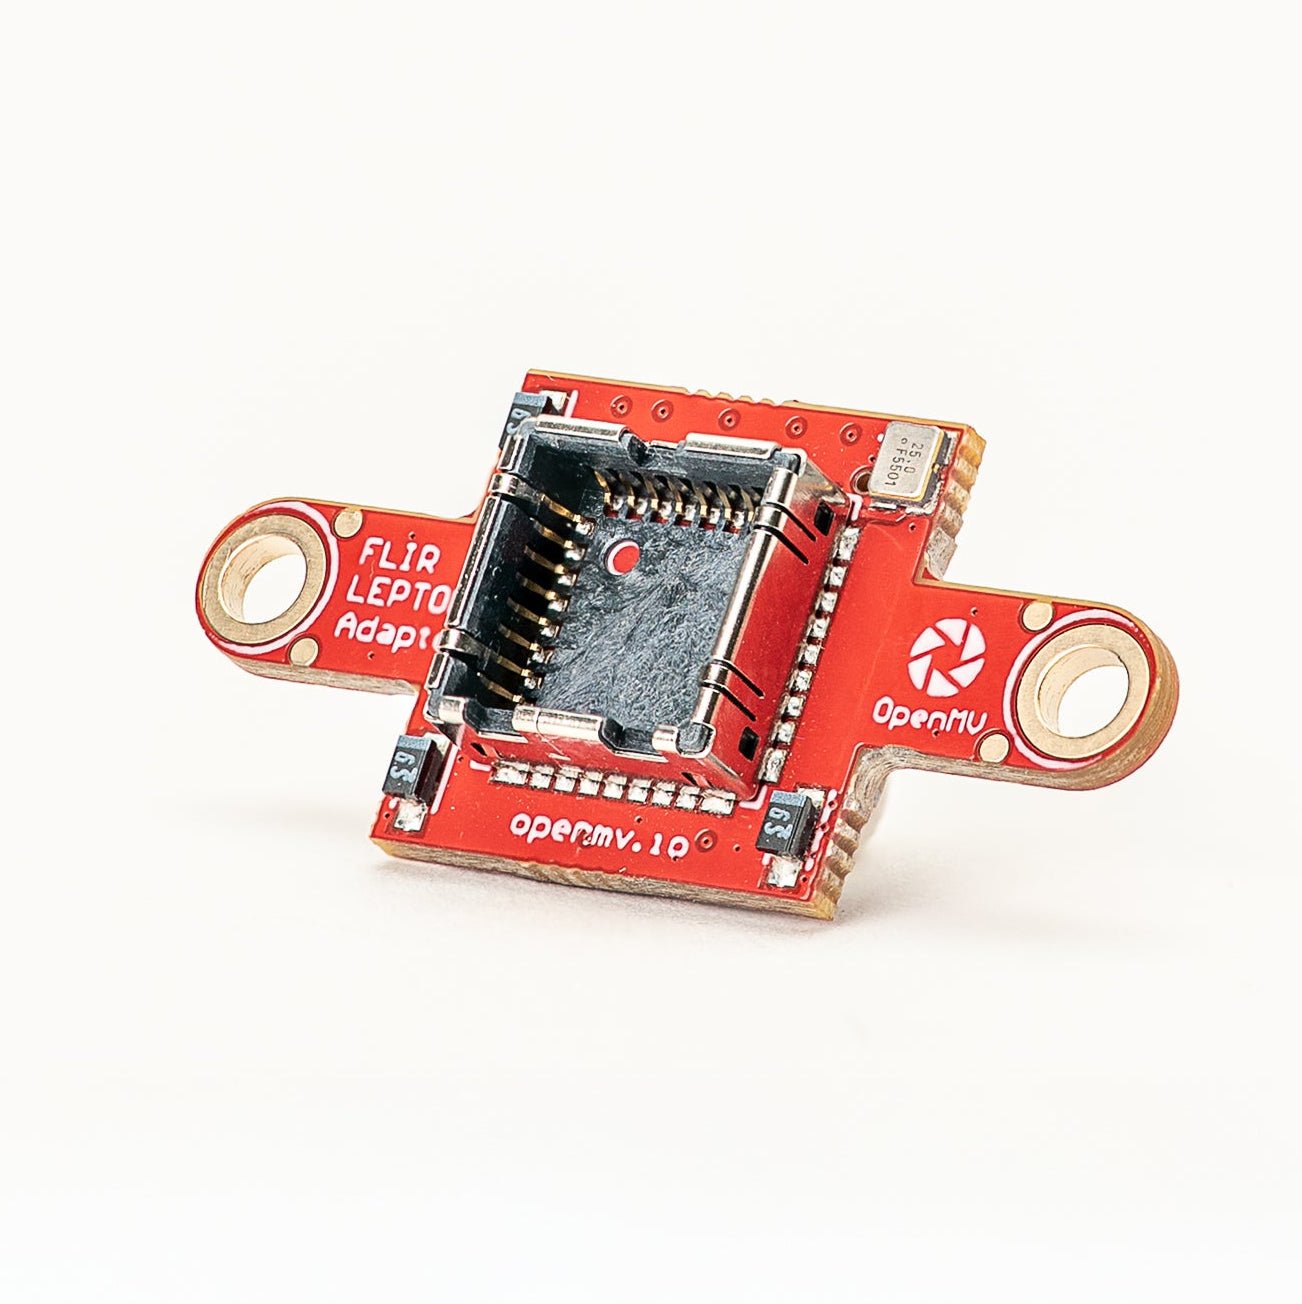
FLIR Lepton Adapter
FLIR Lepton 1.x / 2.x / 3.x 열화상 코어용 어댑터.
탐색 →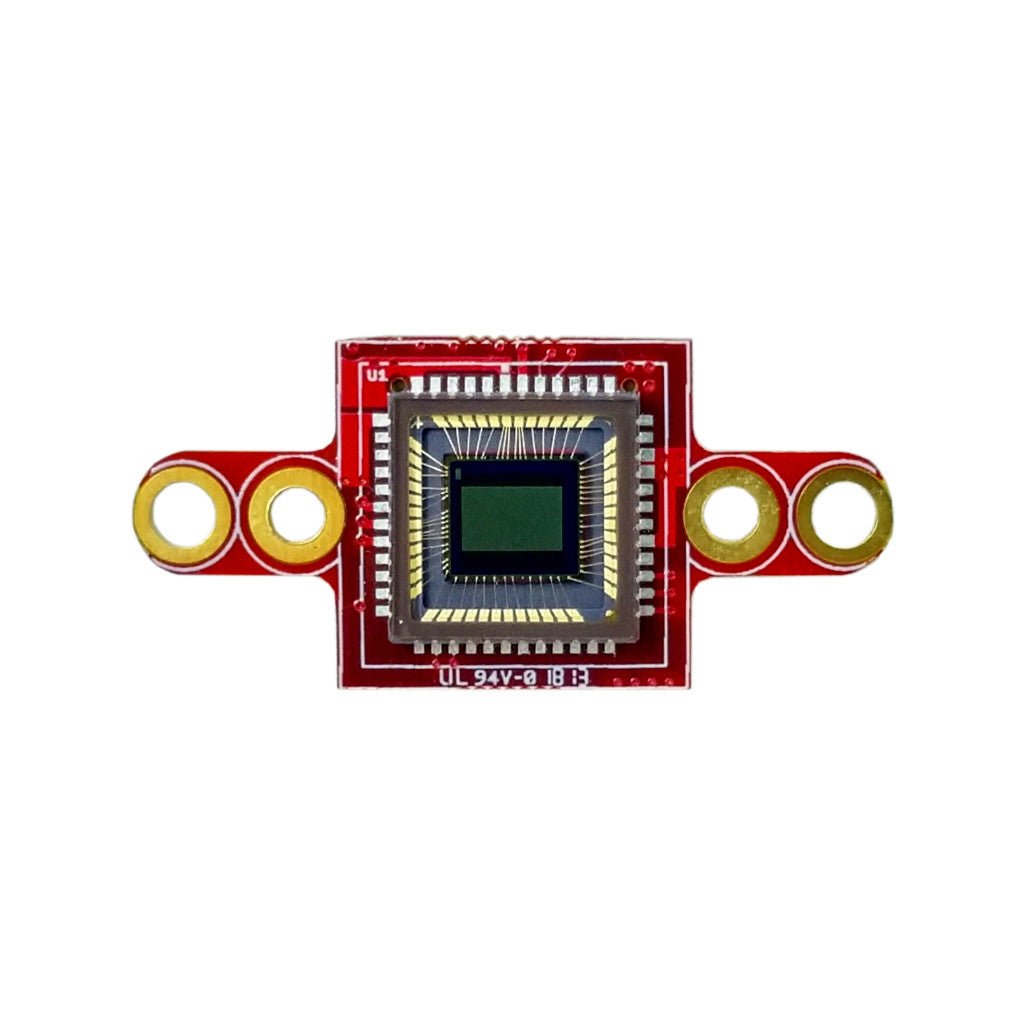
Global Shutter Camera Module
빠른 동작 캡처를 위한 모노크롬 글로벌 셔터 센서.
탐색 →