13.1.10. Standalone terminal windows
Tools → Open Terminal opens independent terminal windows – each one a miniature OpenMV IDE session in its own window, with a frame buffer viewer, a histogram, and an interactive terminal, connected over a transport of your choosing. The main window’s connection is unaffected, so a standalone terminal lets you watch a second camera while the first stays connected, or debug a camera on the far side of a network.
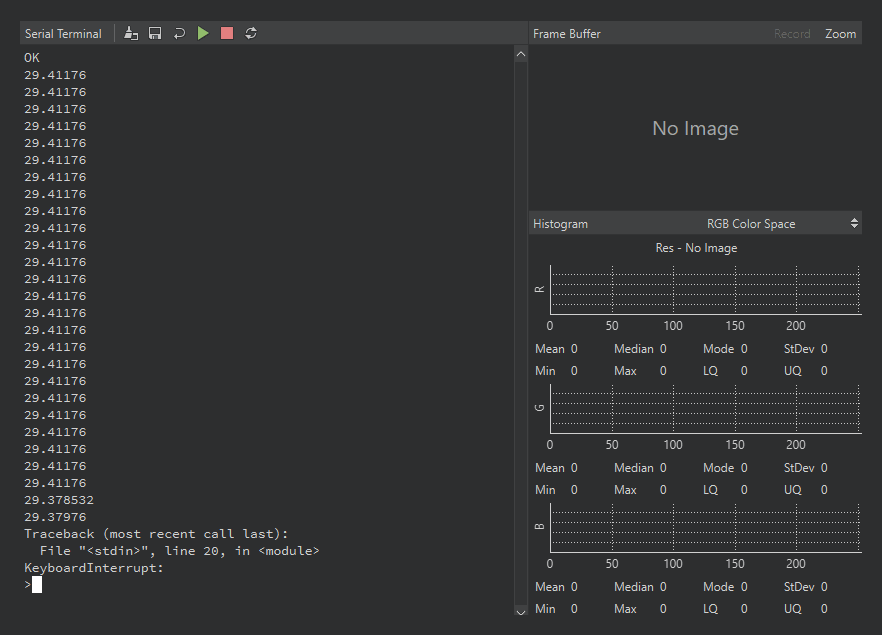
A standalone terminal window over a serial port: the interactive terminal on the left with its run / stop / reset toolbar, the frame buffer and histogram on the right – they light up when the camera streams frames in-band.
New Terminal asks for one of three transports:
Serial port – any serial port at any baud rate (default 115,200). This covers a second camera’s USB port, a camera wired up over a USB-to-UART bridge, a Bluetooth serial link (which shows up as an ordinary serial port), or any non-OpenMV serial device that needs a terminal. On a USB port the baud rate does not limit the speed – data always moves at the USB link’s speed – but on a camera’s USB port avoid 921,600 and 12,000,000, which switch the camera from the REPL into the IDE’s debug protocol.
TCP – connect to a server at a chosen host and port, or listen as one on a chosen port.
UDP – the same pair of roles, over UDP.
The IDE remembers the last ten configurations and lists them in the Open Terminal submenu for one-click reopening; Clear Menu forgets them.
Unlike the main window’s output-only pane, a standalone terminal is fully interactive: it is a REPL. Type at the prompt and Python executes on the connected camera line by line, with history and tab completion provided by MicroPython itself. The toolbar adds one-click equivalents of the common control sequences – run the current editor script, stop the running script, and soft reset – and the same clear, save, and wrap controls as the main terminal pane.
The frame buffer above the terminal is live too. When the connected camera streams compressed frames in-band – embedded in the same stream as its print output – the terminal decodes and displays them, and the Record and Zoom buttons work exactly as they do in the main window. That combination is the IDE’s network-debugging story: a camera that exposes its REPL over Wi-Fi gets the full edit-run-preview loop with no USB cable involved.
13.1.10.1. Streaming frames in-band
The encoding the terminal understands is simple: a 0xFE byte opens a frame, a second 0xFE closes it, and every payload byte between them has its top bit set and carries six bits of the compressed image – three image bytes become four payload bytes. Plain text never uses those byte values, so frames and print() output share the stream without colliding: the terminal shows the text and displays the frames.
The script below captures, converts each frame to JPEG, and prints it in that form. The bit-packing runs through ulab (which has no shift operators, so the shifts are written as multiplies and divides), and is fast enough to keep up with the camera:
import csi
import sys
import time
from ulab import numpy as np

csi0 = csi.CSI()
csi0.reset()
csi0.pixformat(csi.RGB565)
csi0.framesize(csi.QVGA)

clock = time.clock()


def encode_for_ide(data):
    n = len(data)
    n3 = n - (n % 3)
    m = (n3 // 3) * 4
    out = bytearray(((n * 8) + 5) // 6 + 2)
    out[0] = 0xFE
    out[-1] = 0xFE
    if n3:
        src = np.frombuffer(data, dtype=np.uint8)
        dst = np.frombuffer(out, dtype=np.uint8)
        b0 = src[0:n3:3]
        b1 = src[1:n3:3]
        b2 = src[2:n3:3]
        dst[1:m + 1:4] = (b0 & 0x3F) | 0x80
        dst[2:m + 2:4] = (b0 // 64) | ((b1 & 0x0F) * 4) | 0x80
        dst[3:m + 3:4] = (b1 // 16) | ((b2 & 0x03) * 16) | 0x80
        dst[4:m + 4:4] = (b2 // 4) | 0x80
    if n % 3 == 2:
        x = data[n - 2] | (data[n - 1] << 8)
        out[m + 1] = 0x80 | (x & 0x3F)
        out[m + 2] = 0x80 | ((x >> 6) & 0x3F)
        out[m + 3] = 0x80 | ((x >> 12) & 0x3F)
    elif n % 3 == 1:
        out[m + 1] = 0x80 | (data[n - 1] & 0x3F)
        out[m + 2] = 0x80 | (data[n - 1] >> 6)
    return out


while True:
    clock.tick()
    img = csi0.snapshot().to_jpeg(quality=80)
    sys.stdout.write(encode_for_ide(img.bytearray()))
    print(clock.fps())
This works in a standalone terminal because REPL printing waits: the camera blocks until the terminal has taken the data, so every byte of the frame arrives, and a JPEG moves quickly over a USB full-speed or high-speed link. The same script works unchanged over a TCP terminal, which is the network-debugging path above. The one place it does not work is the IDE’s main debug connection, whose output channel resets itself on overflow instead of waiting – there the frame buffer viewer already shows the camera’s frames natively, so nothing is missed.