13.1.12. Editing the ROM file system
Boards with ROMFS support carry a read-only file system in flash, mounted on the camera at /rom. It ships with the board’s default machine-learning models, and it is where a product’s models and assets belong: files in ROMFS are memory-mapped straight out of flash, so a large model loads without consuming RAM for a copy. The IDE’s Tools → ROM File System submenu is the editor for it.
13.1.12.1. The editor
Edit ROMFS on OpenMV Cam reads the connected camera’s ROMFS and opens it in the editor: a file tree plus buttons to add files, create folders, delete and extract entries, and pull a model straight in from the model zoo. A usage readout tracks how much of the board’s ROMFS partition the contents occupy. Nothing touches the camera until you press Commit, which asks whether to write the result back to the camera or save it to a .img file on disk.
Two conversions happen automatically as you add files. A .py script is cross-compiled to .mpy bytecode for the target board, and a model file is converted for the board’s NPU accelerator when it has one and the model needs it. What lands in ROMFS is always the form the camera executes directly.
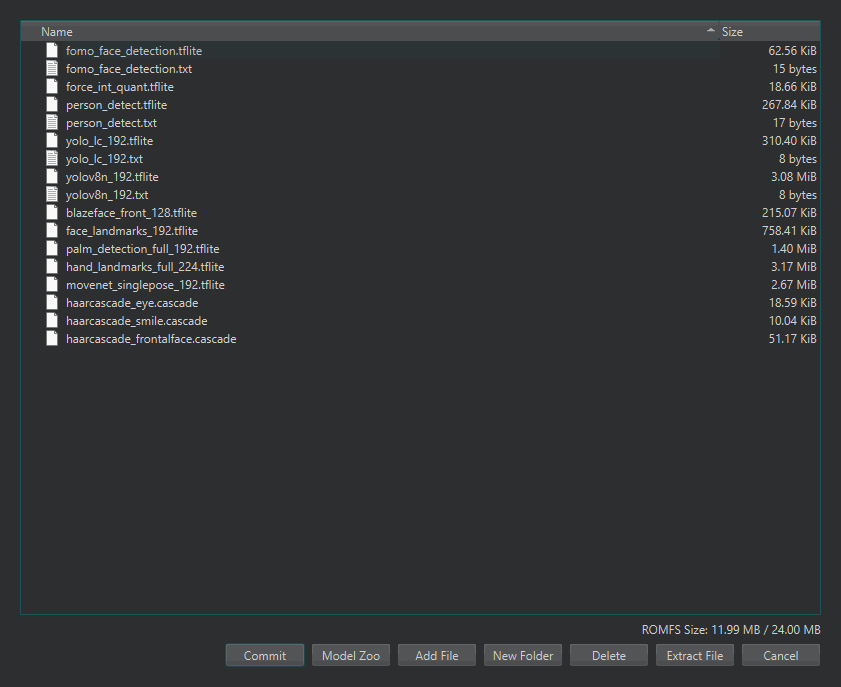
The Edit ROMFS dialog showing a board’s default contents – its machine-learning models – with the usage readout at the bottom right.
Open ROMFS File runs the same editor against a .img image file on disk instead of a connected camera, and New ROMFS File starts it empty – either way, the path to preparing a ROMFS image offline, for flashing in production or shipping alongside a custom firmware build. Reset ROMFS on OpenMV Cam restores the connected camera’s ROMFS to the board’s defaults, undoing all edits.
See also
Building a ROMFS image for ROMFS’s role in shipping an application – what to put there, and how the camera reads it at runtime.