Hello world
示例import csi
import time
import ml
from ml.postprocessing.ultralytics import YoloV8
csi0 = csi.CSI()
csi0.reset()
csi0.pixformat(csi.RGB565)
csi0.framesize(csi.VGA)
csi0.snapshot(time=2000) # let AWB/AGC stabilize
# Built-in single-class person detector model.
model = ml.Model("/rom/yolov8n_192.tflite",
postprocess=YoloV8(threshold=0.4))
clock = time.clock()
while True:
clock.tick()
img = csi0.snapshot()
# predict returns a list per class of ((x, y, w, h), score) tuples.
for class_dets in model.predict([img]):
for rect, score in class_dets:
img.draw_rectangle(rect, color=(0, 255, 0))
print(clock.fps(), "fps")
实时人体追踪
板载 YOLOv8 模型是单类别人体检测器——经过 int8 量化并内置于 ROM 中。
/rom/yolov8n_192.tflite 加载——无需 SD 卡或下载。import csi
import math
import time
csi0 = csi.CSI()
csi0.reset()
csi0.pixformat(csi.RGB565)
csi0.framesize(csi.QVGA)
csi0.snapshot(time=2000) # let AWB/AGC stabilize
csi0.auto_gain(False)
csi0.auto_whitebal(False)
clock = time.clock()
while True:
clock.tick()
img = csi0.snapshot()
for tag in img.find_apriltags():
img.draw_detection(tag, color1=(255, 0, 0), color2=(0, 255, 0))
deg = math.degrees(tag.rotation)
print("ID %d rotation %.1f deg" % (tag.id, deg))
print(clock.fps(), "fps")
定位并识别 AprilTag
AprilTag 是二维基准标记,对运动模糊和局部遮挡具有鲁棒性,并可提供完整的三维位姿。
x/y/z 平移量和 x/y/z 旋转量。import csi
import time
import ml
from ml.postprocessing.mediapipe import BlazeFace
csi0 = csi.CSI()
csi0.reset()
csi0.pixformat(csi.RGB565)
csi0.framesize(csi.VGA)
csi0.window((400, 400)) # square window for best results
csi0.snapshot(time=2000) # let AWB/AGC stabilize
model = ml.Model("/rom/blazeface_front_128.tflite",
postprocess=BlazeFace(threshold=0.4))
clock = time.clock()
while True:
clock.tick()
img = csi0.snapshot()
for rect, score, keypoints in model.predict([img]):
img.draw_rectangle(rect, color=(0, 0, 255))
ml.utils.draw_keypoints(img, keypoints, color=(255, 0, 0))
print(clock.fps(), "fps")
使用 BlazeFace 检测人脸
Google 的 BlazeFace 是一款轻量级 TensorFlow Lite 人脸检测器,可为每张人脸返回边界框及六个关键点。
/rom/blazeface_front_128.tflite 加载——已预量化,无需下载。import csi
import time
csi0 = csi.CSI()
csi0.reset()
csi0.pixformat(csi.RGB565)
csi0.framesize(csi.QVGA)
csi0.snapshot(time=2000) # let AWB/AGC stabilize
csi0.auto_gain(False)
clock = time.clock()
while True:
clock.tick()
img = csi0.snapshot()
for code in img.find_qrcodes():
img.draw_rectangle(code.rect, color=(255, 0, 0))
print(code.payload)
print(clock.fps(), "fps")
从实时画面中扫描 QR 码
内置 QR 解码器可处理倾斜、变形和部分遮挡的二维码。
import csi
import time

csi0 = csi.CSI()
csi0.reset()
csi0.pixformat(csi.RGB565)
csi0.framesize(csi.QVGA)
csi0.snapshot(time=2000)  # let AWB/AGC stabilize
csi0.auto_gain(False)
csi0.auto_whitebal(False)

# LAB thresholds: (L_min, L_max, A_min, A_max, B_min, B_max)
thresholds = [
    (30, 100, 15, 127, 15, 127),   # red
    (30, 100, -64, -8, -32, 32),   # green
]

clock = time.clock()

while True:
    clock.tick()
    img = csi0.snapshot()
    for blob in img.find_blobs(thresholds, pixels_threshold=200):
        img.draw_rectangle(blob.rect, color=(255, 0, 0))
        img.draw_cross((blob.cx, blob.cy))
    print(clock.fps(), "fps")
查找色块
find_blobs 返回与一个或多个 LAB 阈值匹配的连通像素区域。
pixels_threshold 可过滤微小检测结果;merge=True 可合并重叠色块。import csi
import time
csi0 = csi.CSI()
csi0.reset()
csi0.pixformat(csi.GRAYSCALE)
csi0.framesize(csi.VGA)
csi0.window((640, 80)) # narrow strip for fast linear scanning
csi0.snapshot(time=2000) # let AWB/AGC stabilize
csi0.auto_gain(False)
csi0.auto_whitebal(False)
clock = time.clock()
while True:
clock.tick()
img = csi0.snapshot()
for code in img.find_barcodes():
img.draw_rectangle(code.rect, color=(0, 255, 0))
print(code.payload, "(quality %d)" % code.quality)
print(clock.fps(), "fps")
读取一维条形码
在画面中任意位置查找一维条形码并解码其内容。
import csi
import time
import ml
from ml.postprocessing.mediapipe import HandLandmarks

csi0 = csi.CSI()
csi0.reset()
csi0.pixformat(csi.RGB565)
csi0.framesize(csi.VGA)
csi0.window((400, 400))  # square window for the model
csi0.snapshot(time=2000)  # let AWB/AGC stabilize

# Connections between the 21 keypoints — palm + 5 fingers.
hand_lines = ((0, 1), (1, 2), (2, 3), (3, 4), (0, 5), (5, 6),
              (6, 7), (7, 8), (5, 9), (9, 10), (10, 11), (11, 12),
              (9, 13), (13, 14), (14, 15), (15, 16), (13, 17), (17, 18),
              (18, 19), (19, 20), (0, 17))

model = ml.Model("/rom/hand_landmarks_full_224.tflite",
                 postprocess=HandLandmarks(threshold=0.4))
clock = time.clock()

while True:
    clock.tick()
    img = csi0.snapshot()
    # predict returns a list per hand: index 0 = left, index 1 = right.
    for detections in model.predict([img]):
        for rect, score, keypoints in detections:
            ml.utils.draw_skeleton(img, keypoints, hand_lines,
                                   kp_color=(255, 0, 0),
                                   line_color=(0, 255, 0))
    print(clock.fps(), "fps")
追踪 21 个手部关键点
Google 的 MediaPipe 手部关键点模型为每只检测到的手标注 21 个关节——手腕、指关节和指尖。
/rom/hand_landmarks_full_224.tflite 加载——此处独立运行,无需上游的手掌检测。ml.utils.draw_skeleton 一次调用即可绘制全部 21 个关节及连接线。初次使用 OpenMV?
从分步教程开始——涵盖硬件设置、IDE、基础脚本以及第一个实际项目的技巧。
核心库
API硬件、摄像头、图像处理、ndarray、机器学习、多任务、网络、Web 服务器和蓝牙——全部通过 MicroPython 实现。
machine
底层硬件:GPIO、SPI、I²C、UART、PWM、ADC 和定时器。
探索 →csi
摄像头控制:像素格式、帧尺寸、曝光、增益和白平衡。
探索 →image
机器视觉:色块、边缘、直线、圆形、特征和绘图。
探索 →ulab
设备端数值计算——ndarray、FFT 和线性代数。
探索 →ml
设备端神经网络推理——分类、检测和分割。
探索 →asyncio
协作式多任务——并行运行摄像头、网络和 I/O。
探索 →network
Wi-Fi、以太网和套接字,用于物联网和远程通信。
探索 →microdot
轻量 HTTP 服务器——路由、会话、登录、SSE 和 WebSocket。
探索 →aioble
异步低功耗蓝牙——外围设备、广播和 GATT。
探索 →按开发板浏览
硬件选择您的 OpenMV Cam 以查看其引脚图、规格和特定开发板的快速参考。
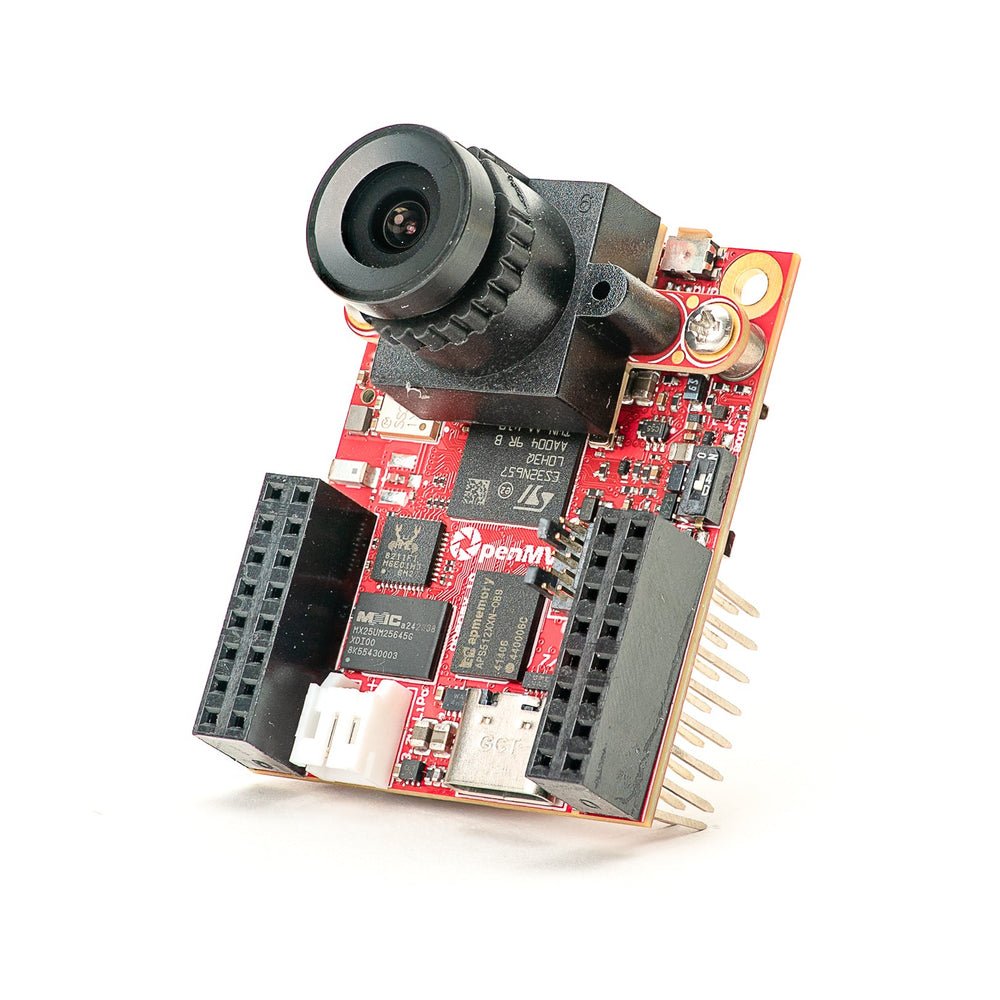
OpenMV N6 新品
STM32N6 内置 NPU——STMicro 首款 AI 加速 MCU。
探索 →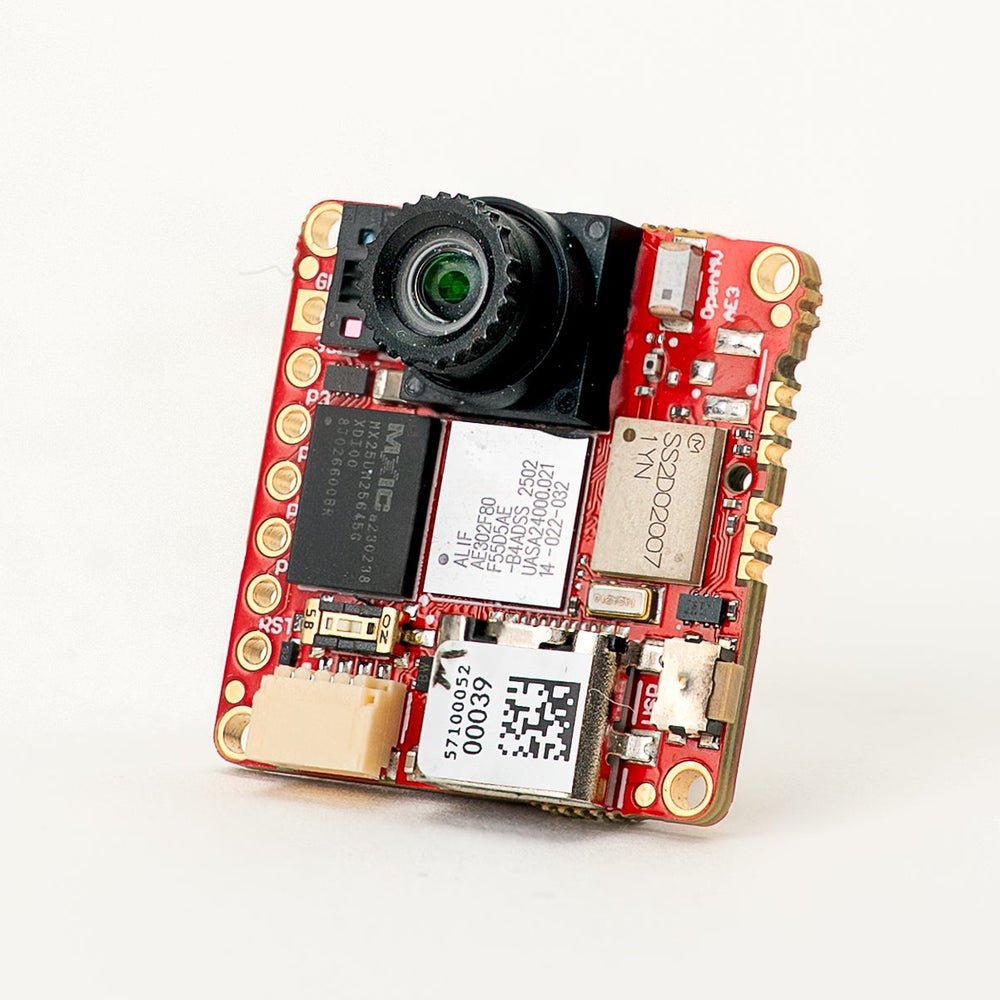
OpenMV AE3 新品
Alif Ensemble E3——融合级 Cortex-M55 搭载 Ethos-U55 NPU。
探索 →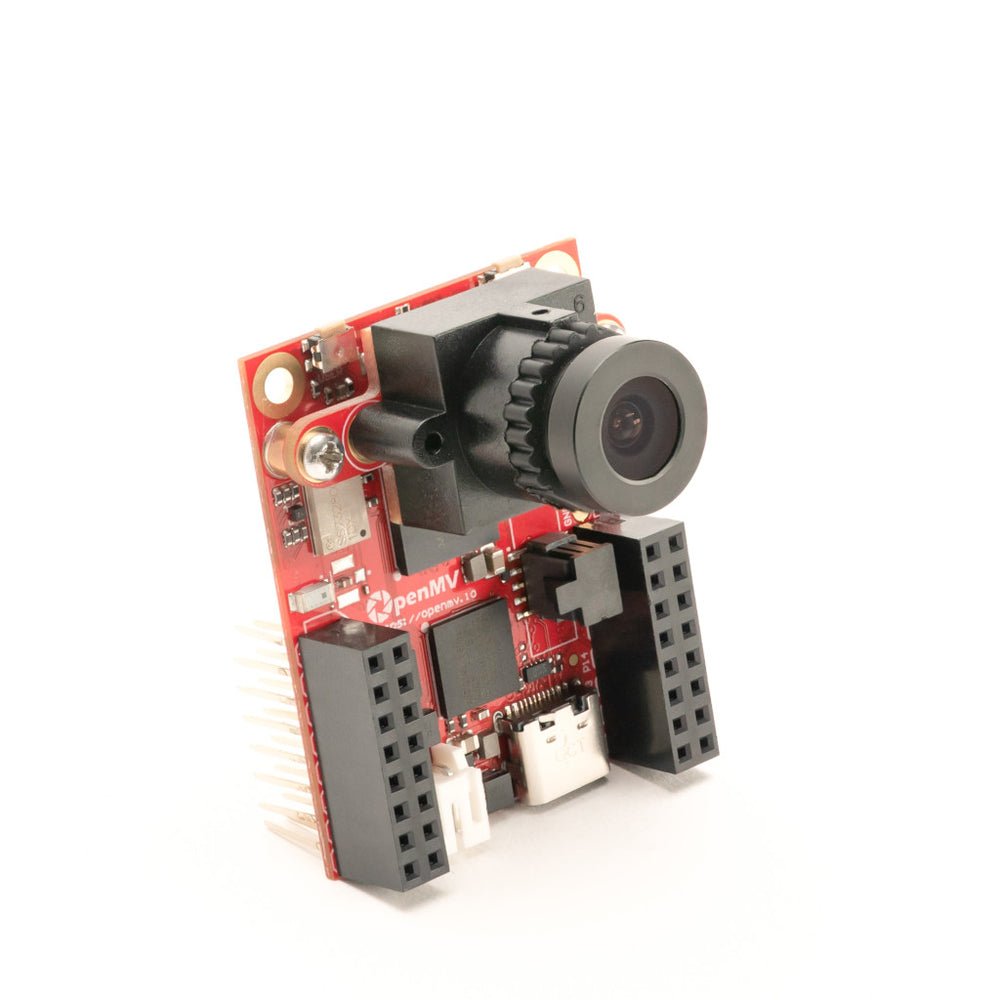
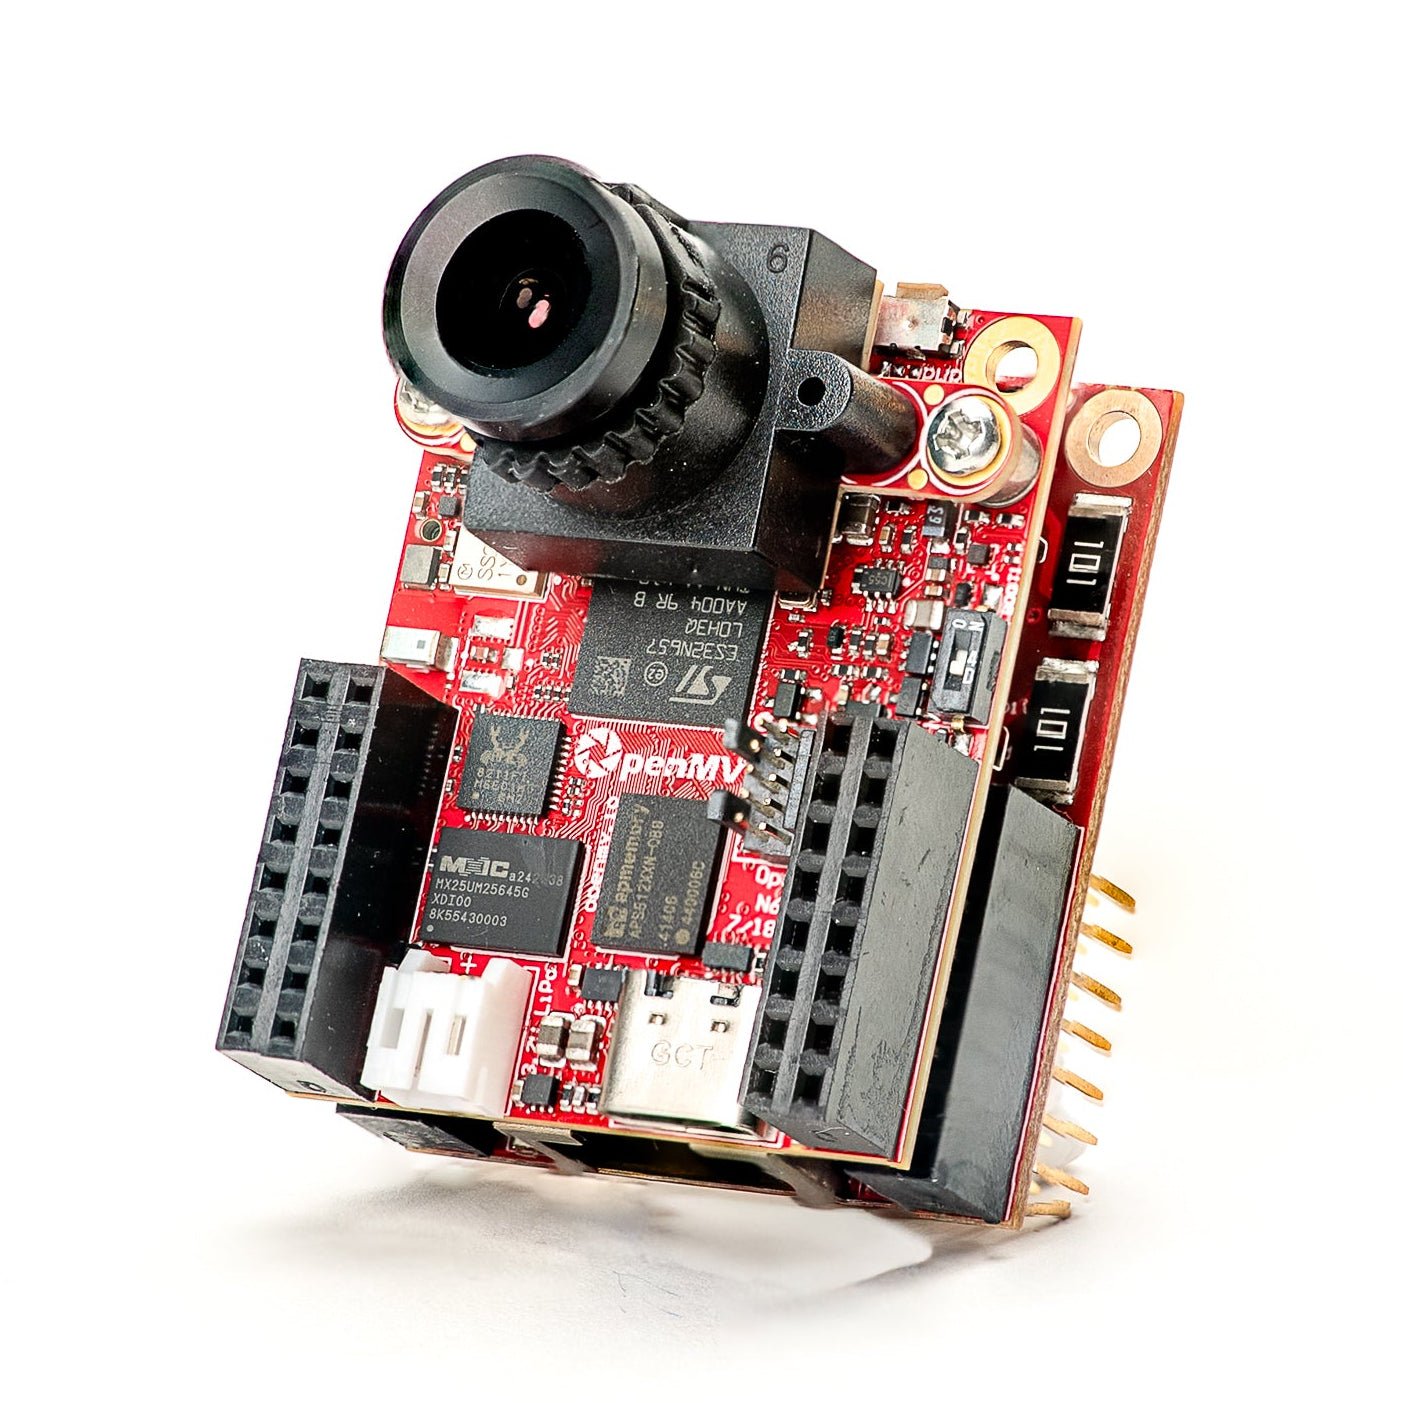
OpenMV RT1062
NXP i.MX RT1062 Cortex-M7,主频 600 MHz,外置 32 MB SDRAM。
探索 →
OpenMV H7 Plus
STM32H743,外置 32 MB SDRAM,配备 500 万像素 OV5640 传感器。
探索 →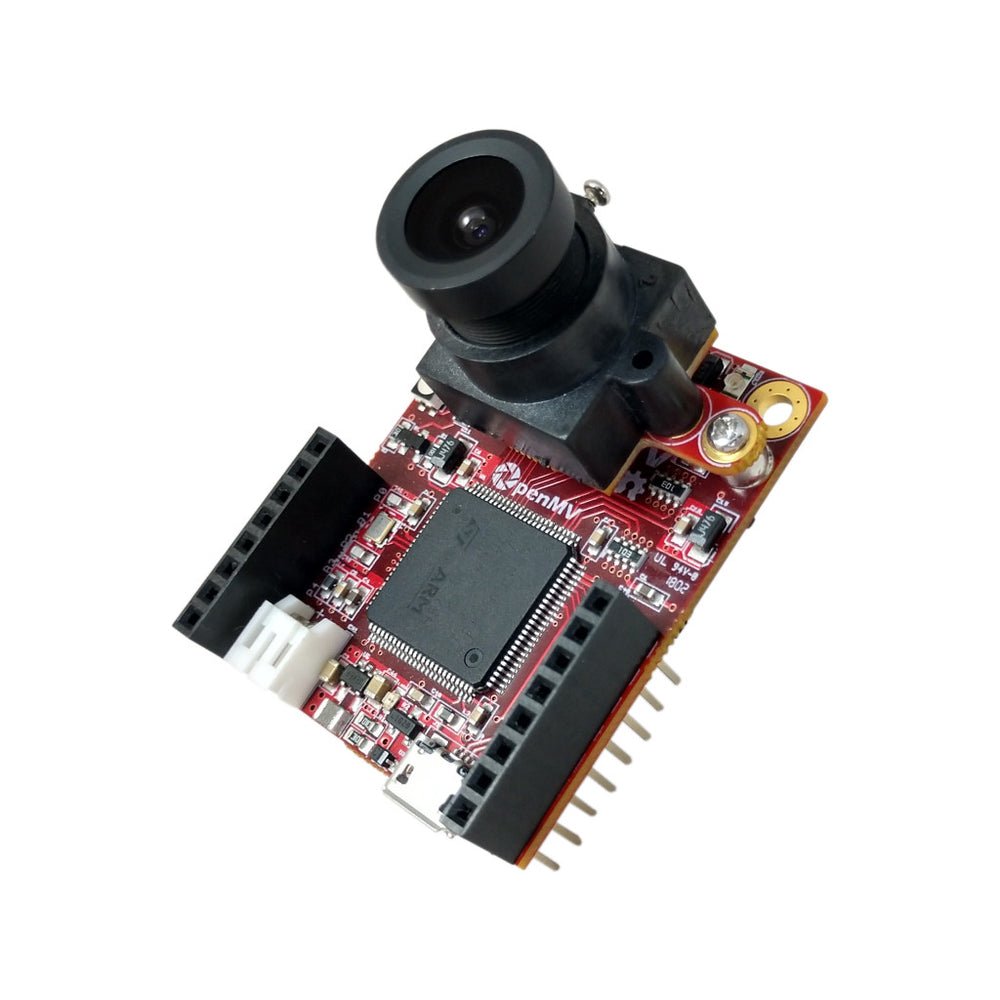
OpenMV H7
STM32H743 Cortex-M7,配备可拆卸图像传感器模块。
探索 →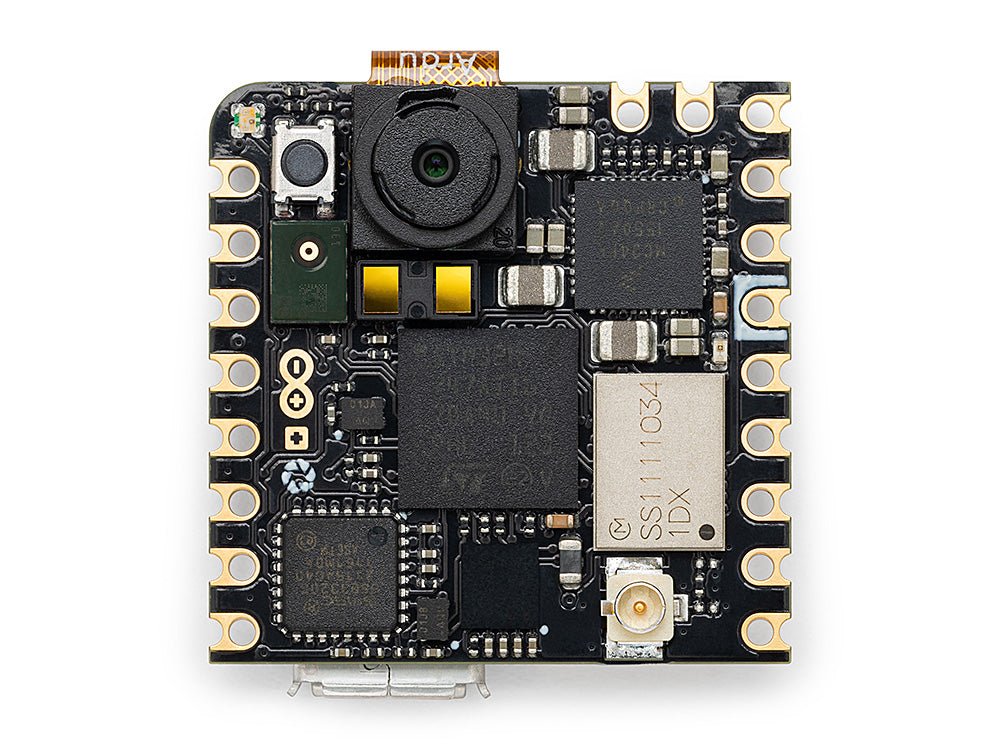
Arduino Nicla Vision
紧凑型 23 × 23 mm STM32H747 开发板,集成板载传感器。
探索 →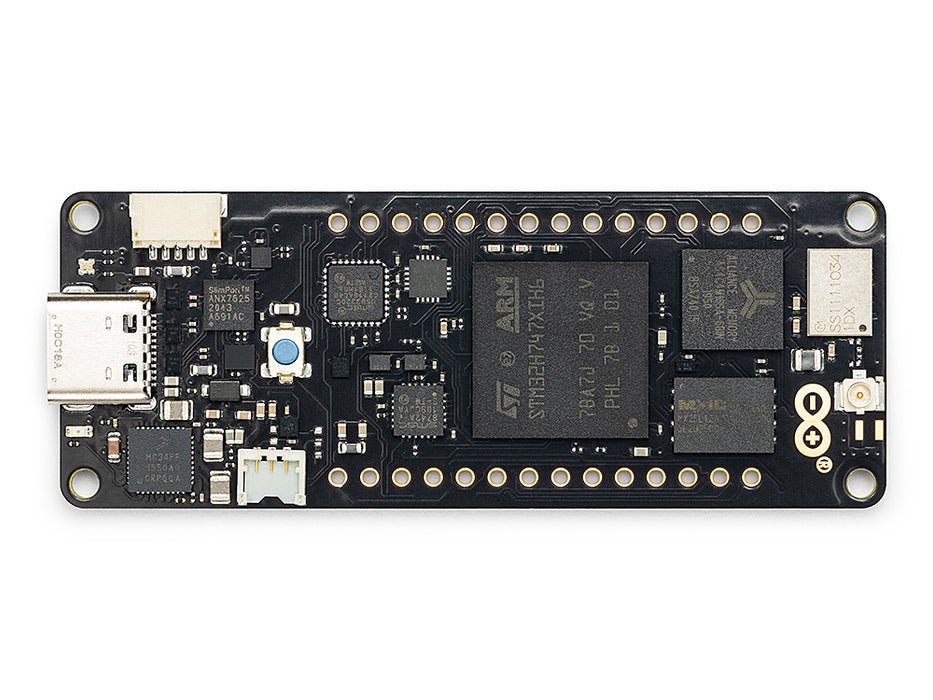
Arduino Portenta
STM32H747,8 MB SDRAM,支持 Vision Shield。
探索 →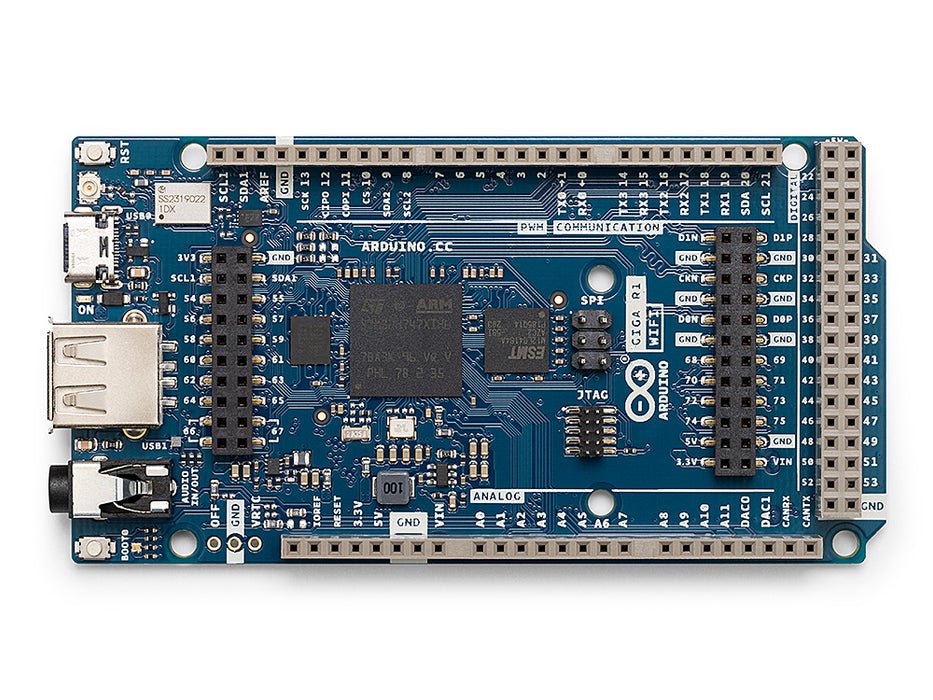
Arduino Giga
STM32H747,8 MB SDRAM,支持 Vision Shield 和 Display Shield。
探索 →扩展板
附加模块可插入 OpenMV Cam 的扩展板——网络、电机控制、显示屏等。
Gigabit PoE Shield
千兆以太网搭配 PoE,实现更高带宽的视频流传输。
探索 →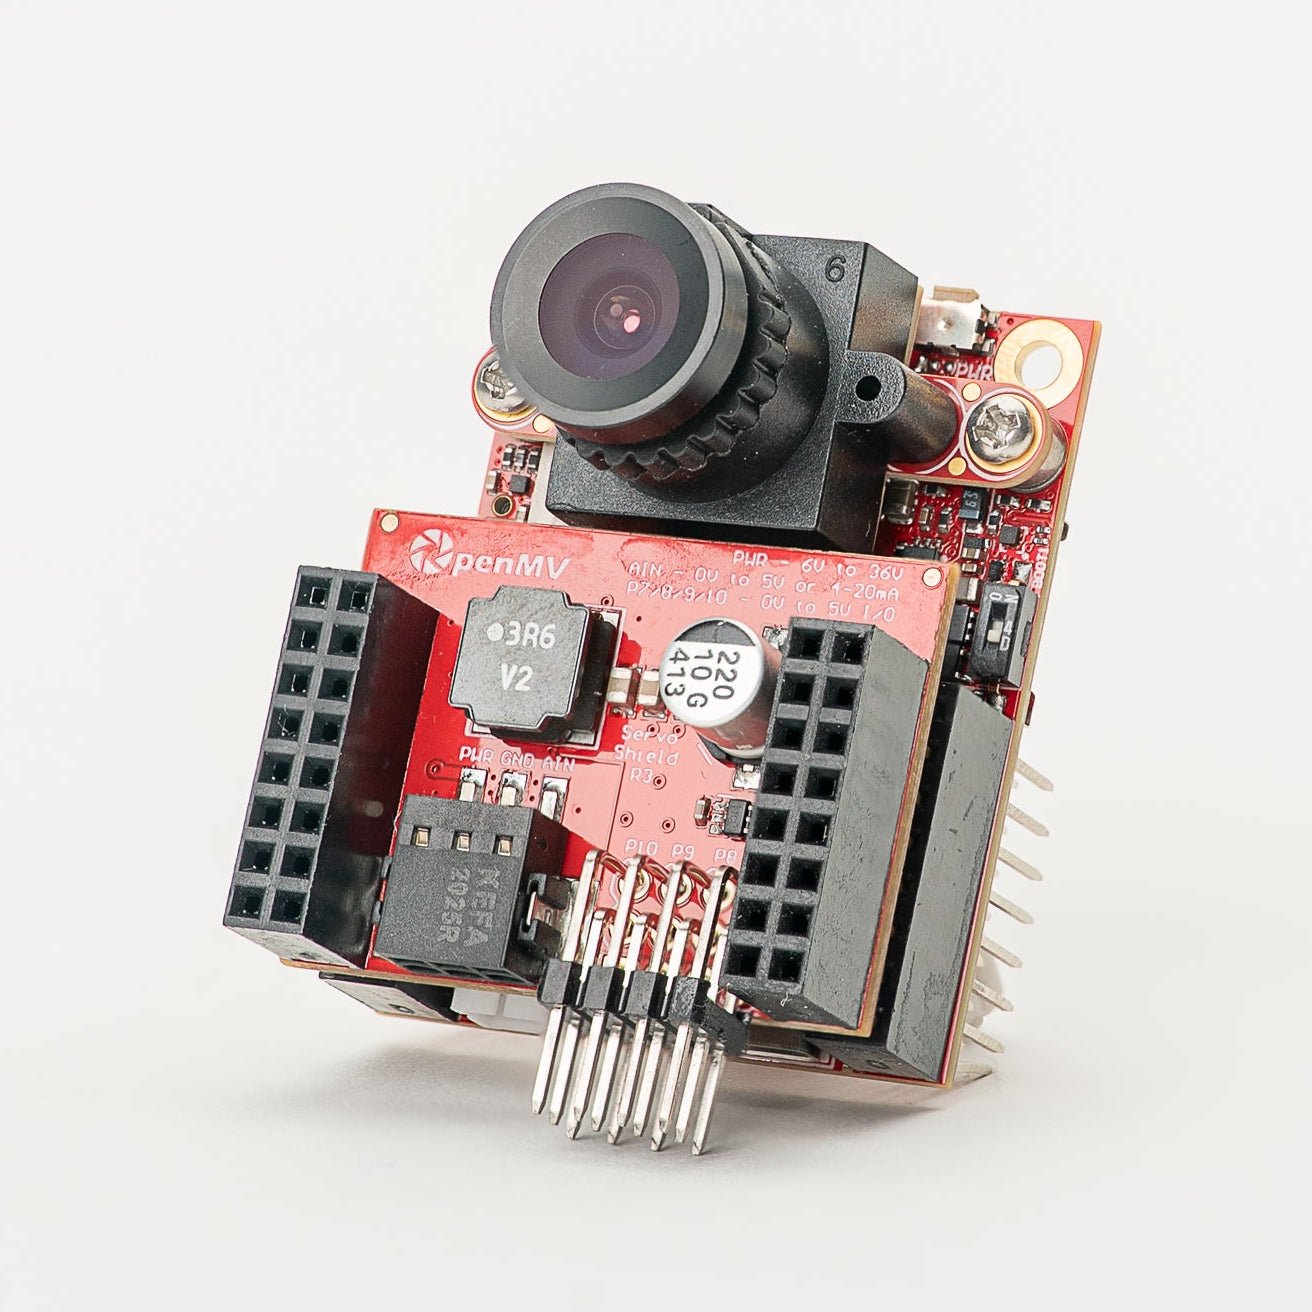
Servo Shield
可驱动最多 4 个舵机(最大电流 5A),同时为摄像头供电,输入电压 6–36V。
探索 →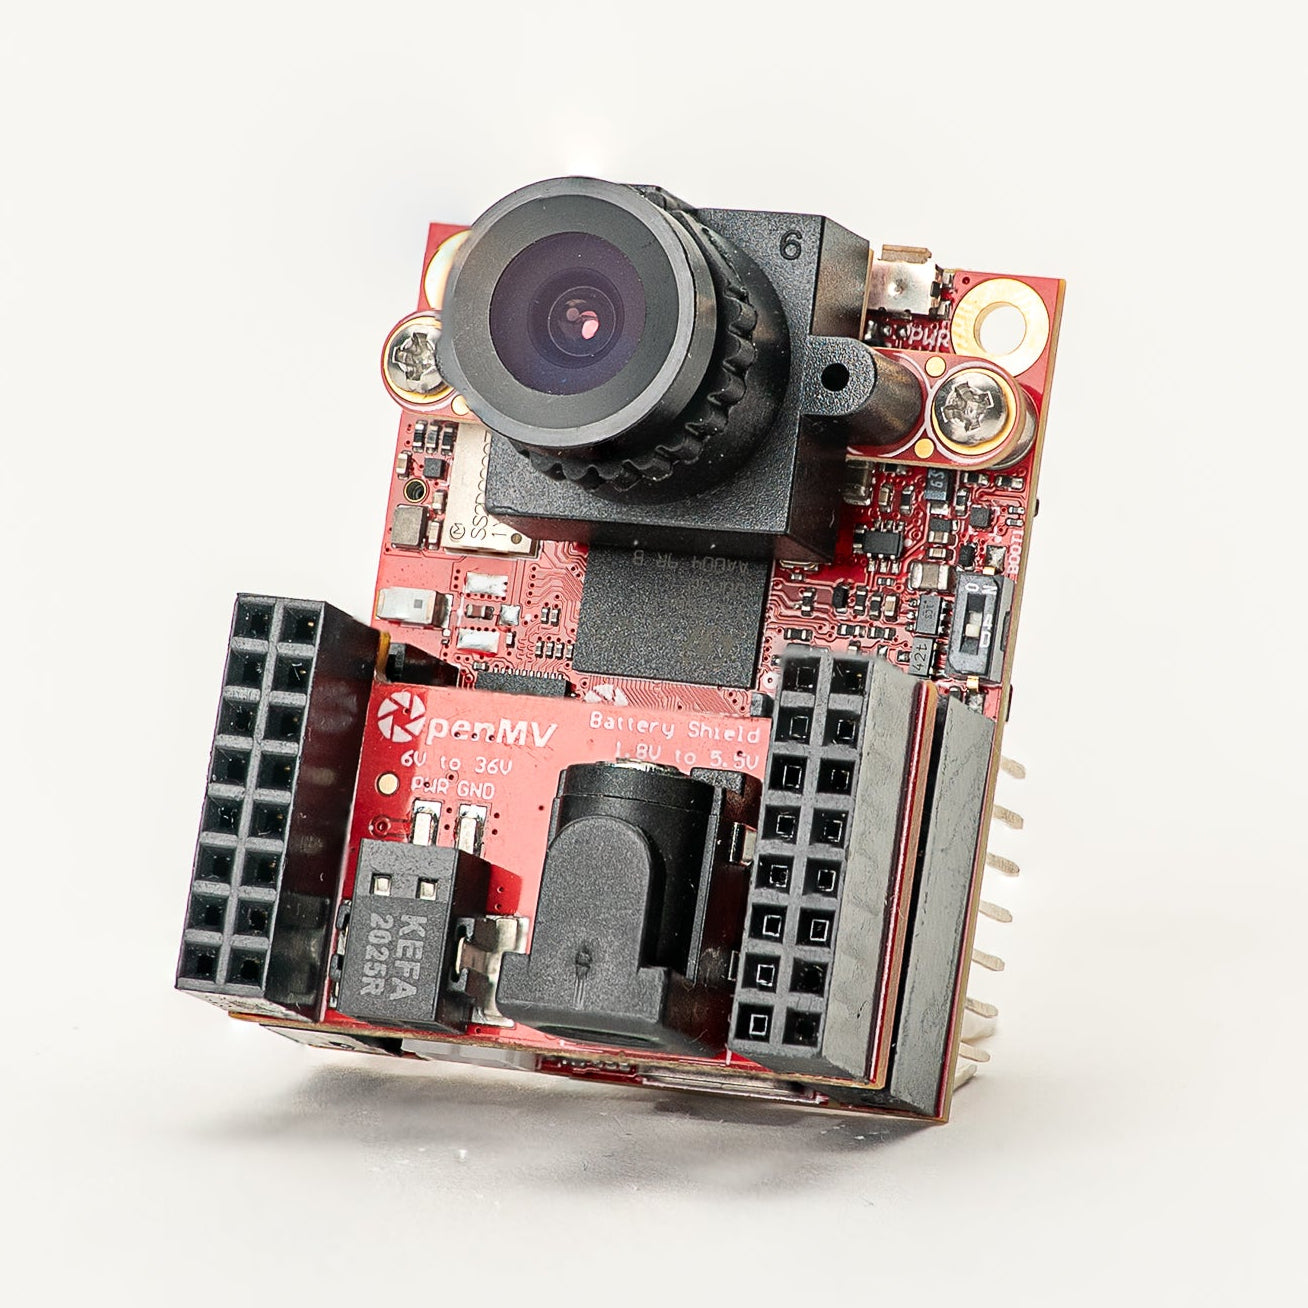
Battery Shield
通过 DC 筒形插孔支持 1.8–5.5V 电池输入。
探索 →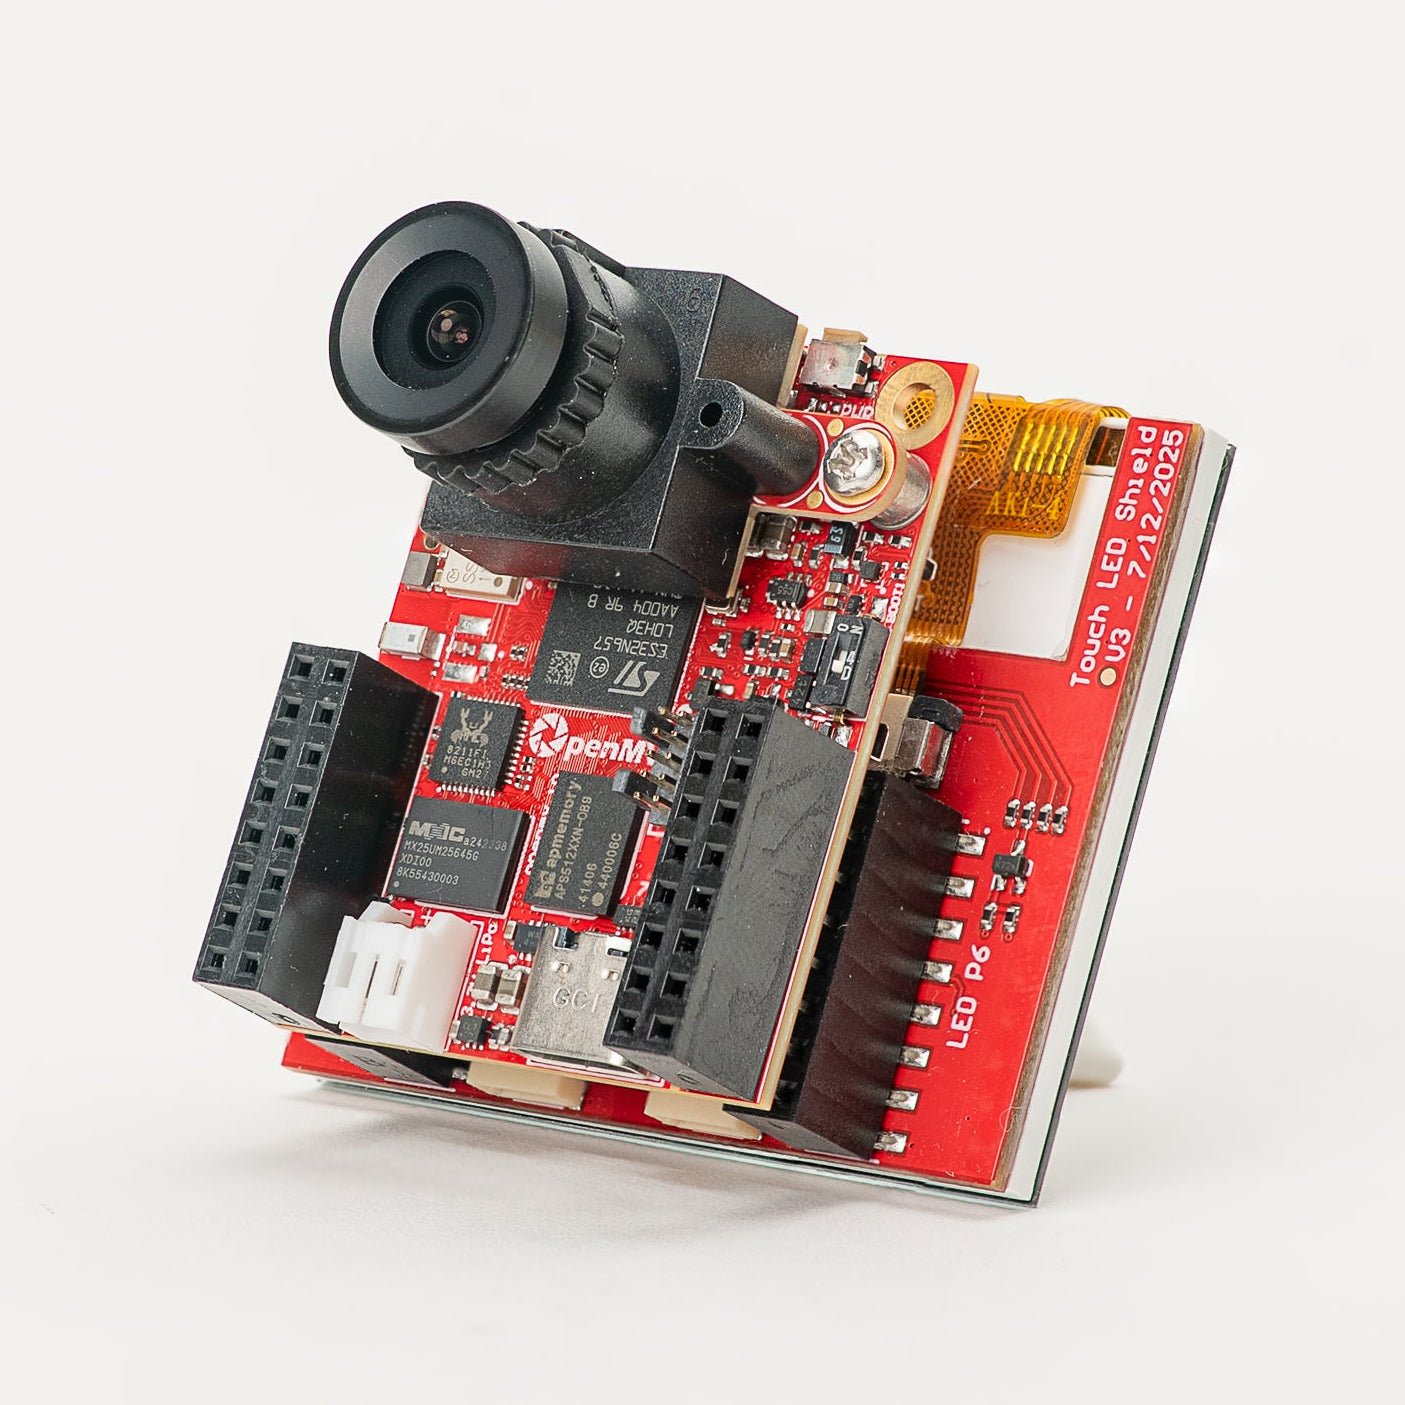
Touch LCD Shield
2.3 英寸 SPI LCD,支持电容式多点触控和 Qwiic 接口。
探索 →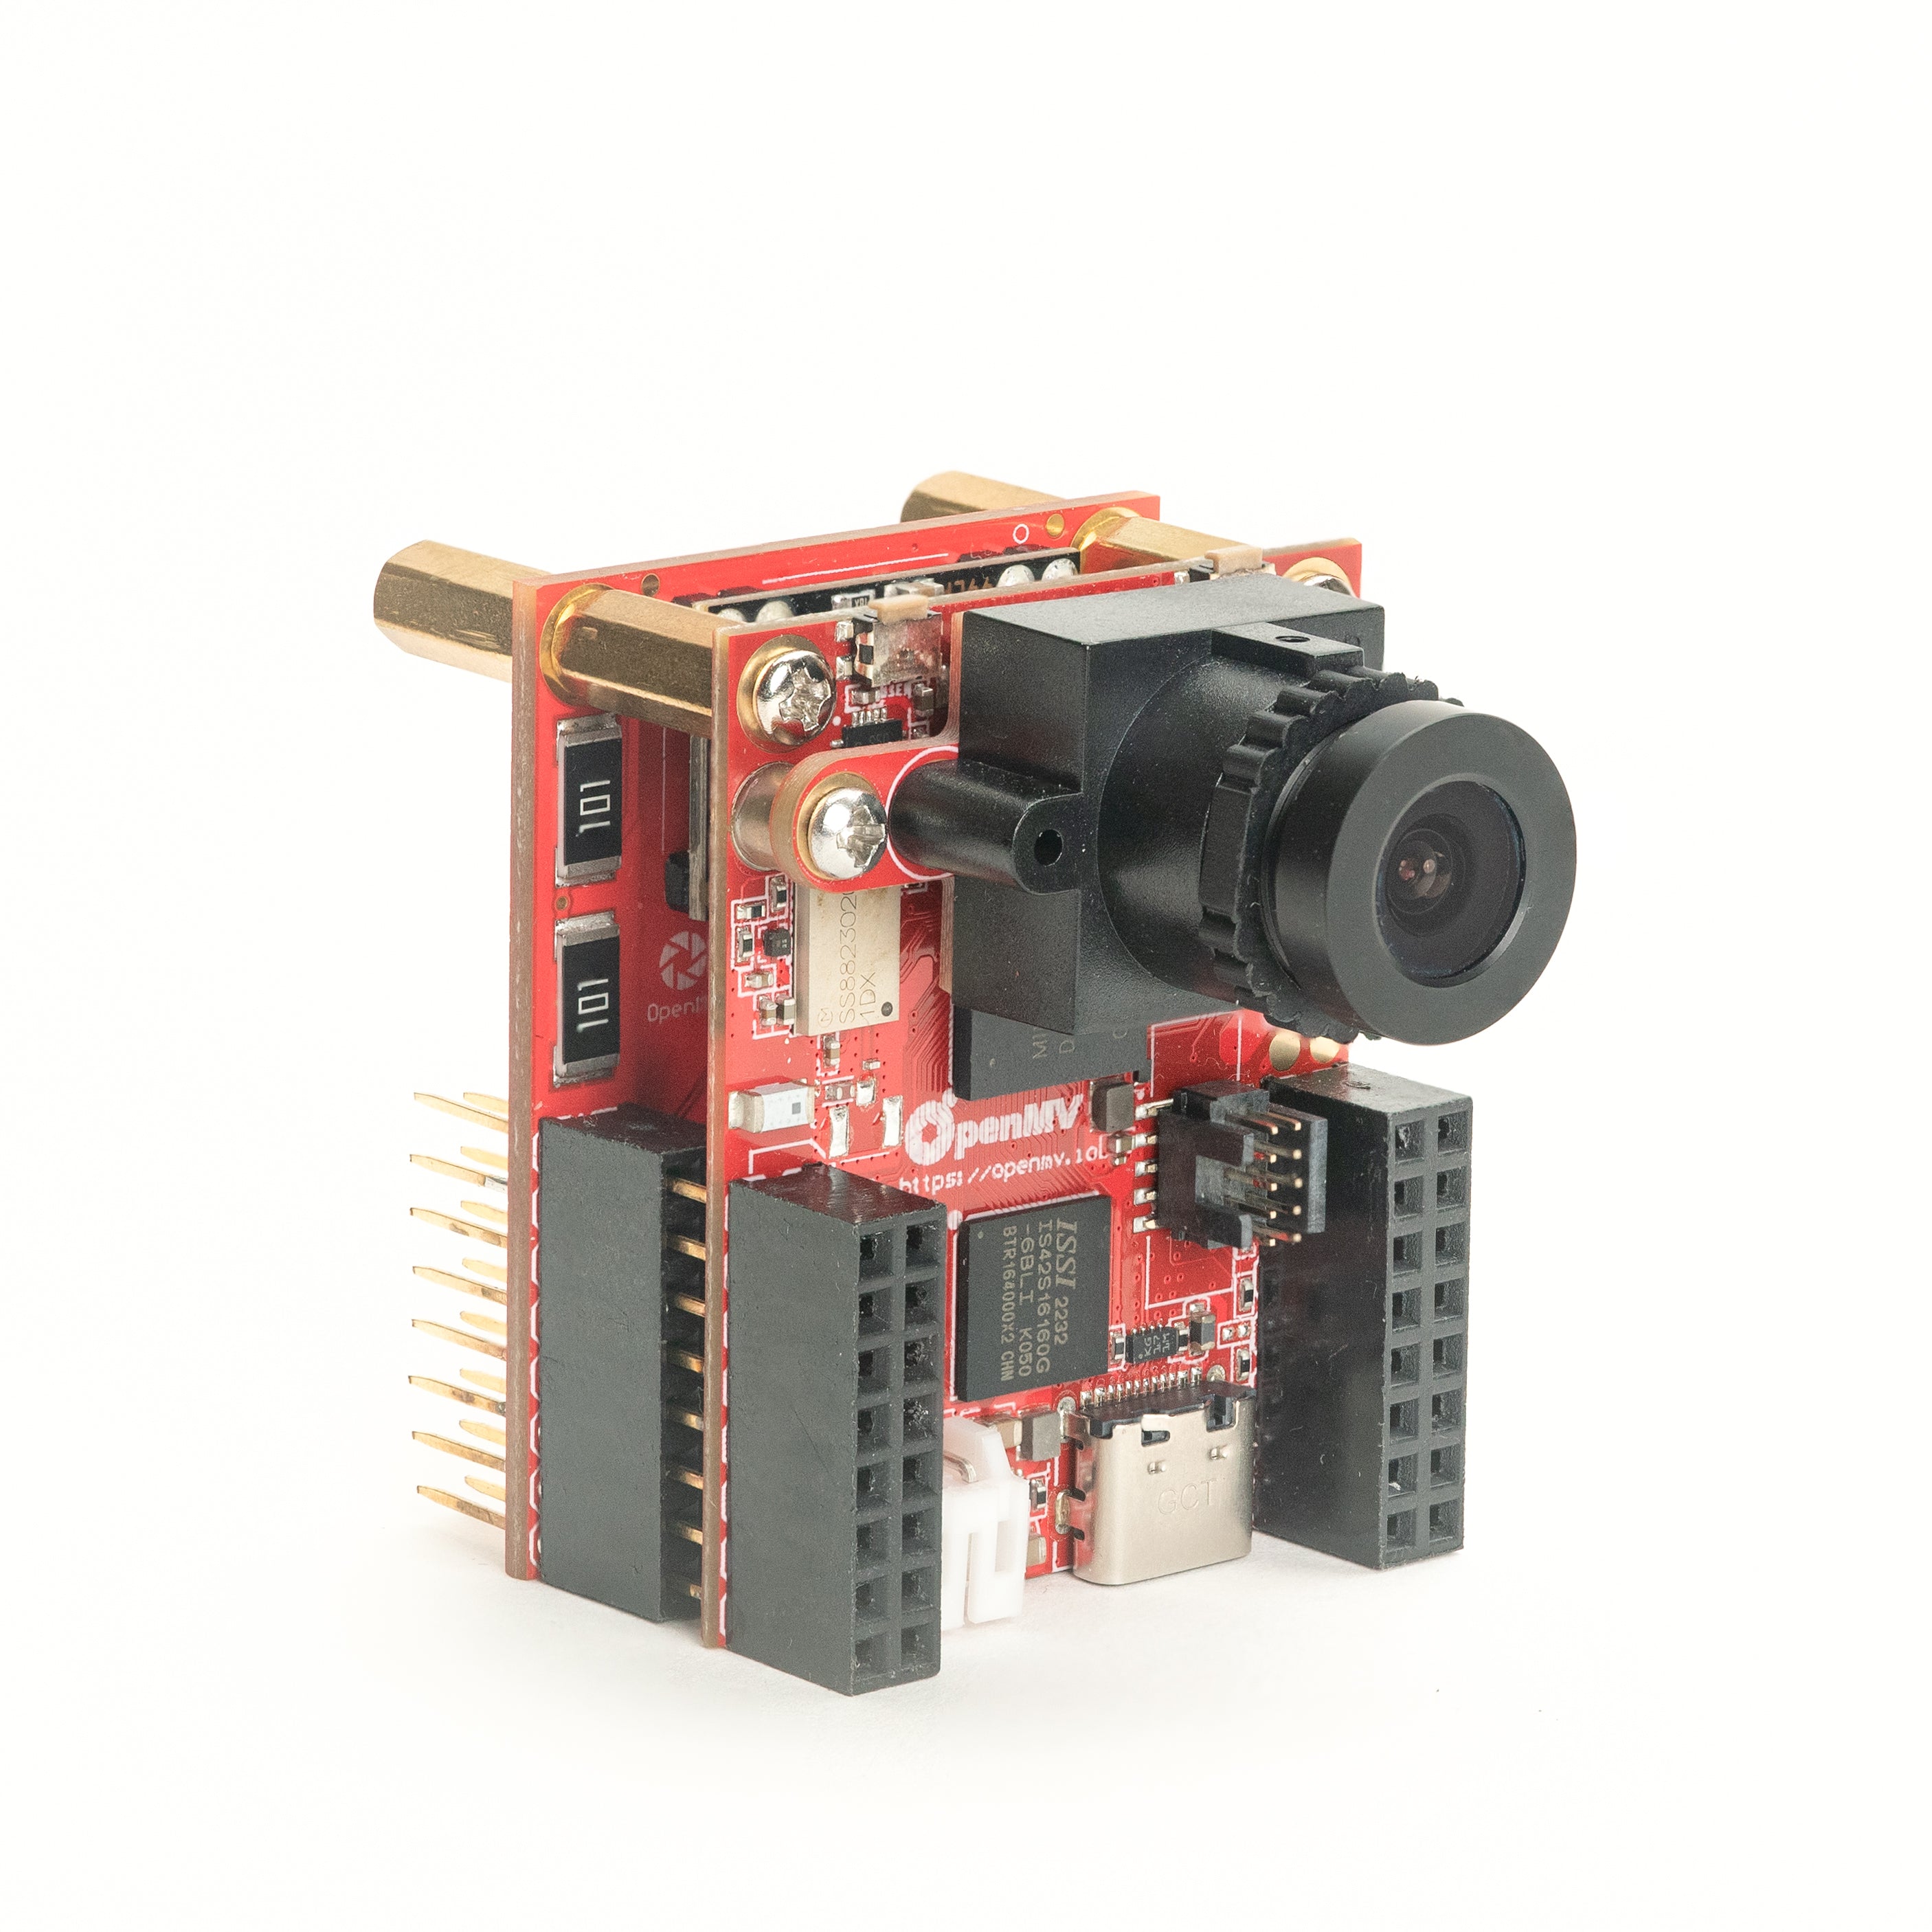
PoE Shield
10/100 以太网,支持以太网供电(PoE)。
探索 →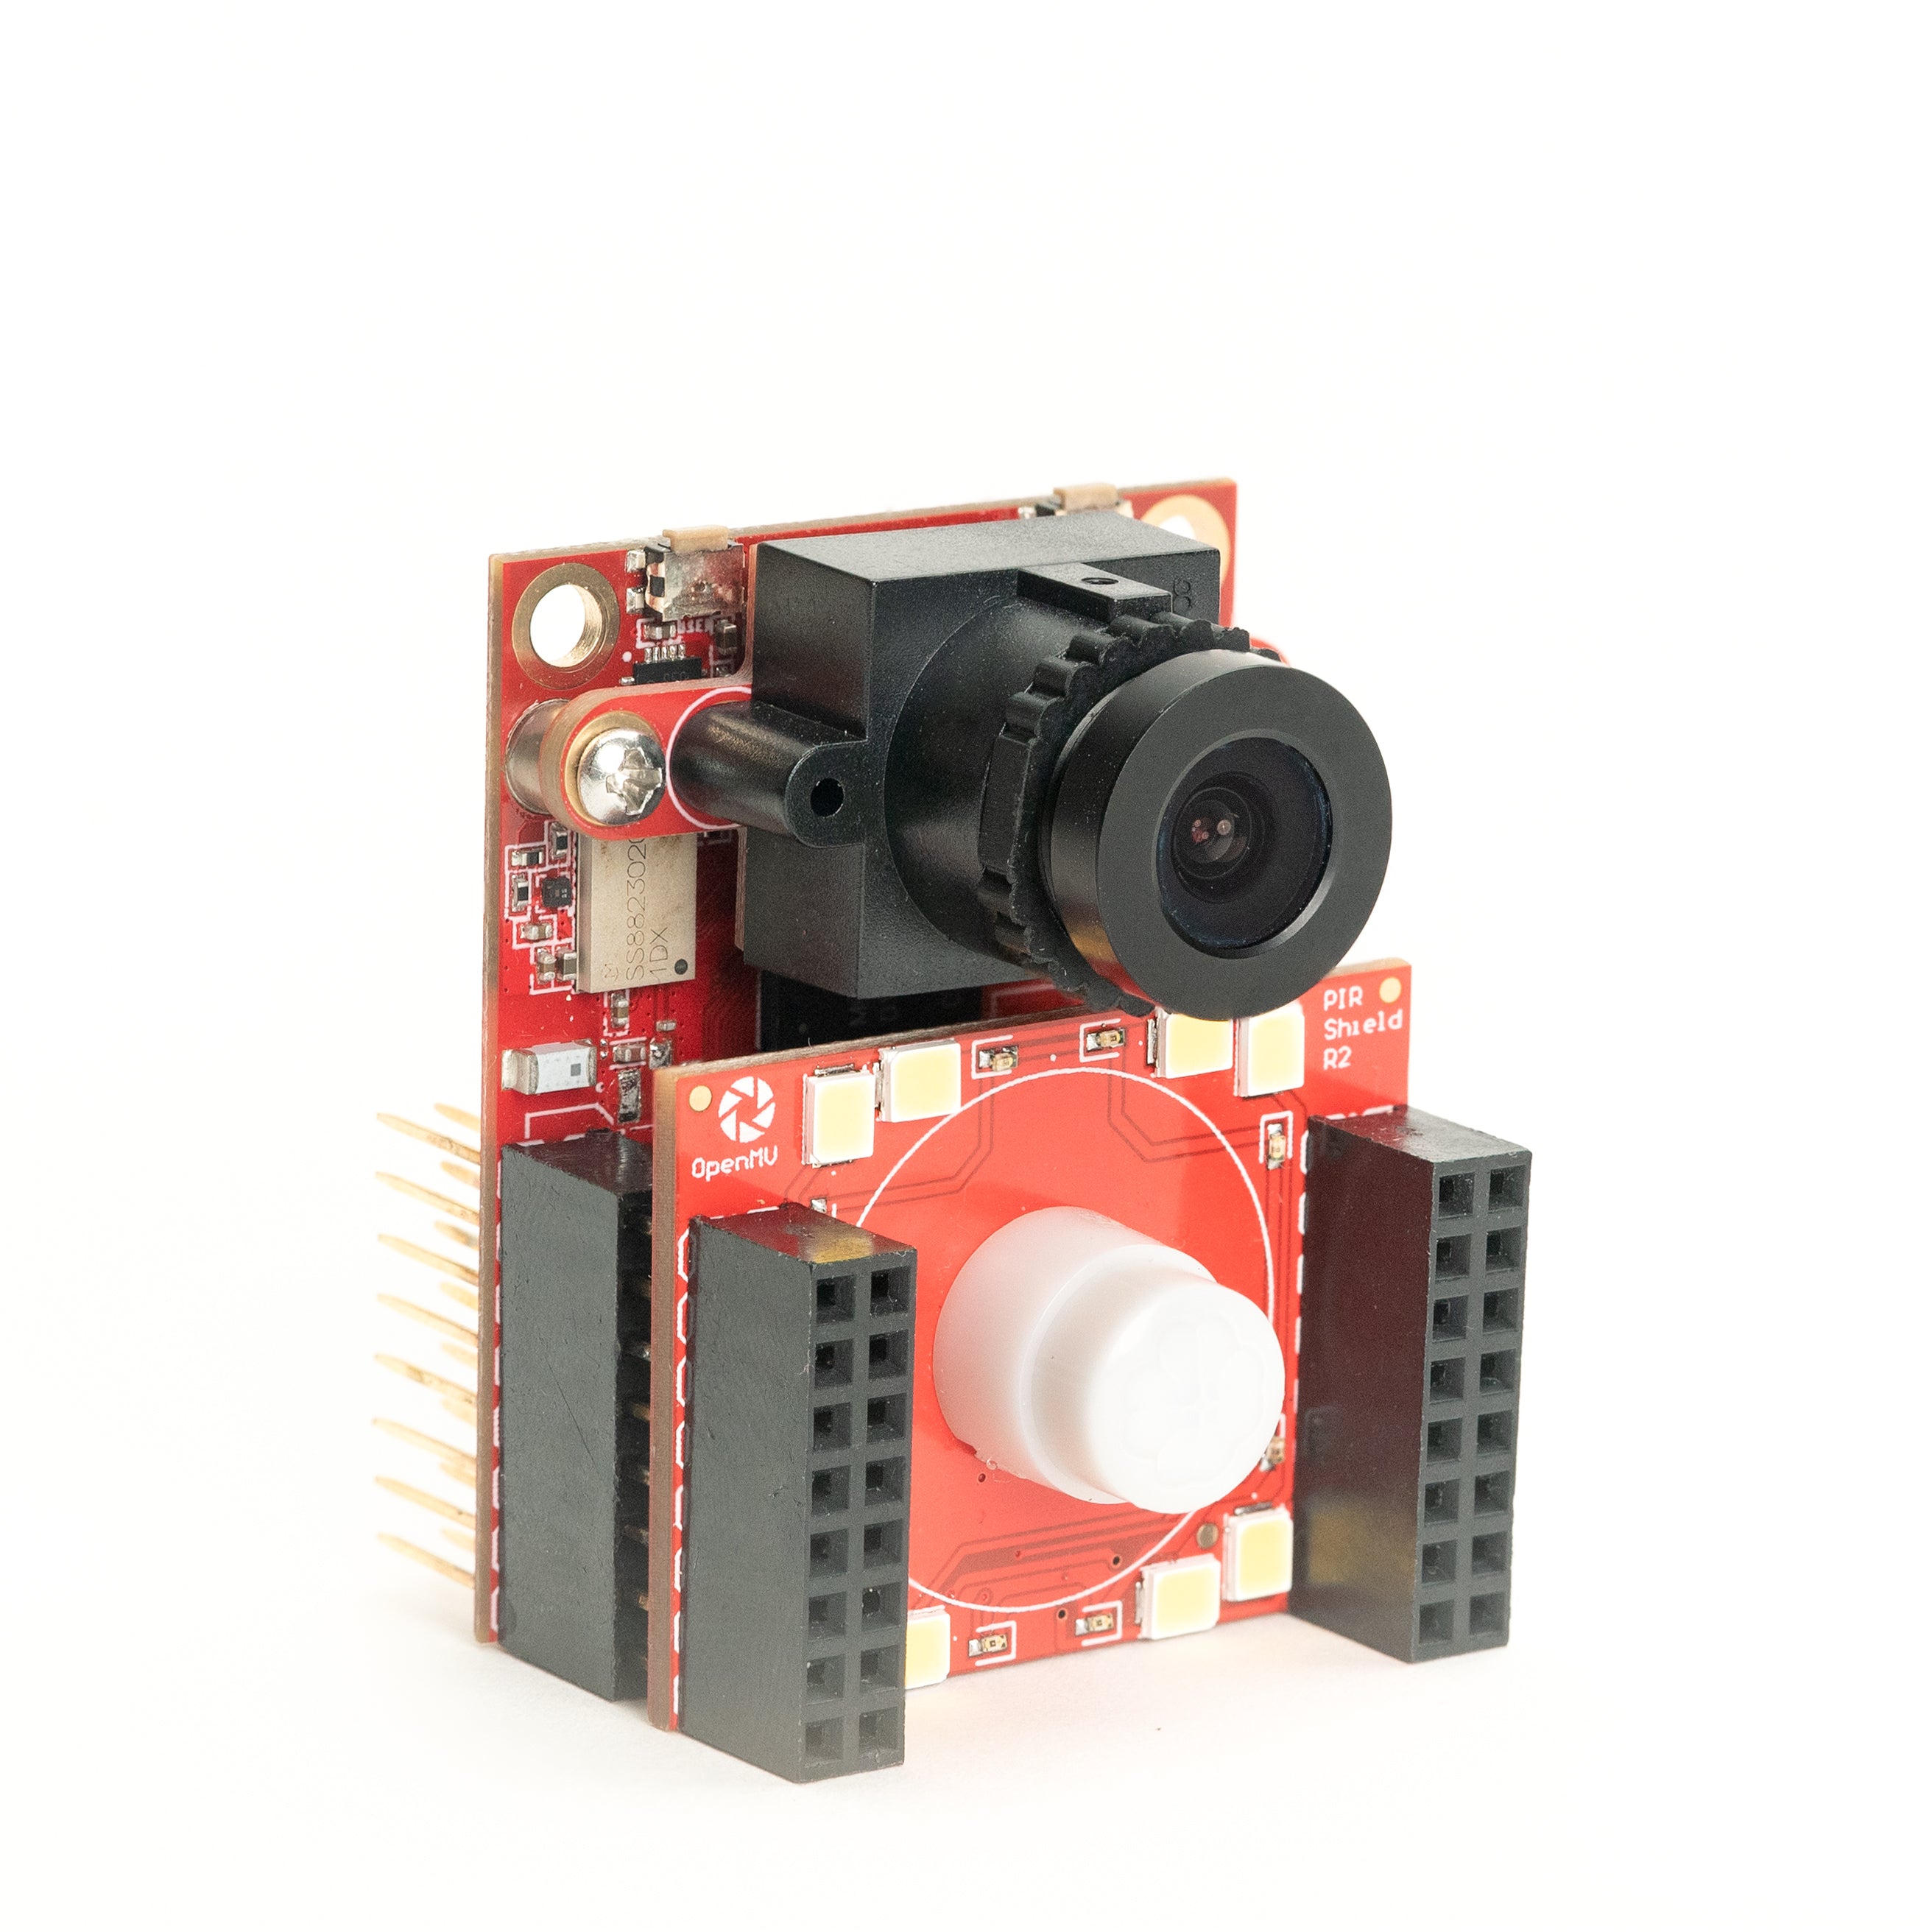
PIR Shield
6µA 待机运动触发,配备白光和 850 nm 红外照明。
探索 →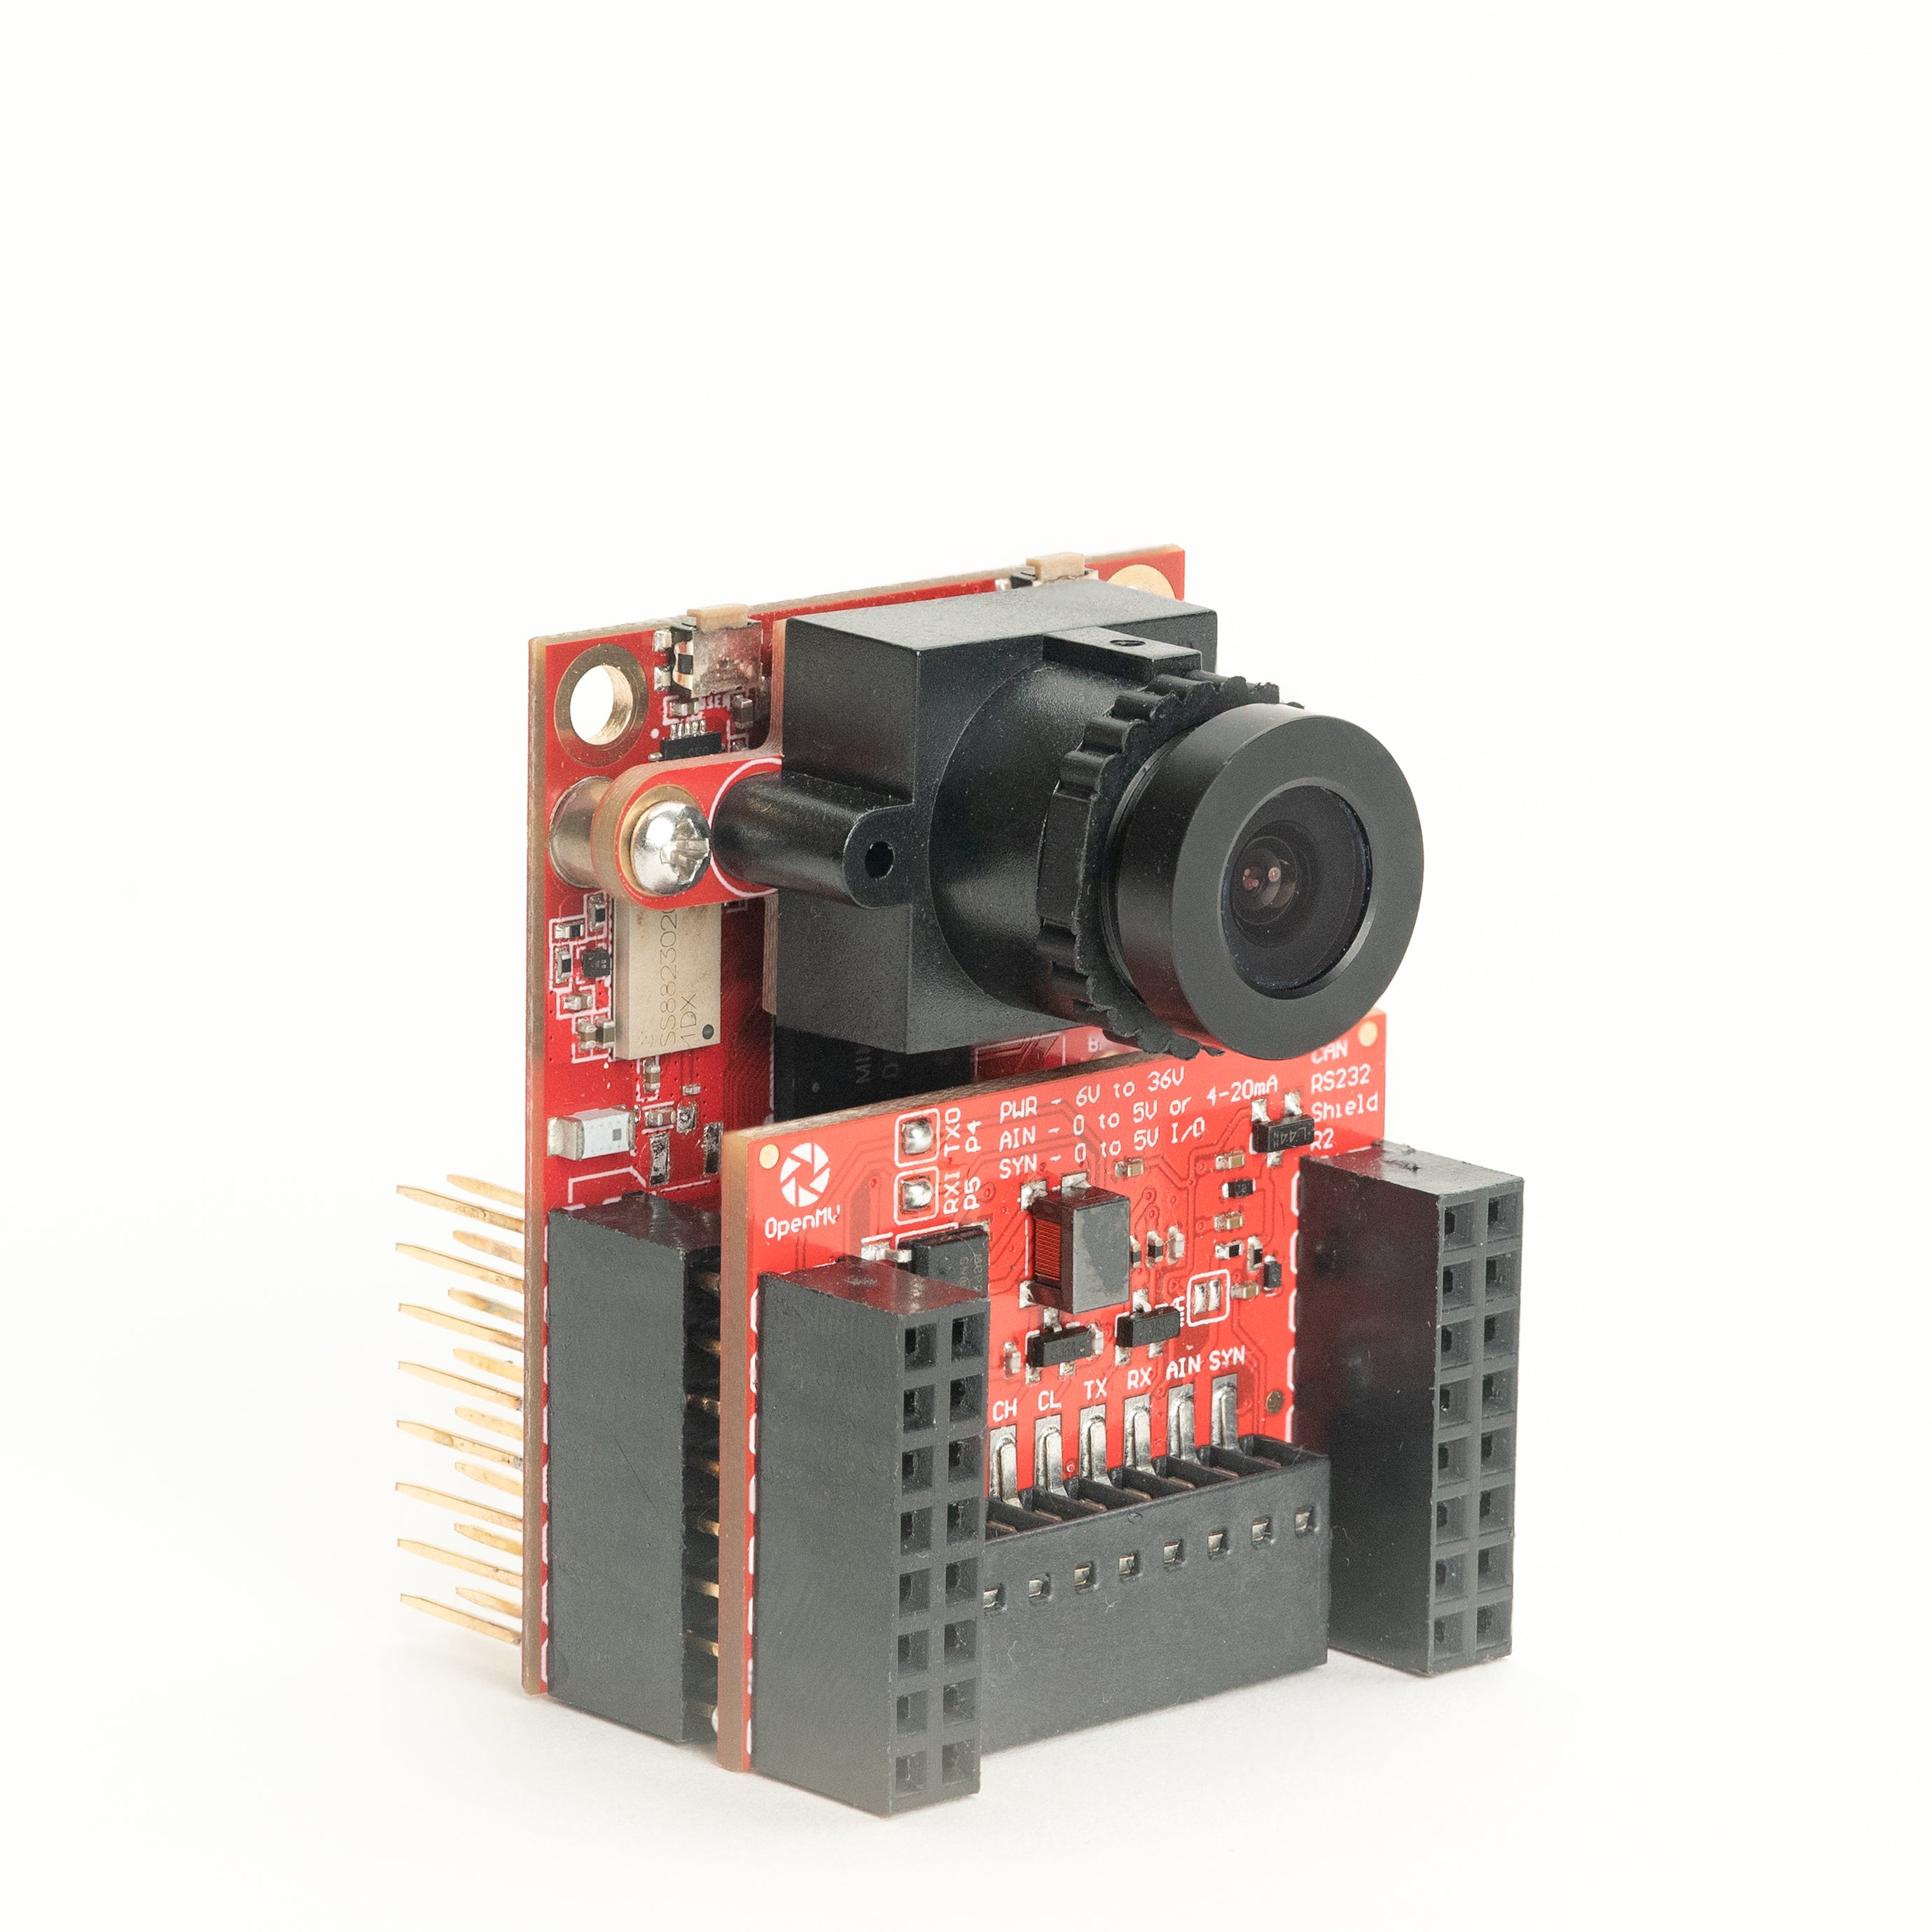
CAN/RS232 Shield
集成 8 Mb/s CAN-FD 和 1 Mb/s RS-232 于一块扩展板。
探索 →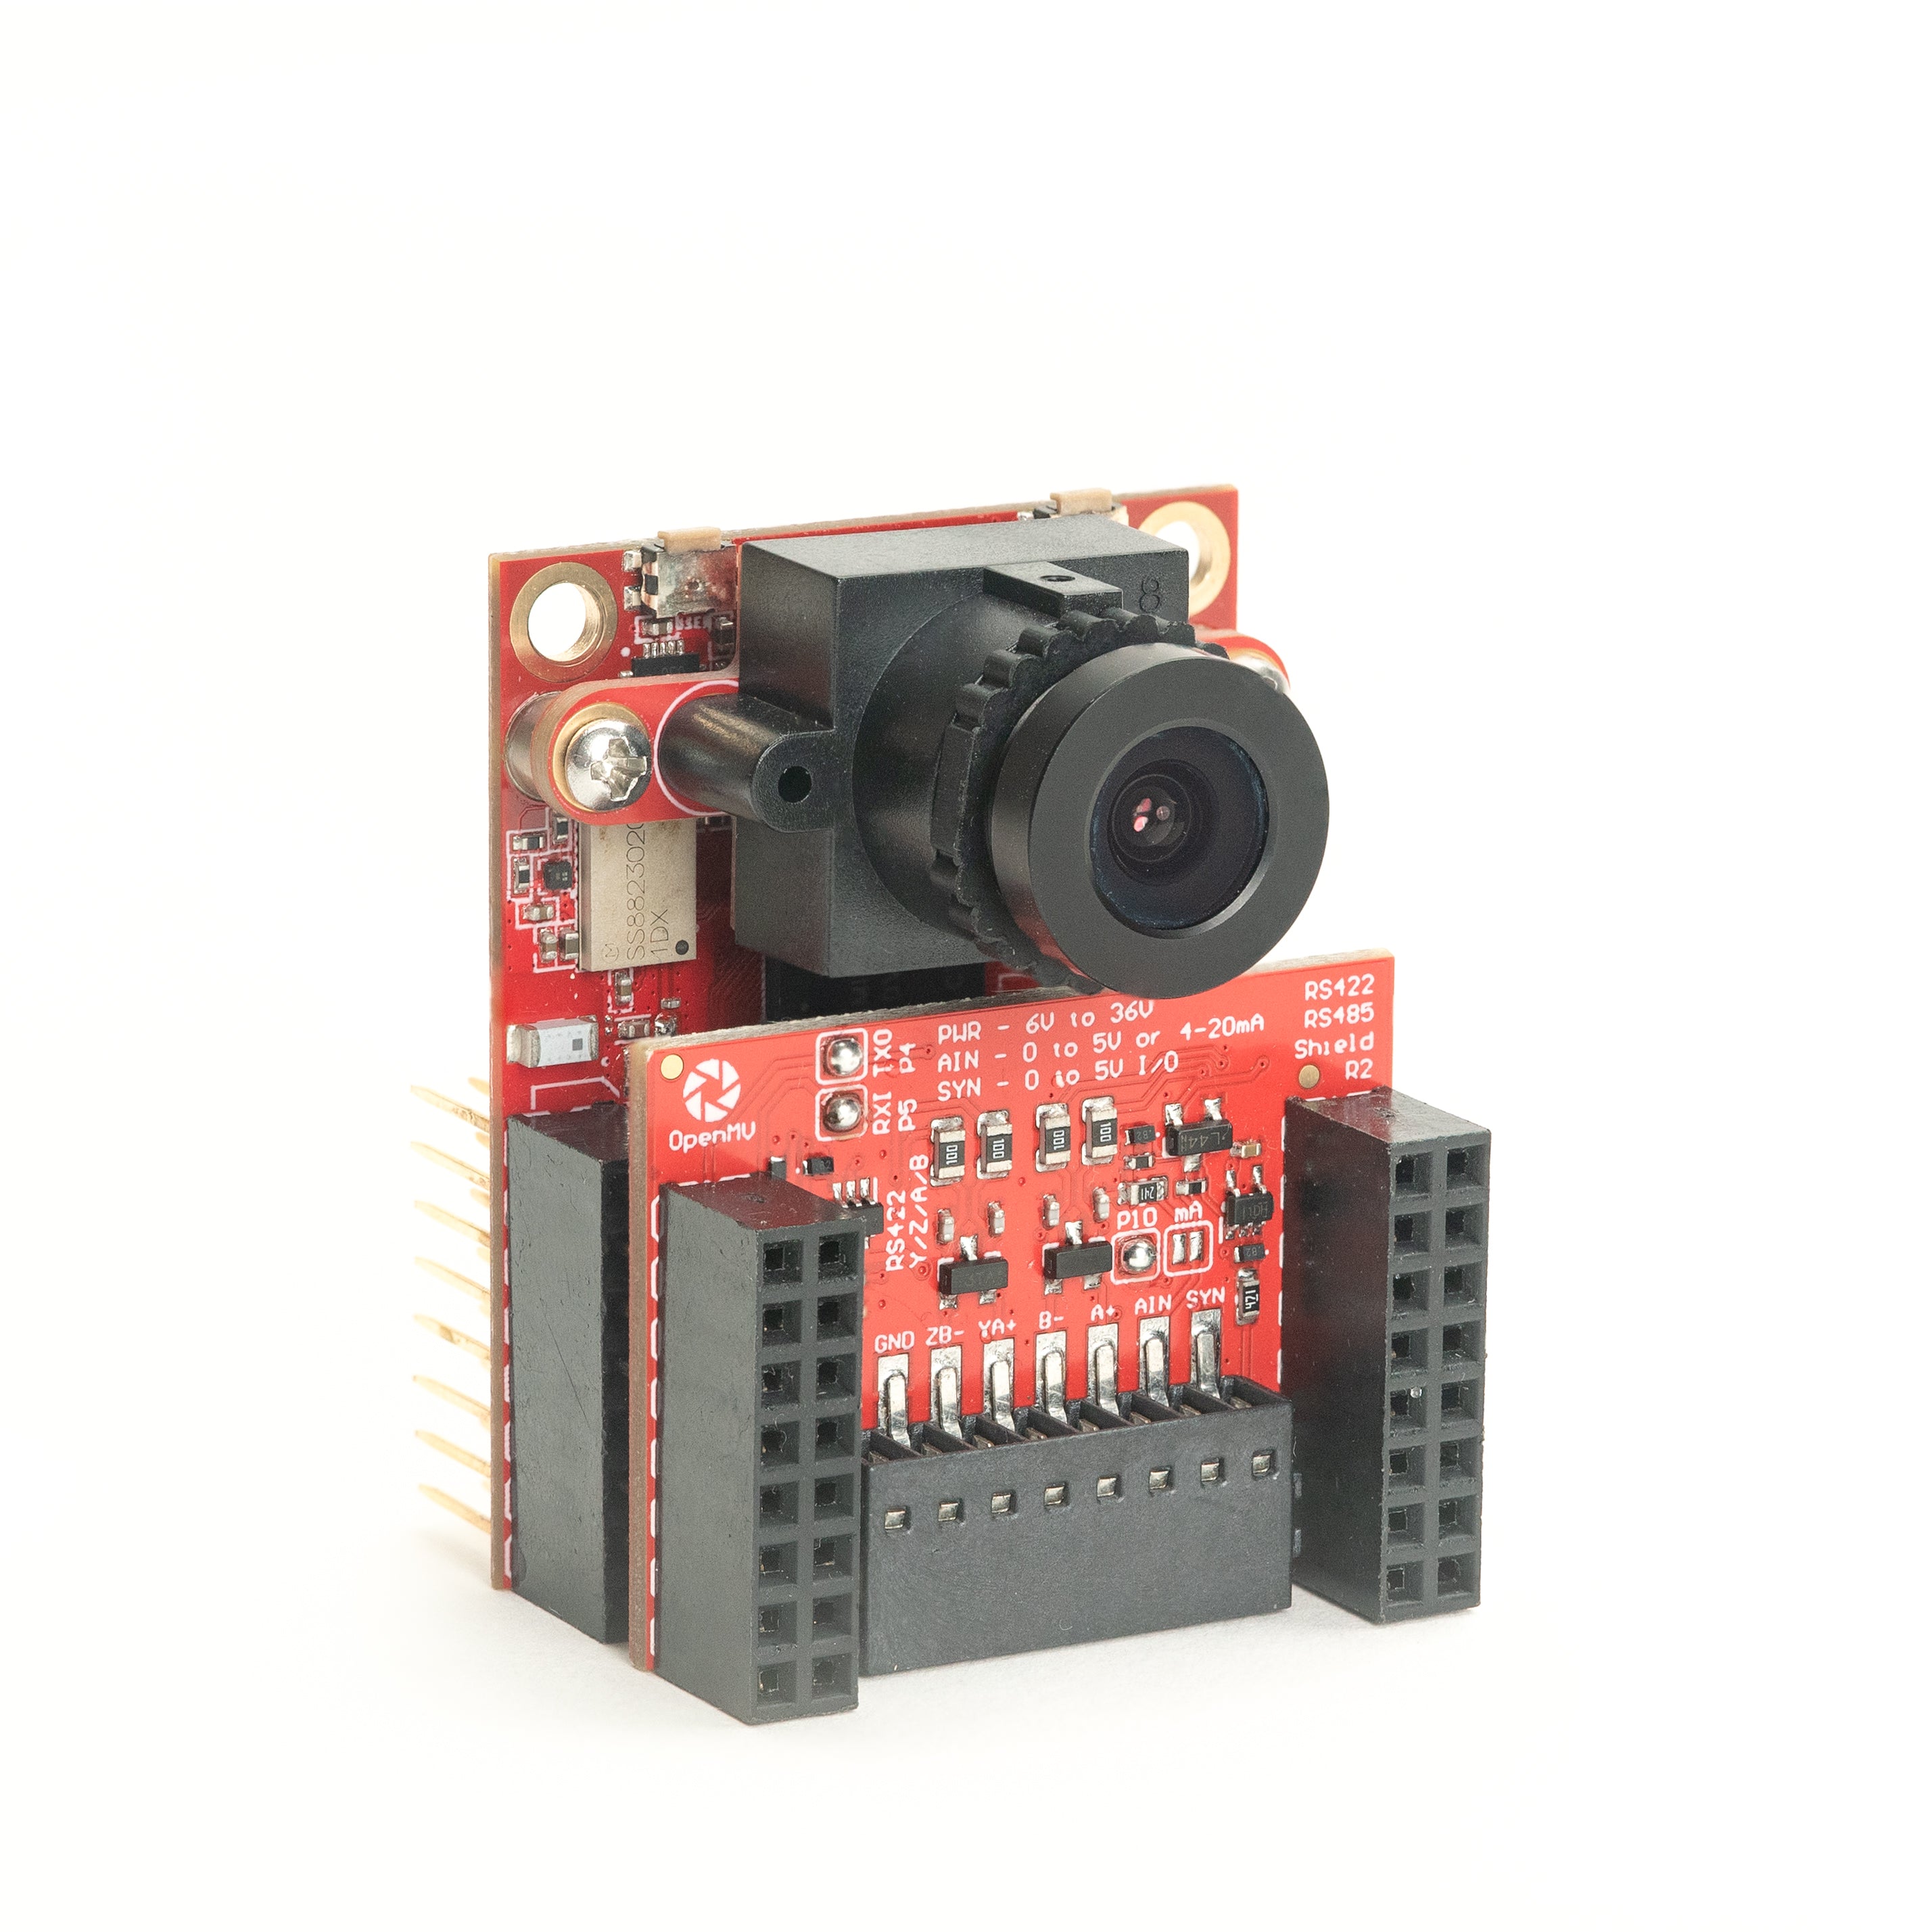
RS422/RS485 Shield
10 Mb/s 差分串行,适用于工业总线。
探索 →传感器
摄像头模块通过板对板连接器插入的摄像头模块和传感器适配器——彩色、单色、热成像和事件视觉。
PS5520 5MP HDR Camera
500 万像素 HDR 传感器——高动态范围,适应恶劣光照。
探索 →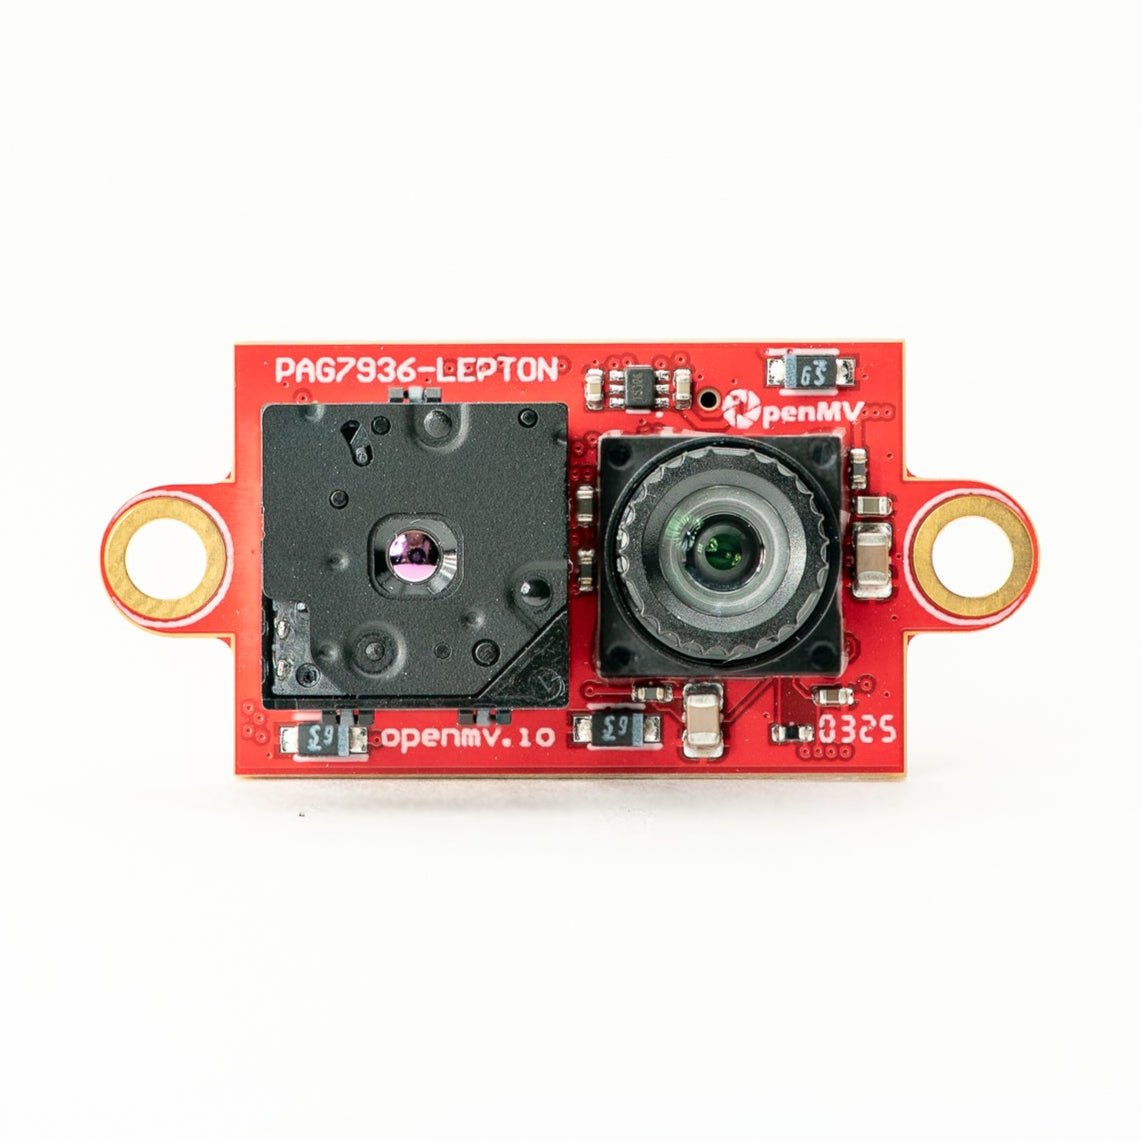
Multispectral Thermal (PAG7936)
100 万像素全局快门彩色 + FLIR Lepton 热成像,集成于一个模块。
探索 →
Multispectral Thermal (OV5640)
500 万像素卷帘快门彩色 + FLIR Lepton 热成像,集成于一个模块。
探索 →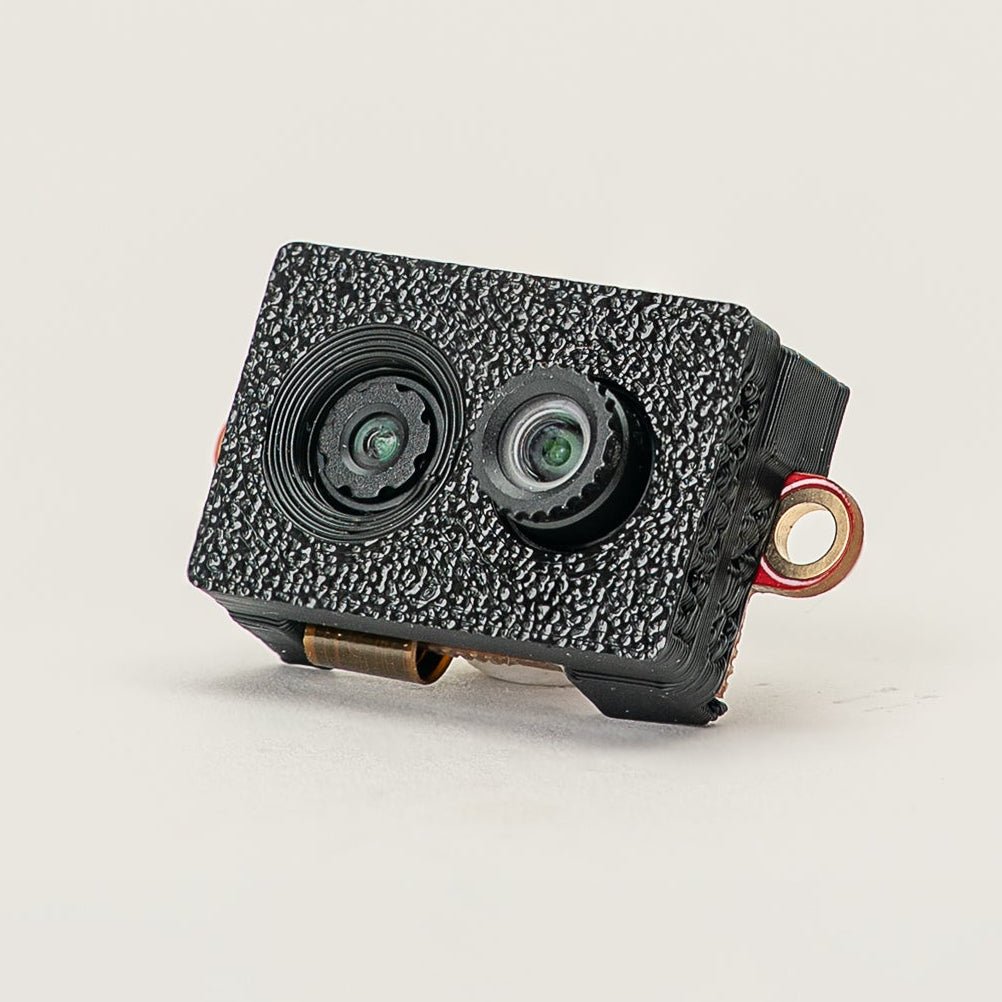
Multispectral Event Camera
GENX320 事件传感器 + PAG7936 彩色,集成于一个模块。
探索 →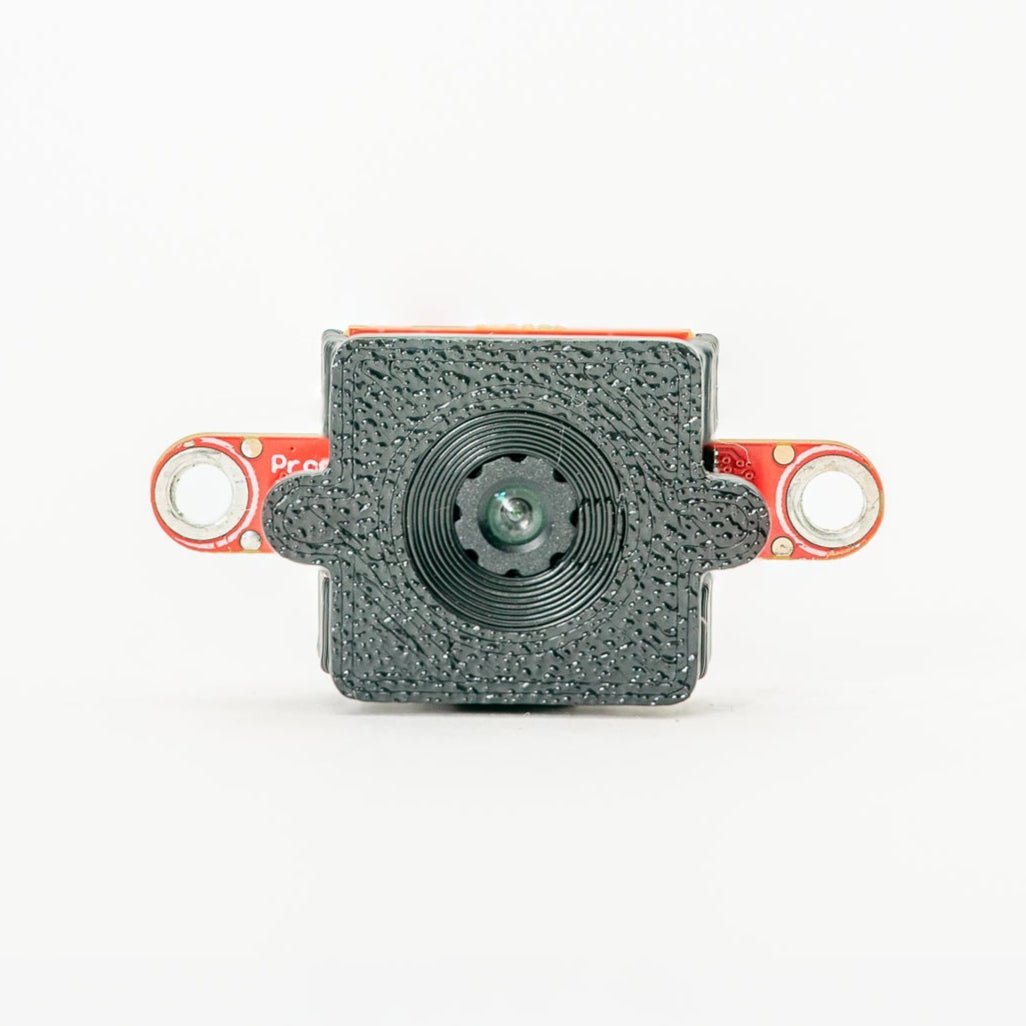
GENX320 Event Camera
Prophesee 事件视觉——微秒级时间精度。
探索 →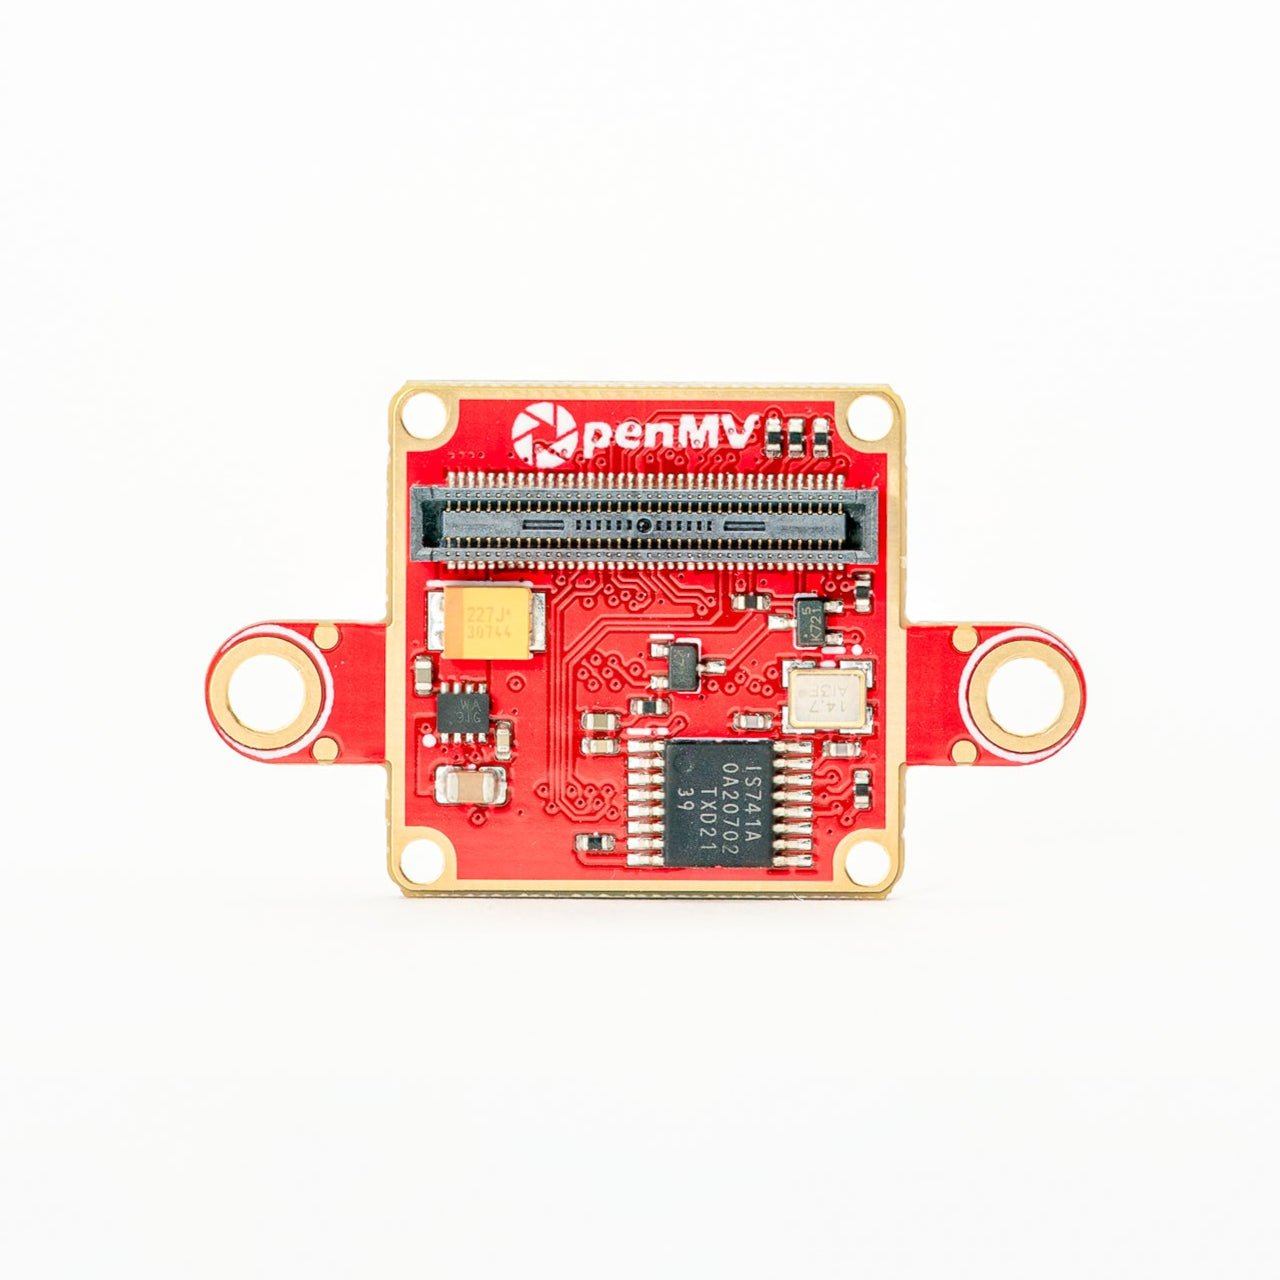
FLIR Boson Adapter
FLIR Boson / Boson+ 适配器——更高分辨率热成像。
探索 →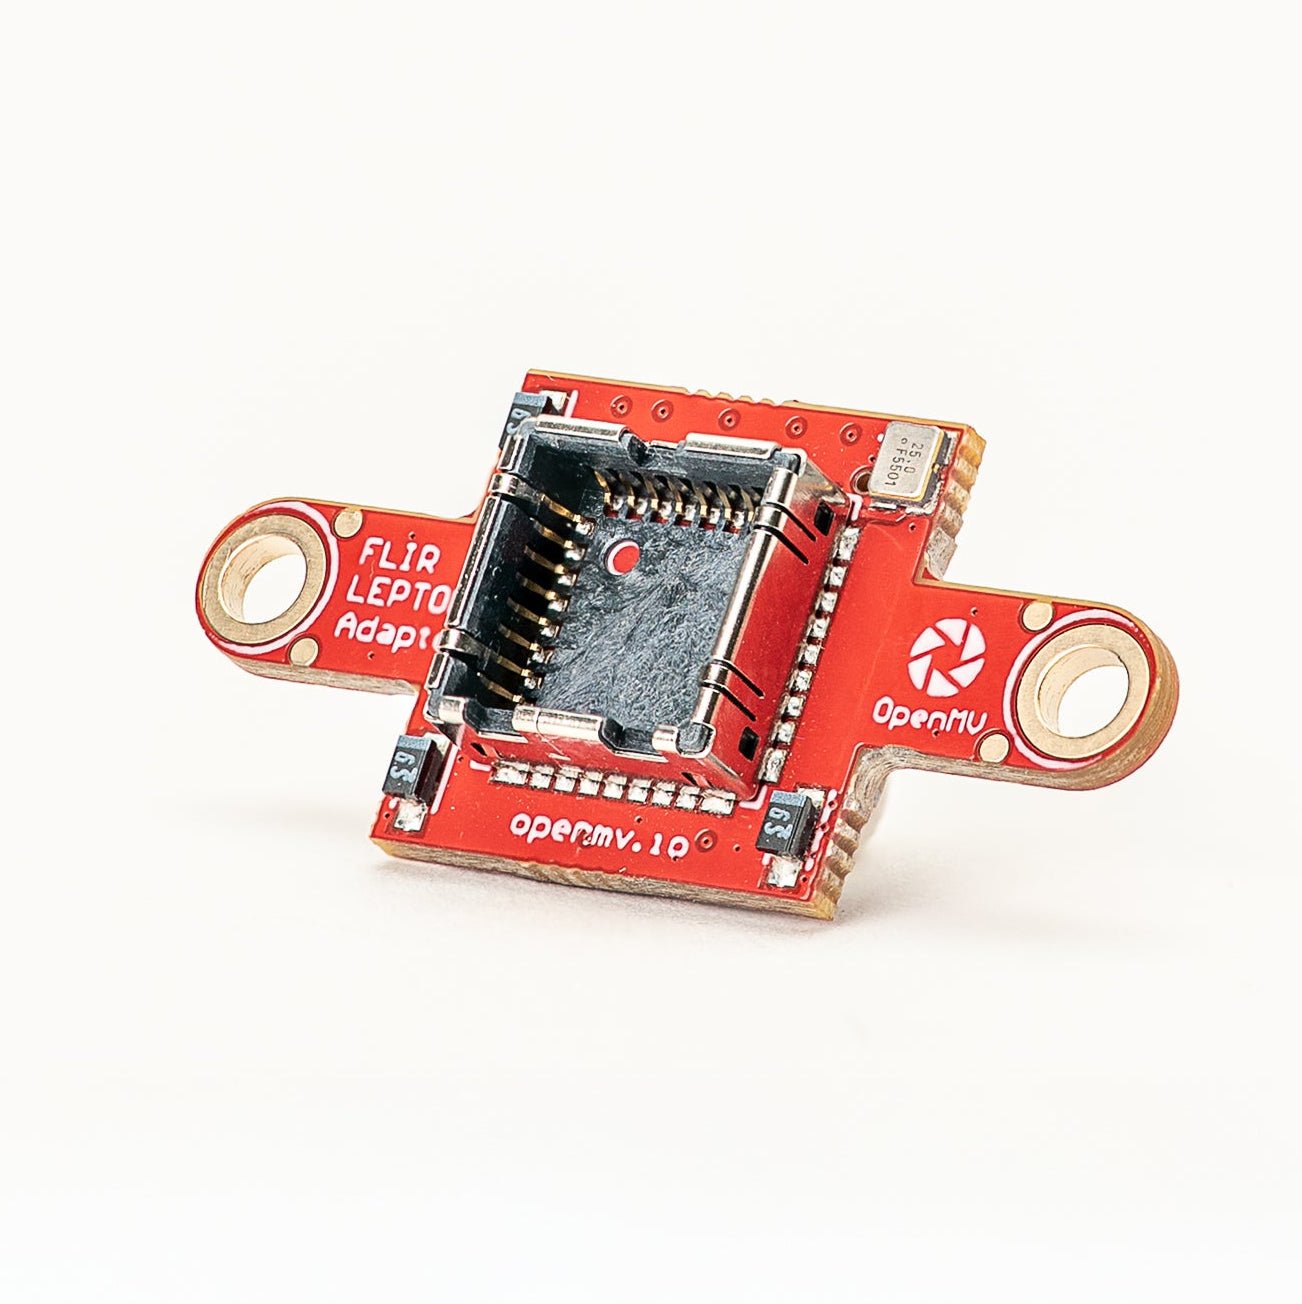
FLIR Lepton Adapter
FLIR Lepton 1.x / 2.x / 3.x 热成像核心适配器。
探索 →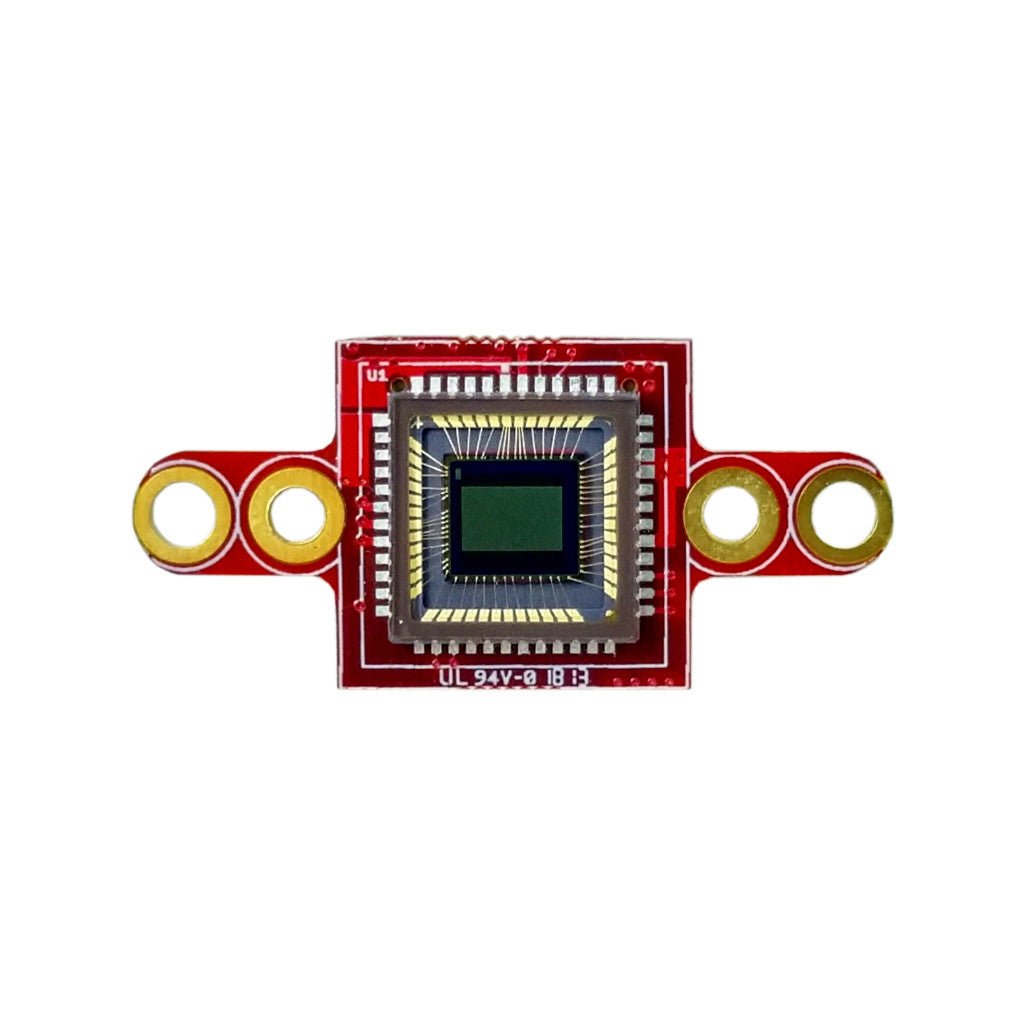
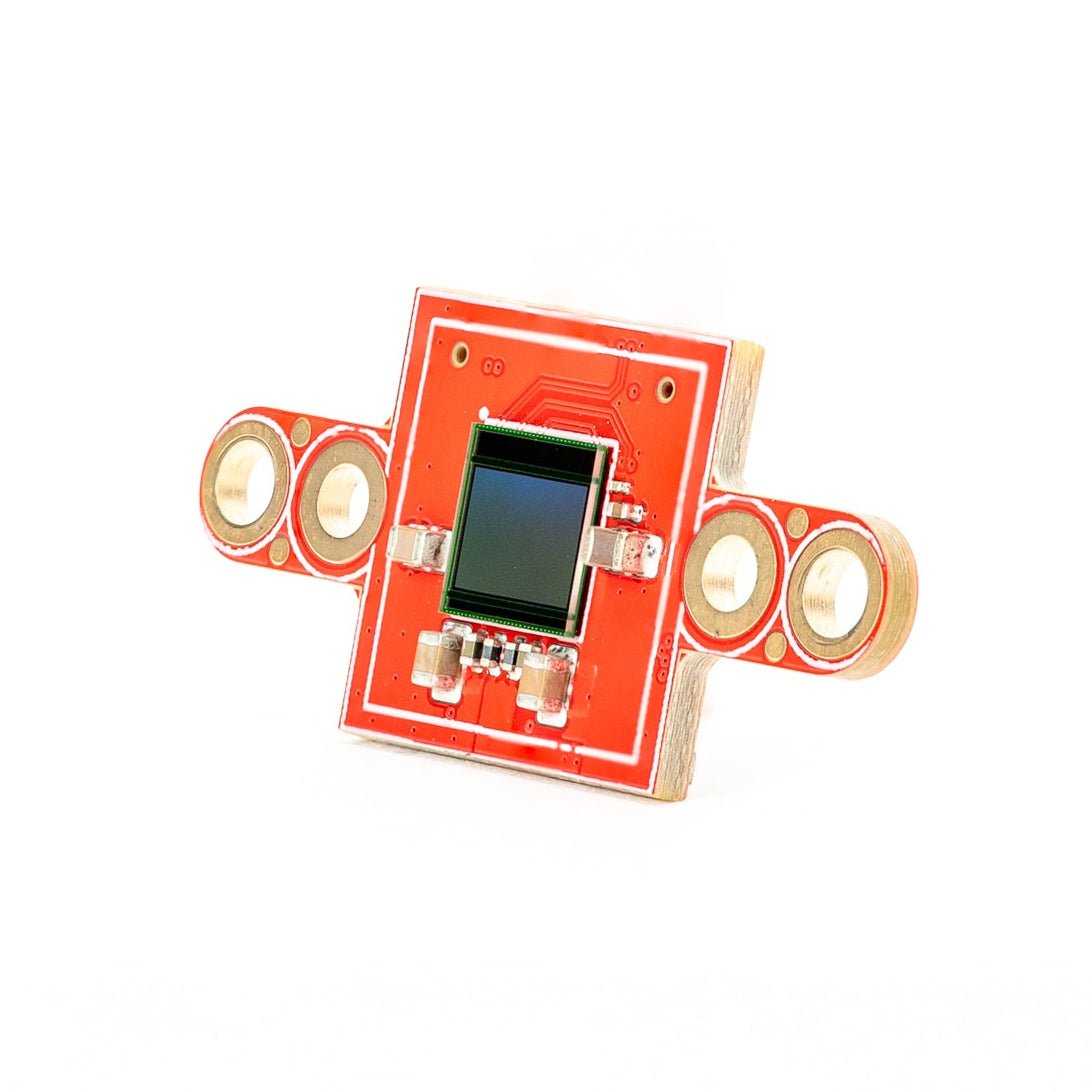
Global Shutter Camera Module
单色全局快门传感器,适用于高速运动捕捉。
探索 →