Hello world
範例import csi
import time
import ml
from ml.postprocessing.ultralytics import YoloV8
csi0 = csi.CSI()
csi0.reset()
csi0.pixformat(csi.RGB565)
csi0.framesize(csi.VGA)
csi0.snapshot(time=2000) # let AWB/AGC stabilize
# Built-in single-class person detector model.
model = ml.Model("/rom/yolov8n_192.tflite",
postprocess=YoloV8(threshold=0.4))
clock = time.clock()
while True:
clock.tick()
img = csi0.snapshot()
# predict returns a list per class of ((x, y, w, h), score) tuples.
for class_dets in model.predict([img]):
for rect, score in class_dets:
img.draw_rectangle(rect, color=(0, 255, 0))
print(clock.fps(), "fps")
即時人物追蹤
內建 YOLOv8 模型為單類別人物偵測器——以 int8 量化並預載於 ROM 中。
/rom/yolov8n_192.tflite 載入——無需 SD 卡或下載。import csi
import math
import time
csi0 = csi.CSI()
csi0.reset()
csi0.pixformat(csi.RGB565)
csi0.framesize(csi.QVGA)
csi0.snapshot(time=2000) # let AWB/AGC stabilize
csi0.auto_gain(False)
csi0.auto_whitebal(False)
clock = time.clock()
while True:
clock.tick()
img = csi0.snapshot()
for tag in img.find_apriltags():
img.draw_detection(tag, color1=(255, 0, 0), color2=(0, 255, 0))
deg = math.degrees(tag.rotation)
print("ID %d rotation %.1f deg" % (tag.id, deg))
print(clock.fps(), "fps")
定位並辨識 AprilTags
AprilTags 是二維基準標記——對運動模糊和部分遮擋具有強健性,並可提供完整的 3D 姿態資訊。
x/y/z 平移與 x/y/z 旋轉。import csi
import time
import ml
from ml.postprocessing.mediapipe import BlazeFace
csi0 = csi.CSI()
csi0.reset()
csi0.pixformat(csi.RGB565)
csi0.framesize(csi.VGA)
csi0.window((400, 400)) # square window for best results
csi0.snapshot(time=2000) # let AWB/AGC stabilize
model = ml.Model("/rom/blazeface_front_128.tflite",
postprocess=BlazeFace(threshold=0.4))
clock = time.clock()
while True:
clock.tick()
img = csi0.snapshot()
for rect, score, keypoints in model.predict([img]):
img.draw_rectangle(rect, color=(0, 0, 255))
ml.utils.draw_keypoints(img, keypoints, color=(255, 0, 0))
print(clock.fps(), "fps")
使用 BlazeFace 偵測人臉
Google 的 BlazeFace 是一款輕量級 TensorFlow Lite 人臉偵測器,每張臉回傳邊界框及六個關鍵點。
/rom/blazeface_front_128.tflite 載入——已預先量化,無需下載。import csi
import time
csi0 = csi.CSI()
csi0.reset()
csi0.pixformat(csi.RGB565)
csi0.framesize(csi.QVGA)
csi0.snapshot(time=2000) # let AWB/AGC stabilize
csi0.auto_gain(False)
clock = time.clock()
while True:
clock.tick()
img = csi0.snapshot()
for code in img.find_qrcodes():
img.draw_rectangle(code.rect, color=(255, 0, 0))
print(code.payload)
print(clock.fps(), "fps")
從即時影像掃描 QR 碼
內建 QR 解碼器可處理傾斜、扭曲及部分遮擋的碼。
import csi
import time

csi0 = csi.CSI()
csi0.reset()
csi0.pixformat(csi.RGB565)
csi0.framesize(csi.QVGA)
csi0.snapshot(time=2000)  # let AWB/AGC stabilize
csi0.auto_gain(False)
csi0.auto_whitebal(False)

# LAB thresholds: (L_min, L_max, A_min, A_max, B_min, B_max)
thresholds = [
    (30, 100, 15, 127, 15, 127),   # red
    (30, 100, -64, -8, -32, 32),   # green
]

clock = time.clock()

while True:
    clock.tick()
    img = csi0.snapshot()
    for blob in img.find_blobs(thresholds, pixels_threshold=200):
        img.draw_rectangle(blob.rect, color=(255, 0, 0))
        img.draw_cross((blob.cx, blob.cy))
    print(clock.fps(), "fps")
尋找顏色區塊
find_blobs 回傳符合一個或多個 LAB 閾值的連通像素區域。
pixels_threshold 篩除微小偵測結果;merge=True 合併重疊的色塊。import csi
import time
csi0 = csi.CSI()
csi0.reset()
csi0.pixformat(csi.GRAYSCALE)
csi0.framesize(csi.VGA)
csi0.window((640, 80)) # narrow strip for fast linear scanning
csi0.snapshot(time=2000) # let AWB/AGC stabilize
csi0.auto_gain(False)
csi0.auto_whitebal(False)
clock = time.clock()
while True:
clock.tick()
img = csi0.snapshot()
for code in img.find_barcodes():
img.draw_rectangle(code.rect, color=(0, 255, 0))
print(code.payload, "(quality %d)" % code.quality)
print(clock.fps(), "fps")
讀取一維條碼
在畫面中任意位置尋找一維條碼並解碼其內容。
import csi
import time
import ml
from ml.postprocessing.mediapipe import HandLandmarks

csi0 = csi.CSI()
csi0.reset()
csi0.pixformat(csi.RGB565)
csi0.framesize(csi.VGA)
csi0.window((400, 400))  # square window for the model
csi0.snapshot(time=2000)  # let AWB/AGC stabilize

# Connections between the 21 keypoints — palm + 5 fingers.
hand_lines = ((0, 1), (1, 2), (2, 3), (3, 4), (0, 5), (5, 6),
              (6, 7), (7, 8), (5, 9), (9, 10), (10, 11), (11, 12),
              (9, 13), (13, 14), (14, 15), (15, 16), (13, 17), (17, 18),
              (18, 19), (19, 20), (0, 17))

model = ml.Model("/rom/hand_landmarks_full_224.tflite",
                 postprocess=HandLandmarks(threshold=0.4))
clock = time.clock()

while True:
    clock.tick()
    img = csi0.snapshot()
    # predict returns a list per hand: index 0 = left, index 1 = right.
    for detections in model.predict([img]):
        for rect, score, keypoints in detections:
            ml.utils.draw_skeleton(img, keypoints, hand_lines,
                                   kp_color=(255, 0, 0),
                                   line_color=(0, 255, 0))
    print(clock.fps(), "fps")
追蹤 21 個手部關鍵點
Google 的 MediaPipe Hand Landmarks 模型在每隻偵測到的手上標記 21 個關節——手腕、指節與指尖。
/rom/hand_landmarks_full_224.tflite 載入——此處獨立運行,不依賴上游手掌偵測。ml.utils.draw_skeleton 在單次呼叫中繪製所有 21 個關節與連線。OpenMV 新手?
從逐步教學開始——涵蓋硬體設定、IDE、基本腳本以及您第一個實際專案的技巧。
核心函式庫
API硬體、相機、影像處理、ndarray、ML、多工、網路、網頁伺服器與藍牙——全部透過 MicroPython。
machine
底層硬體:GPIO、SPI、I²C、UART、PWM、ADC 與計時器。
探索 →csi
相機控制:像素格式、畫面尺寸、曝光、增益與白平衡。
探索 →image
機器視覺:色塊、邊緣、直線、圓形、特徵與繪圖。
探索 →ulab
裝置端數值運算——ndarray、FFT 與線性代數。
探索 →ml
裝置端神經網路推論——分類、偵測與分割。
探索 →asyncio
協作式多工——並行執行相機、網路與 I/O。
探索 →network
Wi-Fi、乙太網路與 socket,用於物聯網與遠端通訊。
探索 →microdot
精簡 HTTP 伺服器——路由、工作階段、登入、SSE 與 WebSocket。
探索 →aioble
非同步低功耗藍牙——周邊、廣播與 GATT。
探索 →依開發板瀏覽
硬體選擇您的 OpenMV Cam 以查看其接腳圖、規格與開發板專屬快速參考。
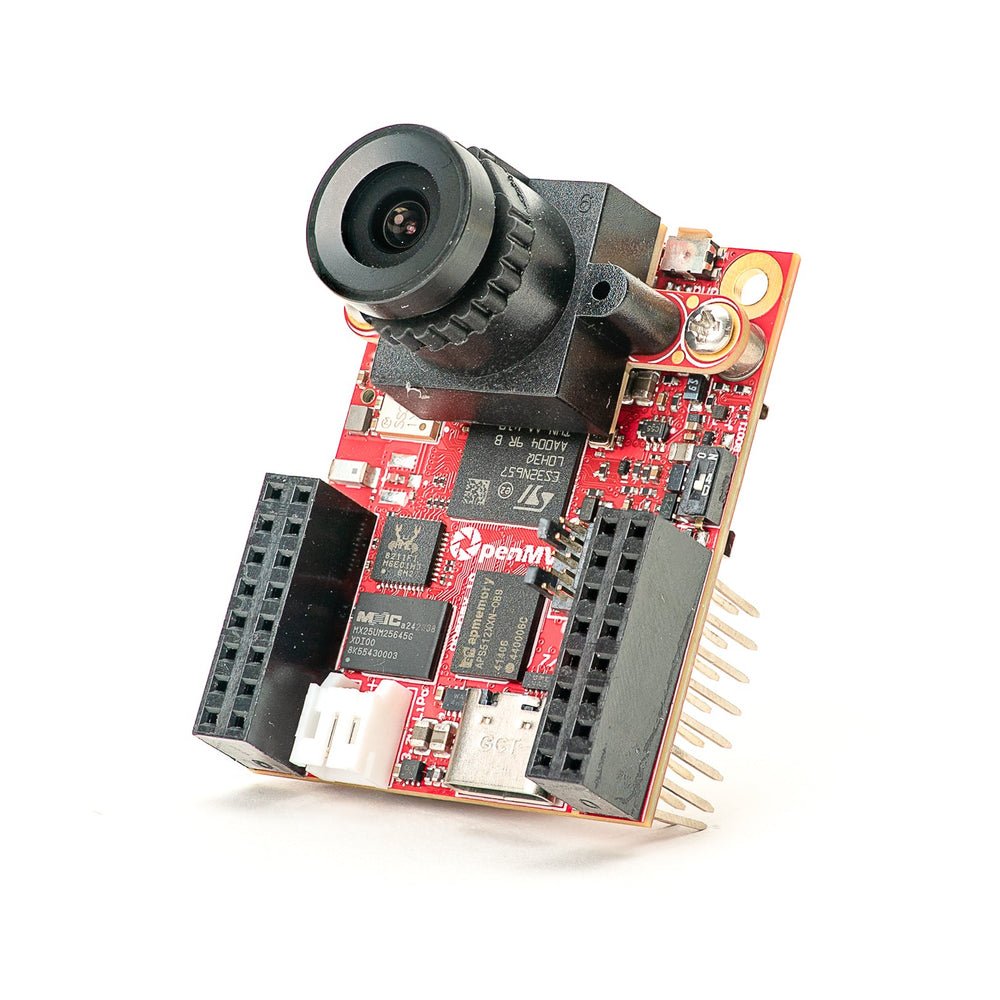
OpenMV N6 新品
搭載內建 NPU 的 STM32N6——STMicro 首款 AI 加速 MCU。
探索 →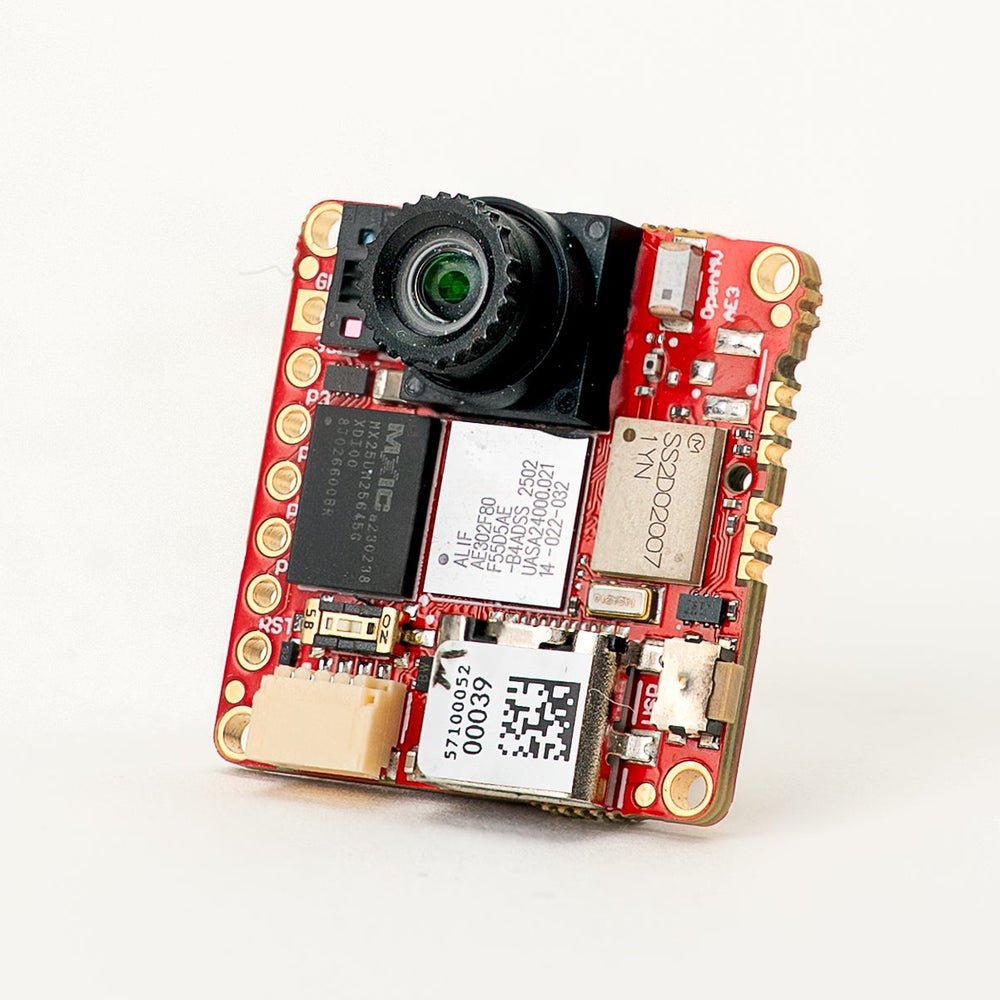
OpenMV AE3 新品
Alif Ensemble E3——融合級 Cortex-M55 搭載 Ethos-U55 NPU。
探索 →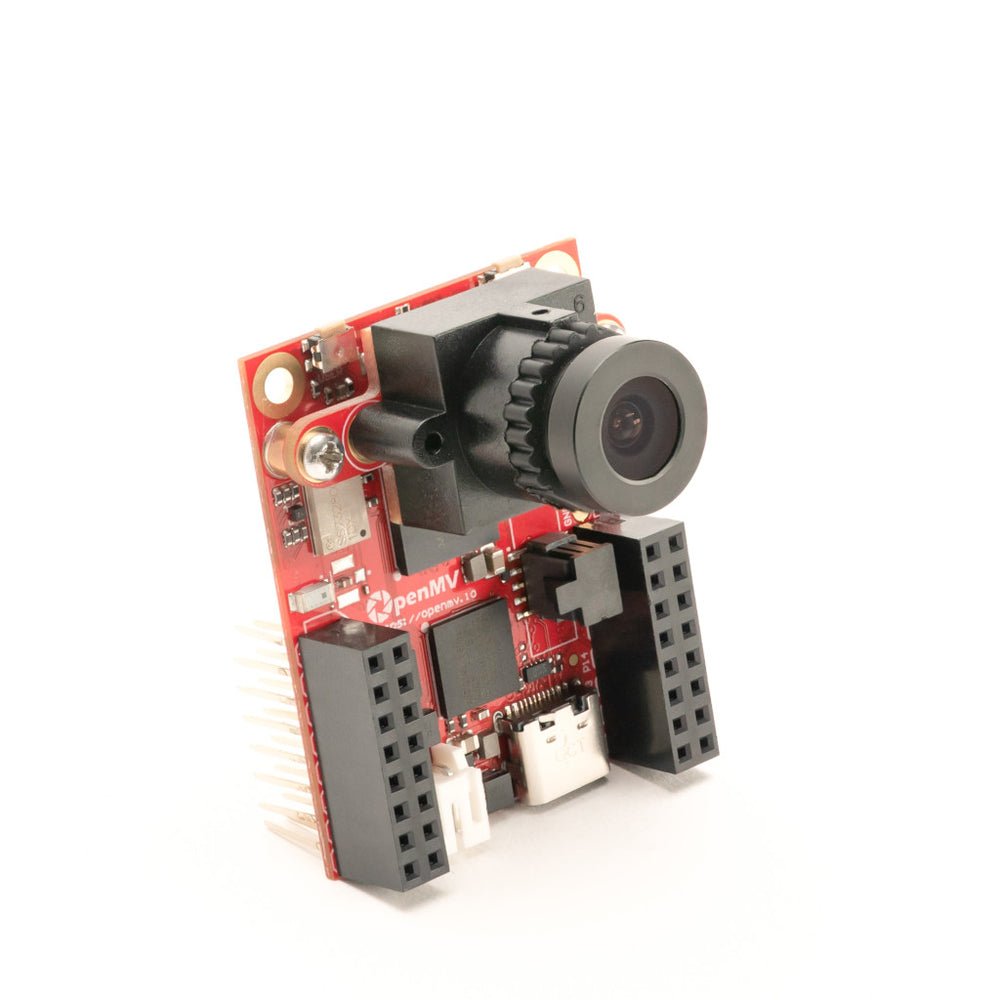
OpenMV RT1062
NXP i.MX RT1062 Cortex-M7,運行於 600 MHz,搭載 32 MB 外部 SDRAM。
探索 →
OpenMV H7 Plus
STM32H743,搭載 32 MB 外部 SDRAM 與 5MP OV5640 感測器。
探索 →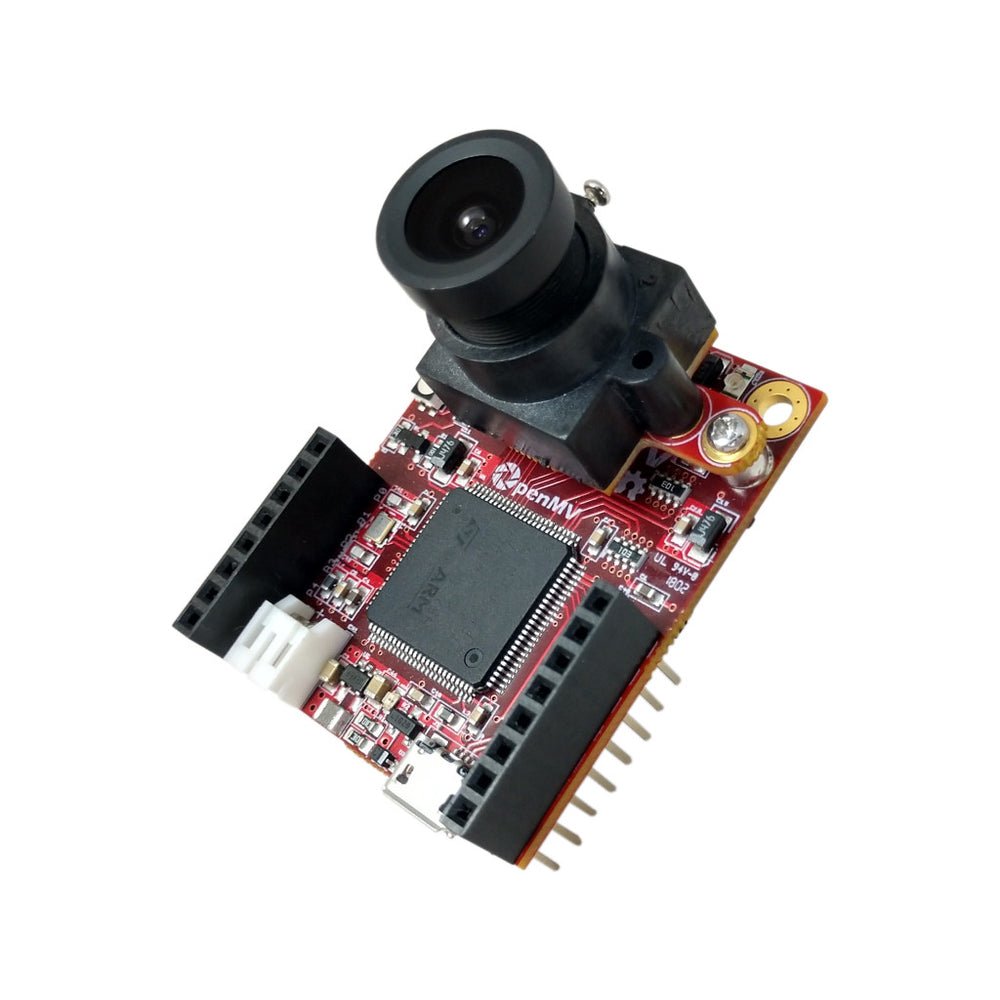
OpenMV H7
STM32H743 Cortex-M7,搭載可拆換影像感測器模組。
探索 →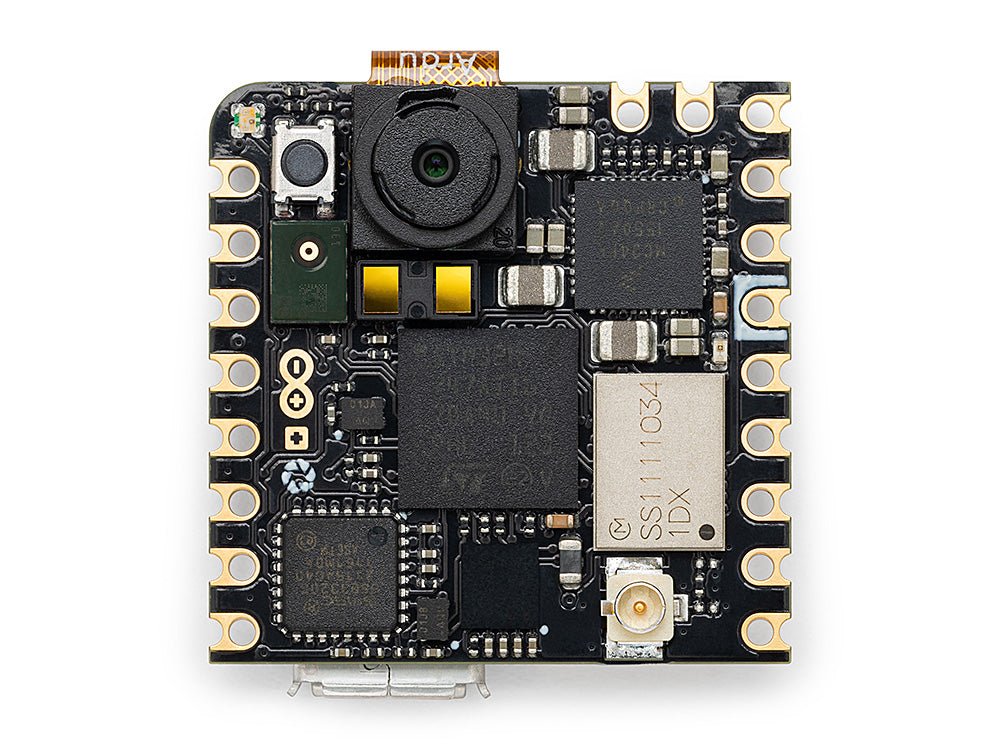
Arduino Nicla Vision
緊湊的 23 × 23 mm STM32H747 開發板,內建感測器。
探索 →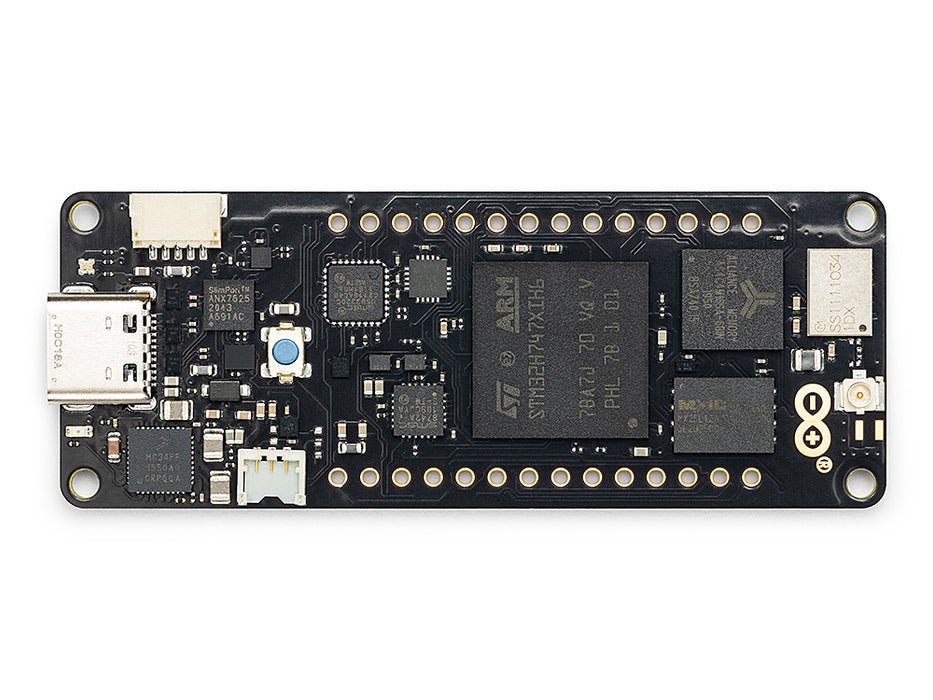
Arduino Portenta
STM32H747,搭載 8 MB SDRAM 並支援 Vision Shield。
探索 →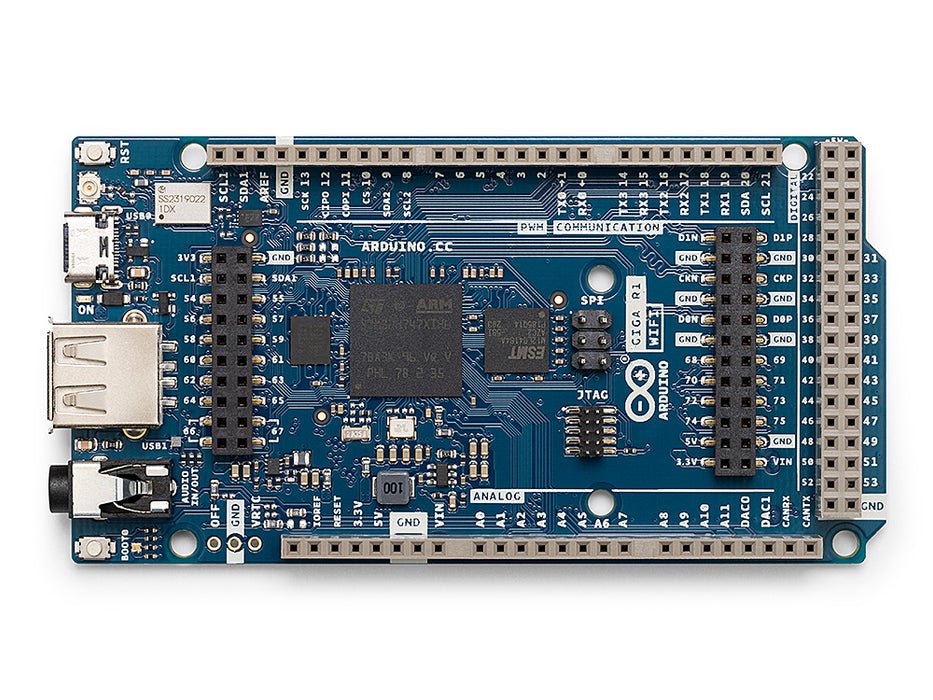
Arduino Giga
STM32H747,搭載 8 MB SDRAM,支援 Vision 與 Display Shield。
探索 →擴充板
附加模組插入 OpenMV Cam 的附加板——網路、馬達控制、顯示器等更多功能。
Gigabit PoE Shield
支援 PoE 的 Gigabit 乙太網路,用於更高頻寬的串流。
探索 →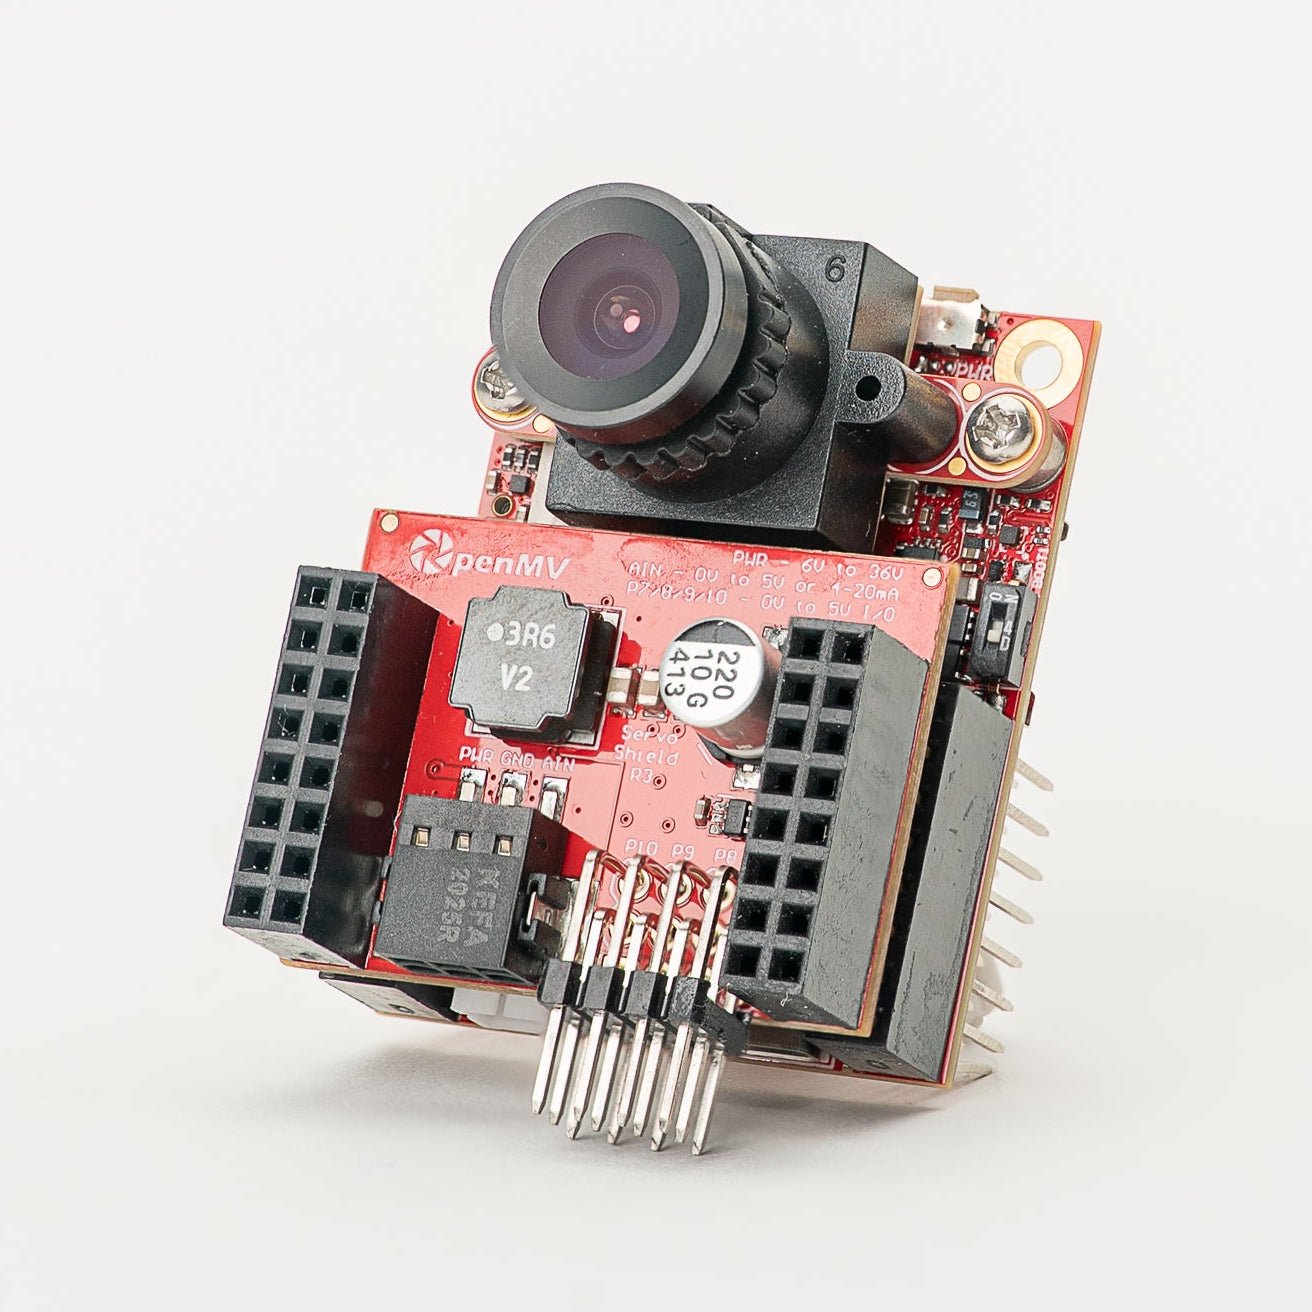
Servo Shield
可驅動最多 4 個伺服馬達(最大 5A),同時為相機供電,輸入電壓 6–36V。
探索 →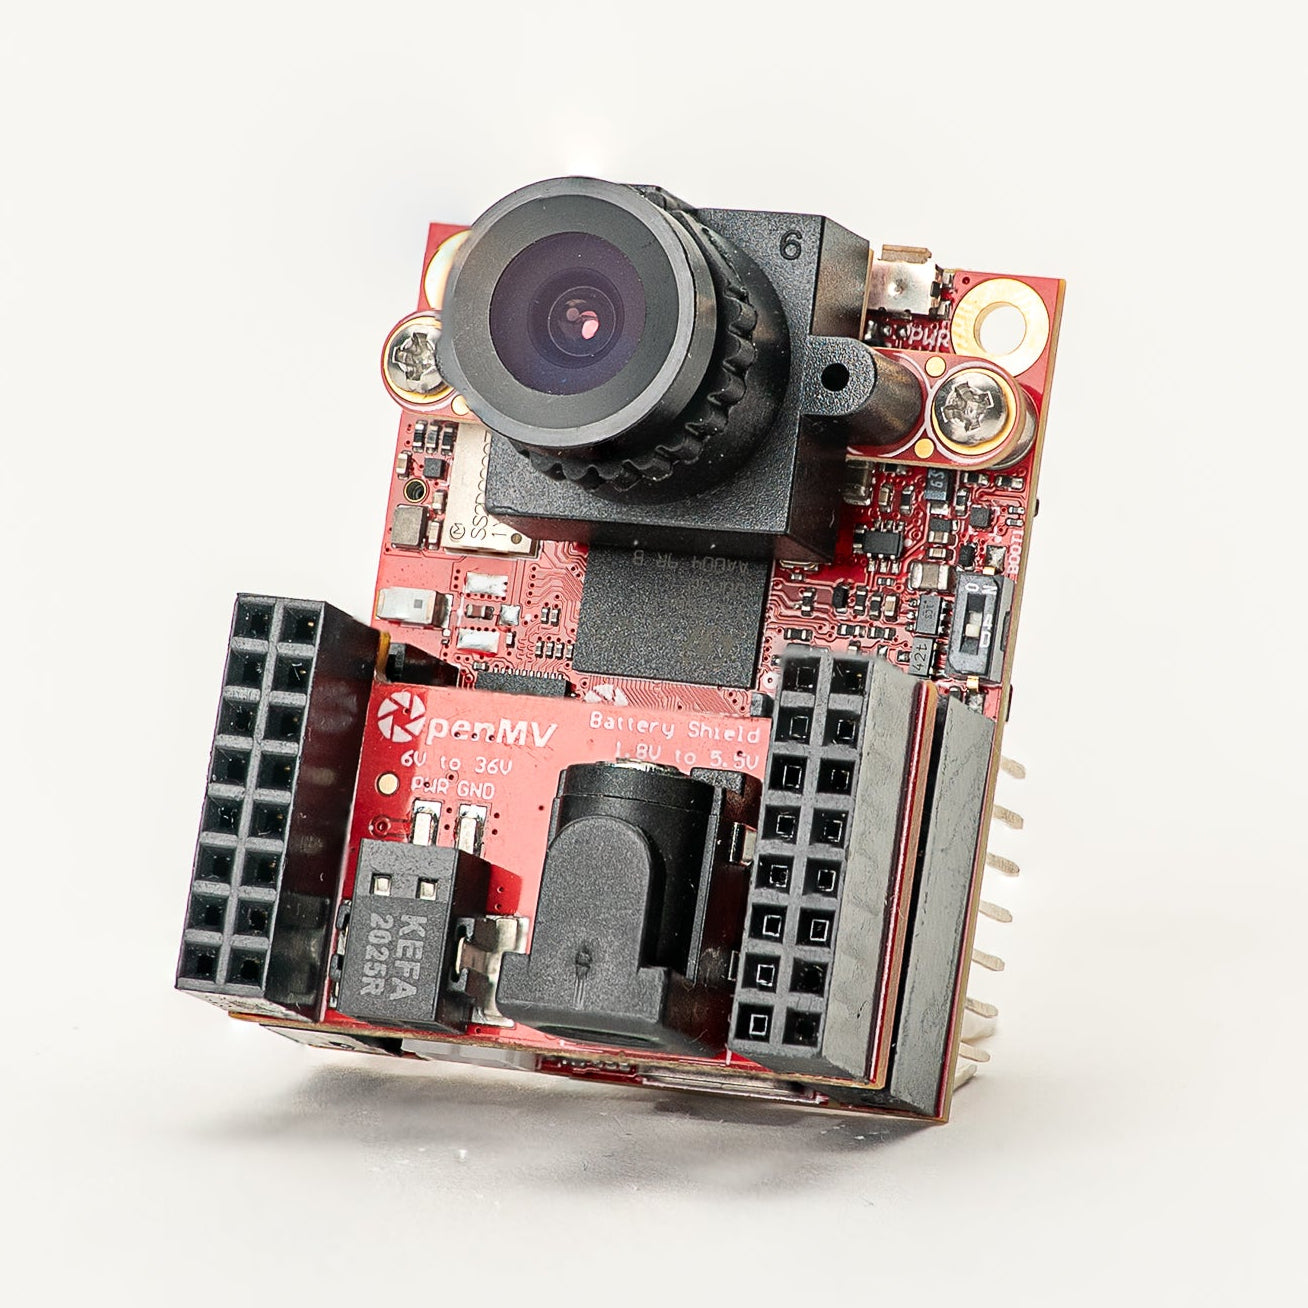
Battery Shield
透過 DC 圓筒插頭輸入 1.8–5.5V 電池電源。
探索 →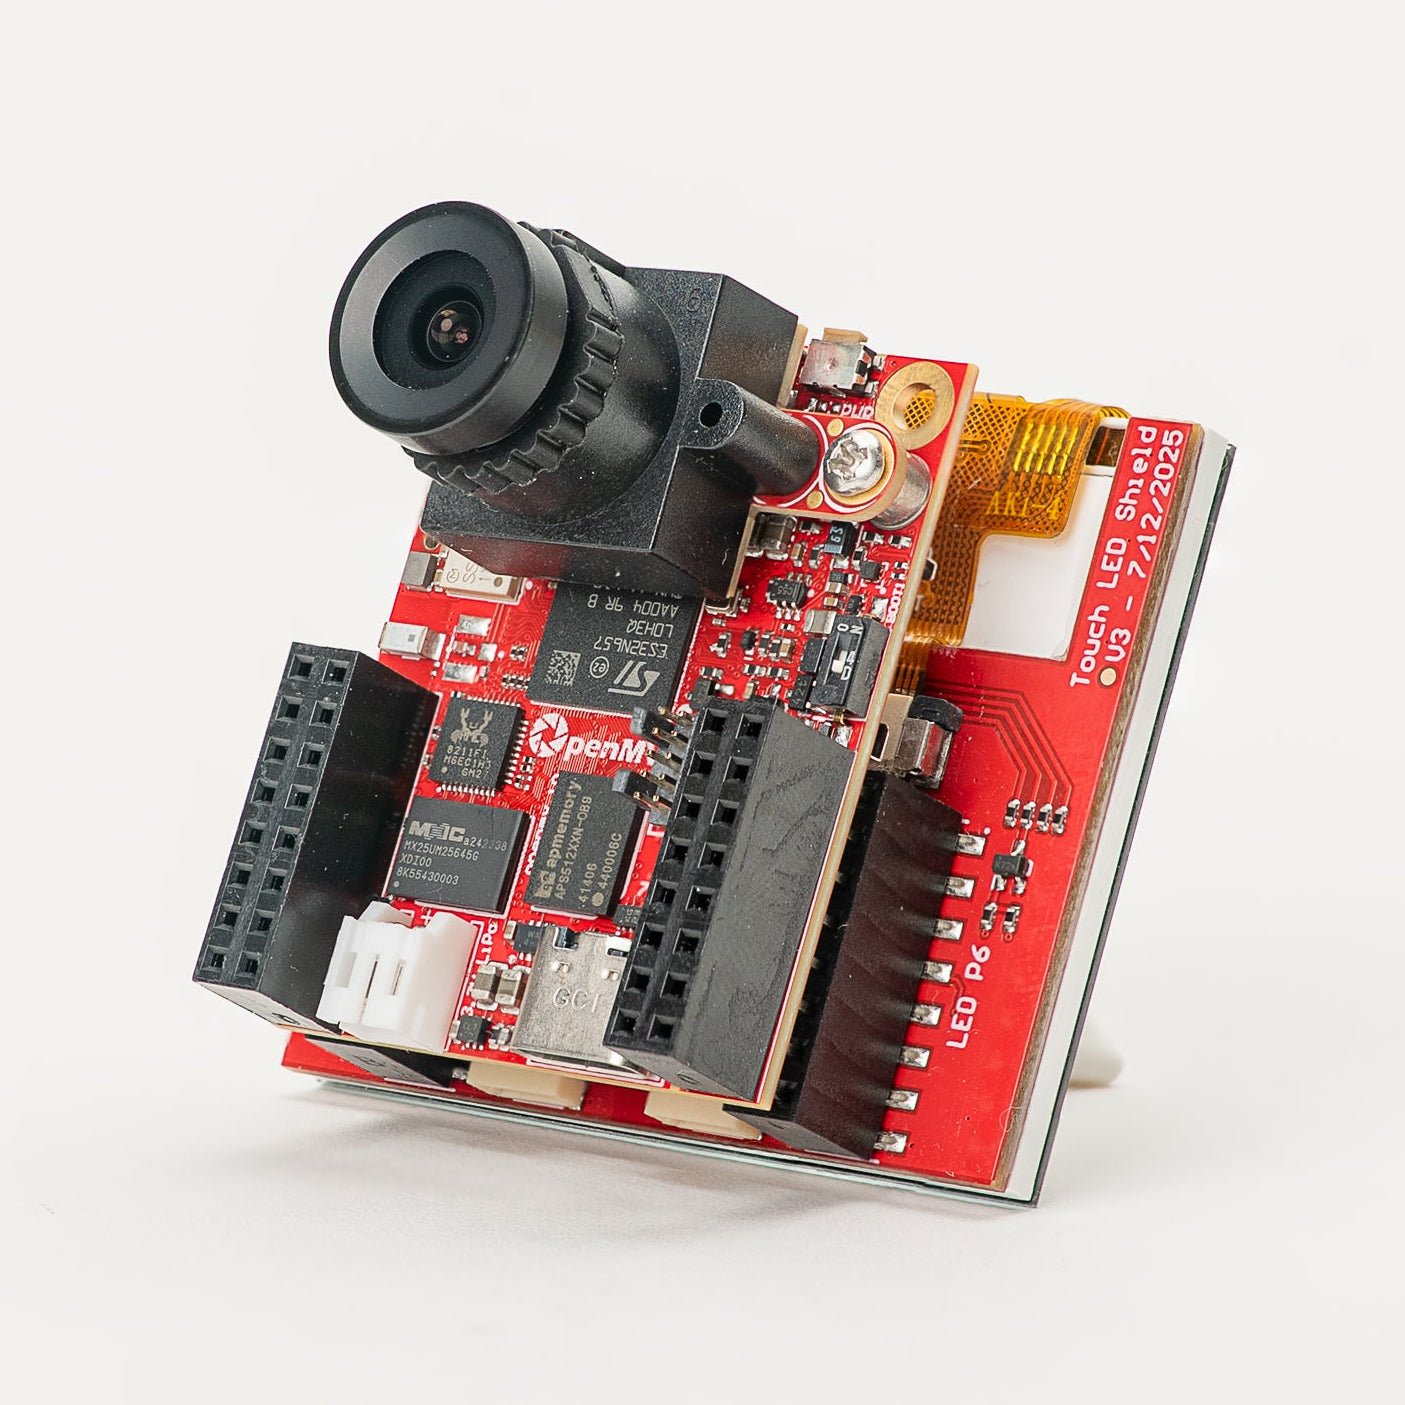
Touch LCD Shield
2.3" SPI LCD,支援電容式多點觸控與 Qwiic。
探索 →
PoE Shield
10/100 乙太網路,支援以太網路供電(PoE)。
探索 →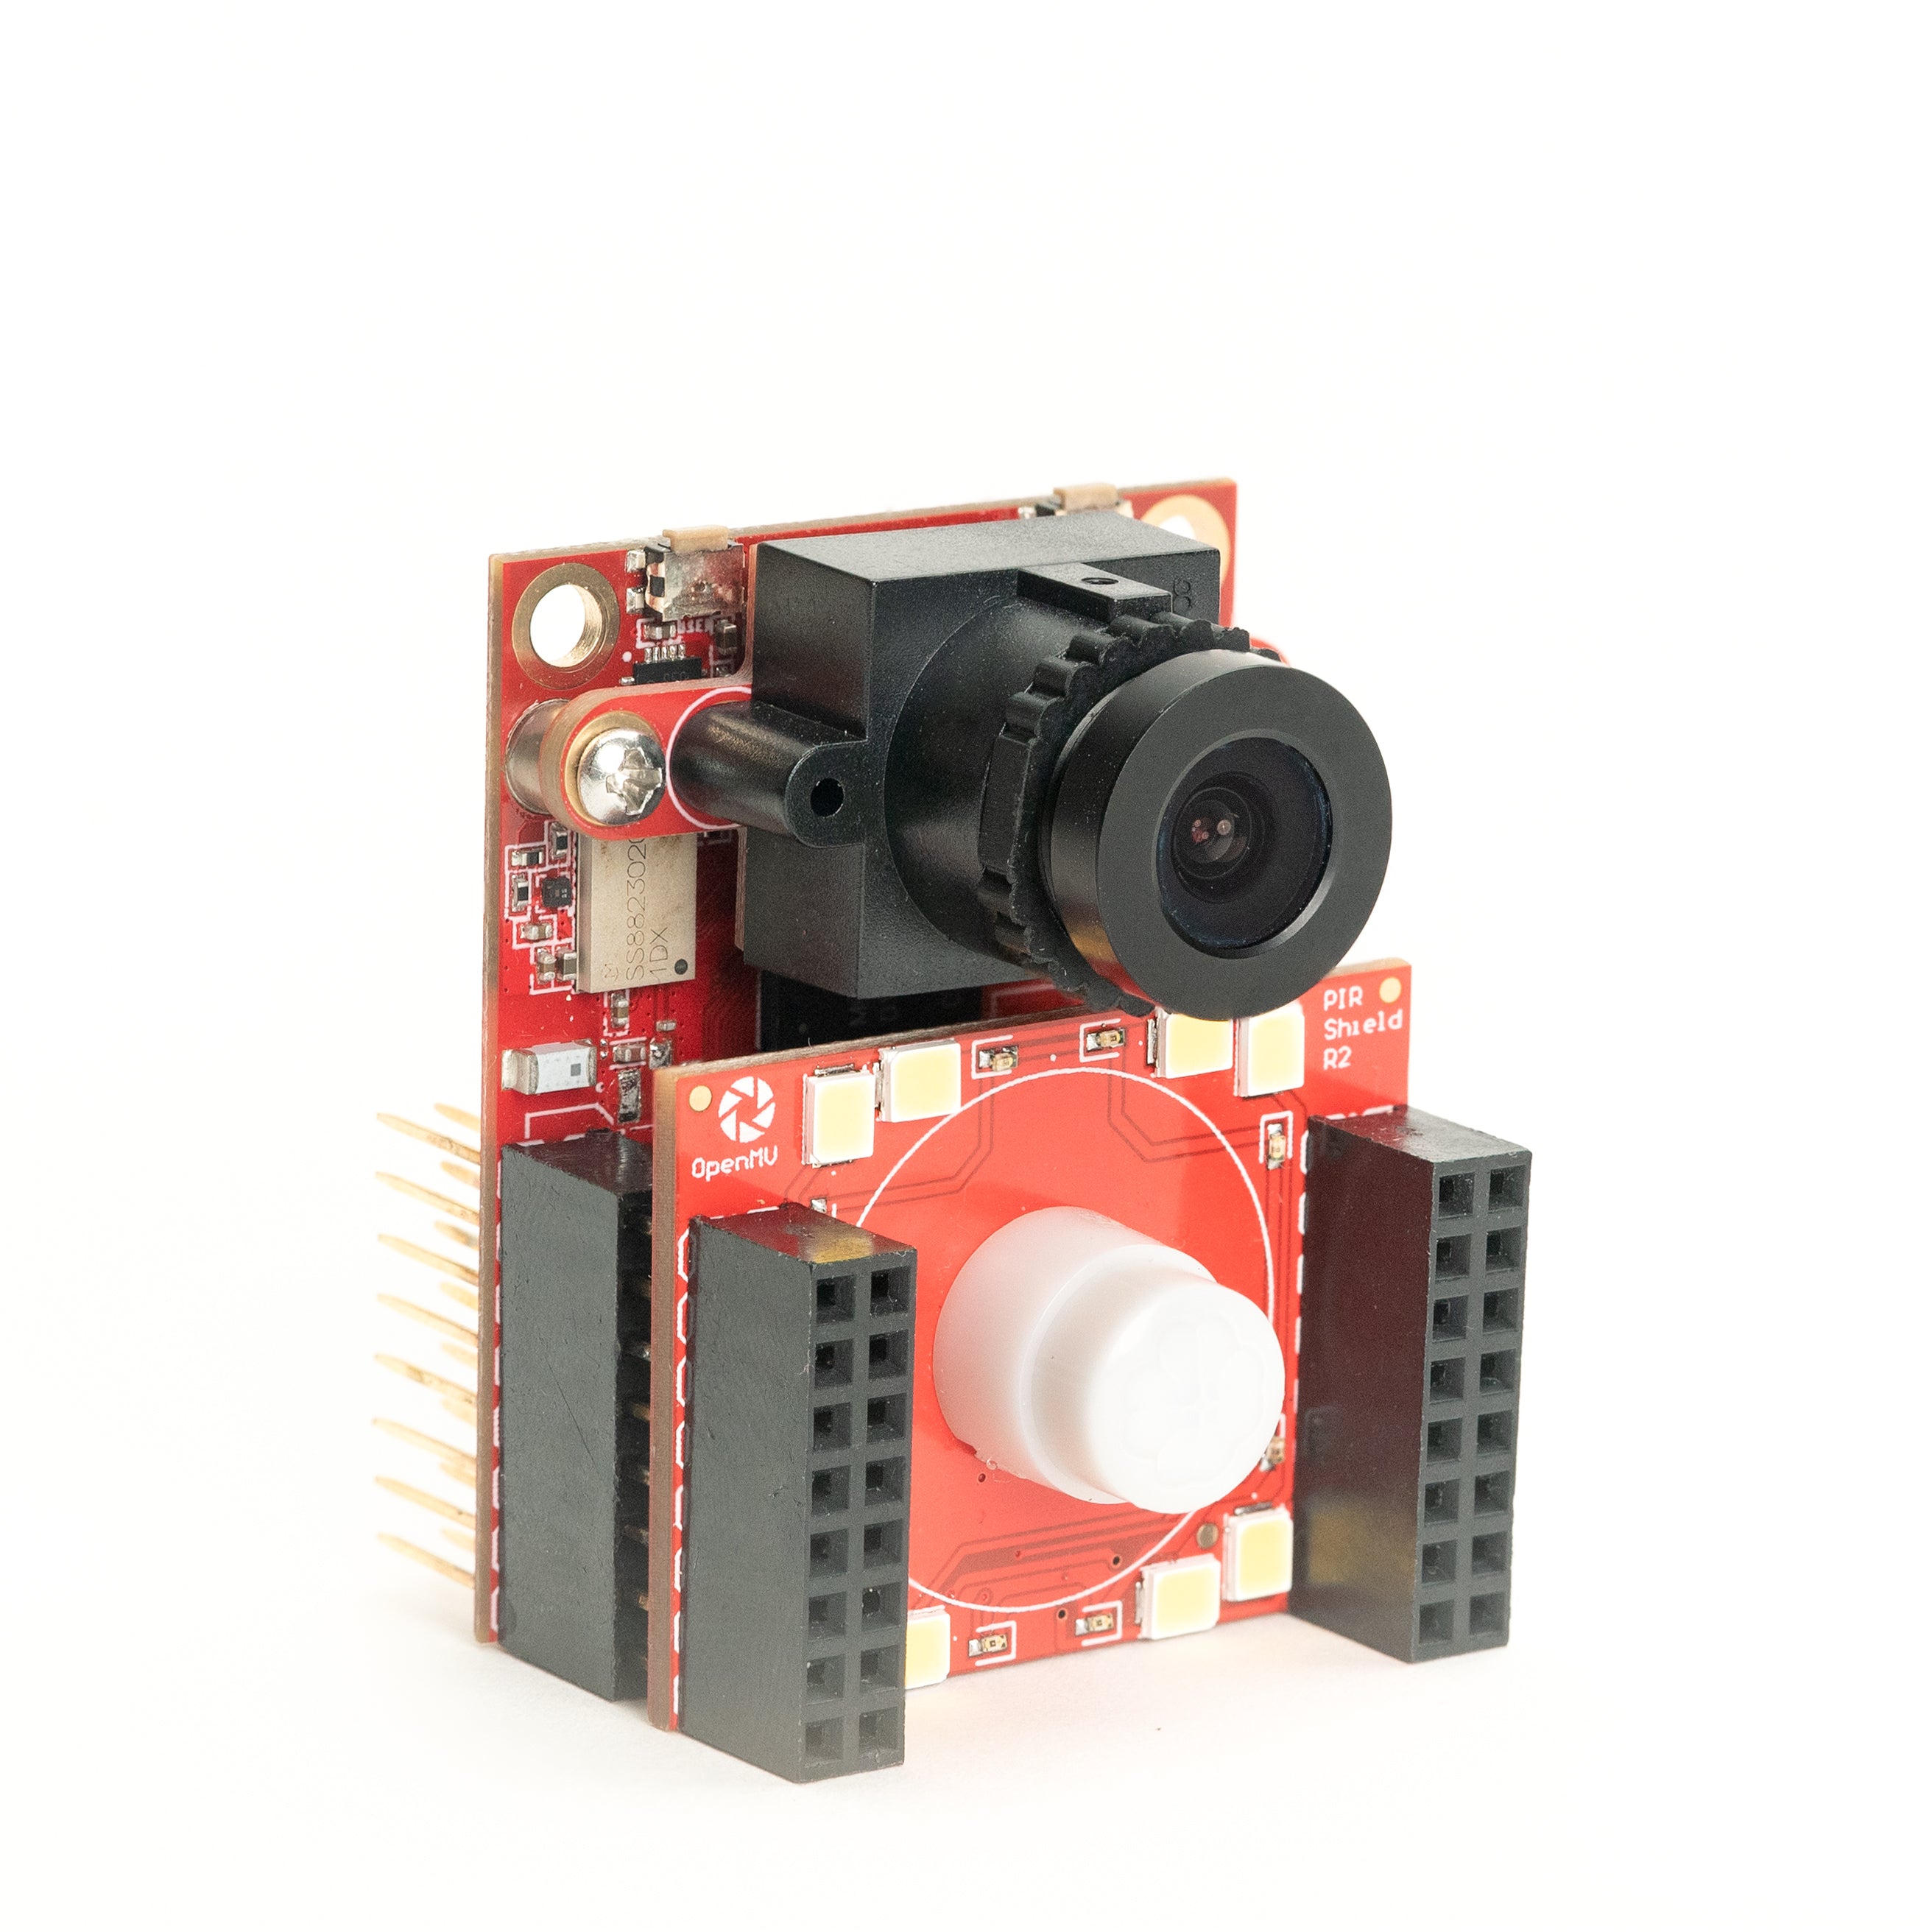
PIR Shield
6µA 待機動作觸發,搭配白光與 850 nm 紅外線照明。
探索 →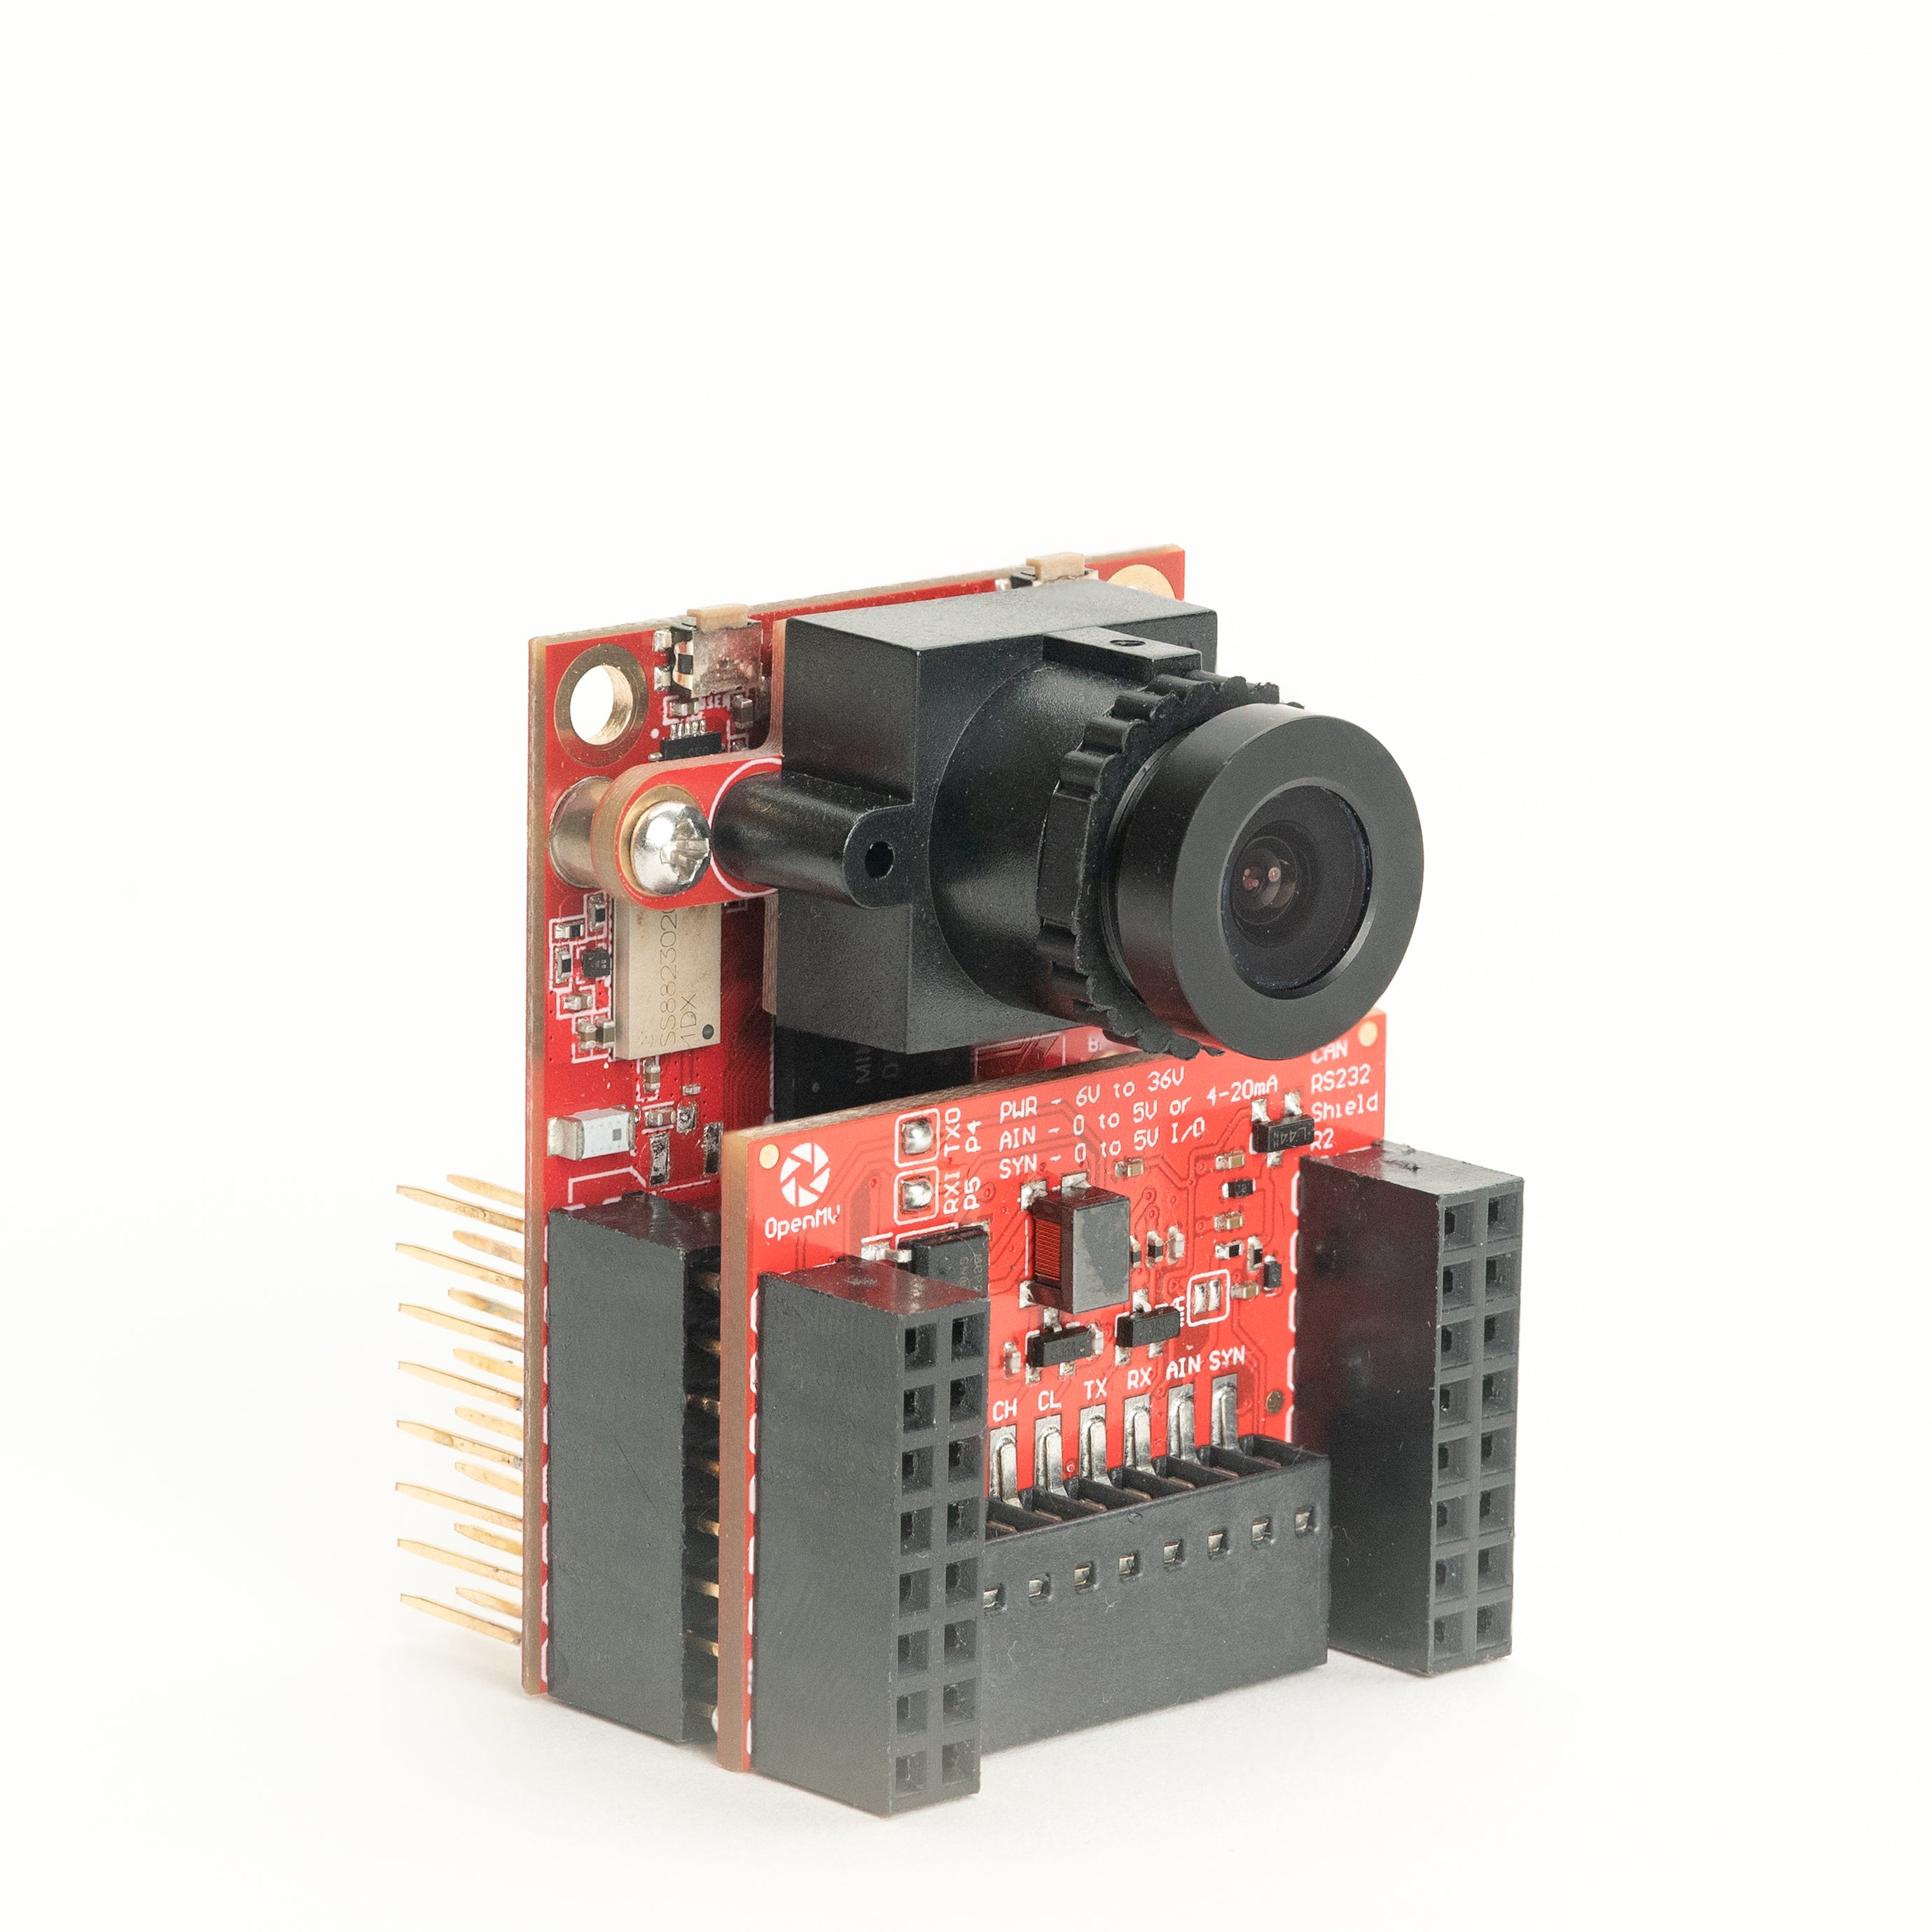
CAN/RS232 Shield
8 Mb/s CAN-FD 與 1 Mb/s RS-232 合一擴充板。
探索 →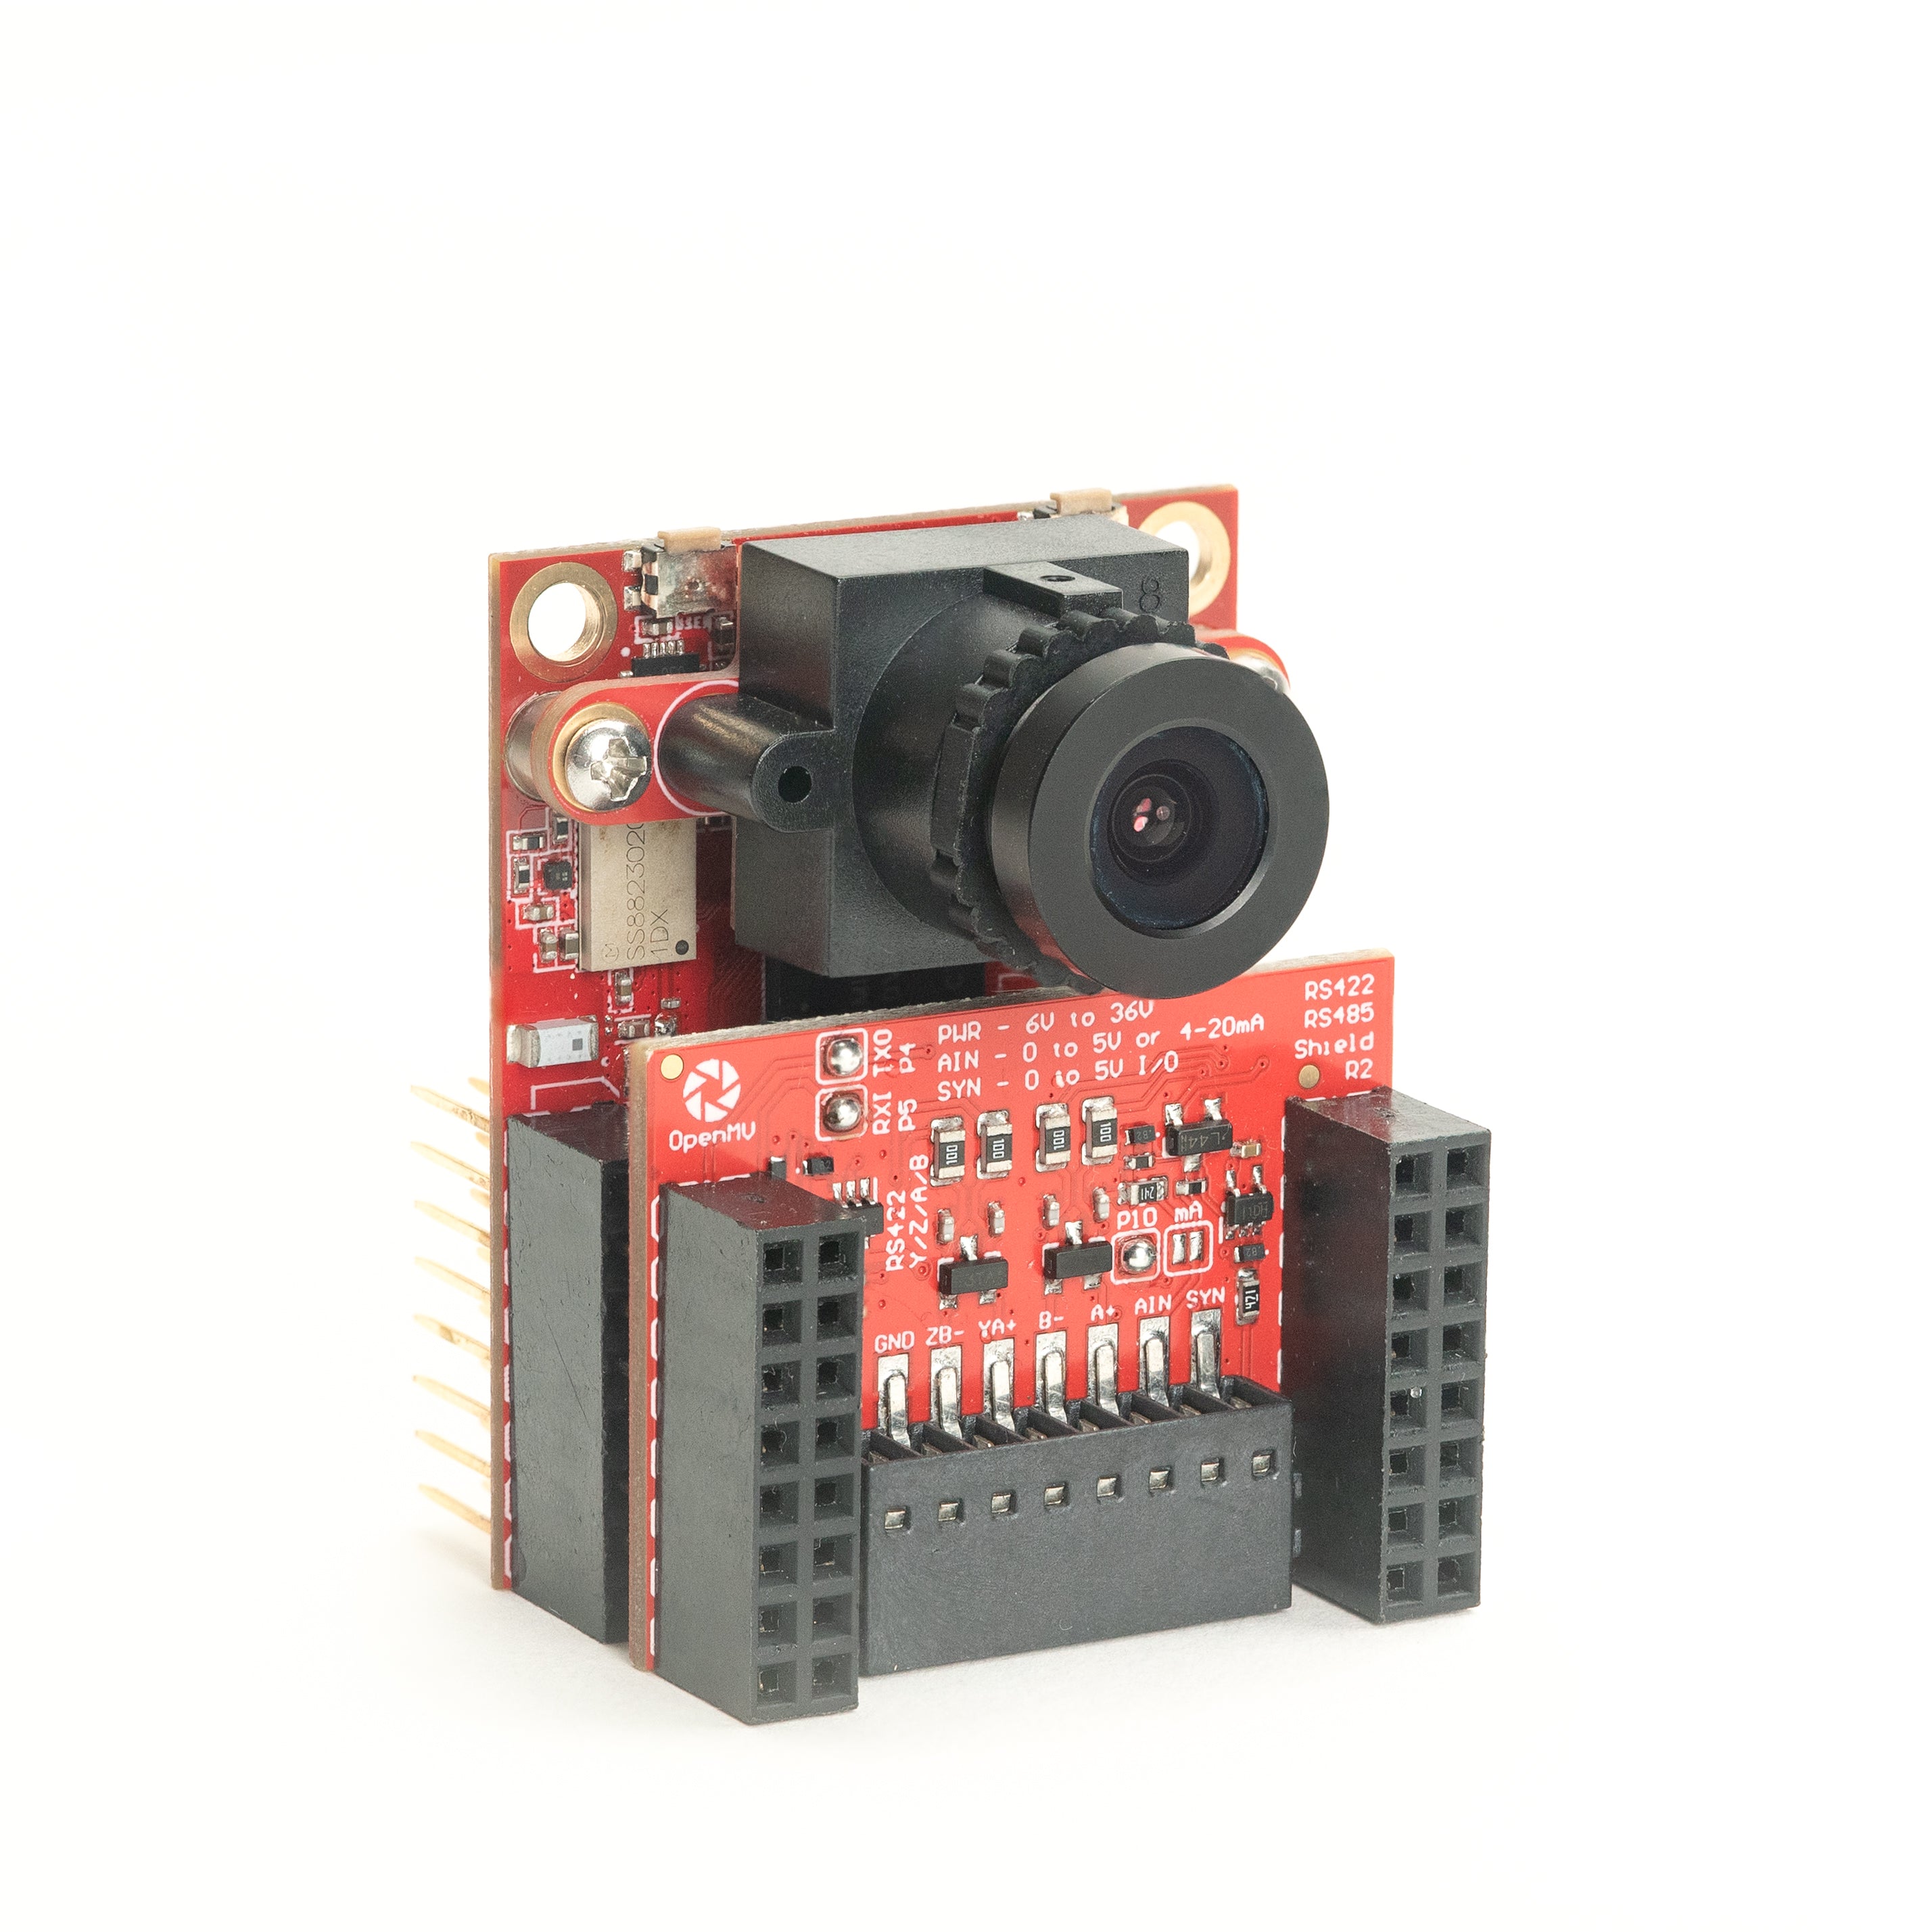
RS422/RS485 Shield
10 Mb/s 差分串列通訊,適用於工業匯流排。
探索 →感測器
相機模組插入板對板連接器的相機模組與感測器轉接器——彩色、單色、熱像儀與事件式視覺。
PS5520 5MP HDR Camera
5MP HDR 感測器——高動態範圍,適應惡劣光線條件。
探索 →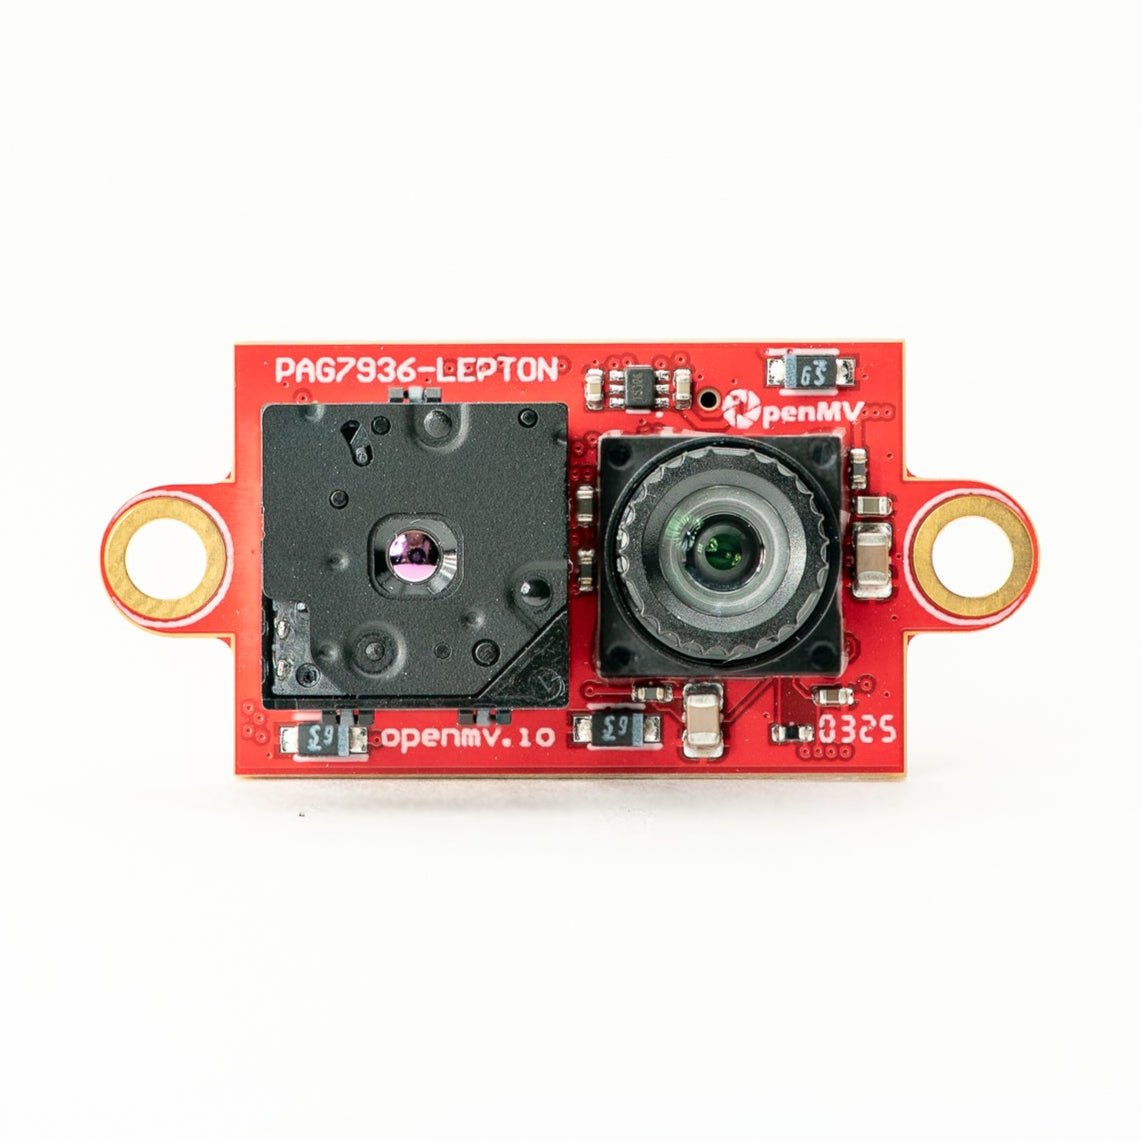
Multispectral Thermal (PAG7936)
1MP 全域快門彩色感測器 + FLIR Lepton 熱像儀,整合於單一模組。
探索 →
Multispectral Thermal (OV5640)
5MP 捲簾快門彩色感測器 + FLIR Lepton 熱像儀,整合於單一模組。
探索 →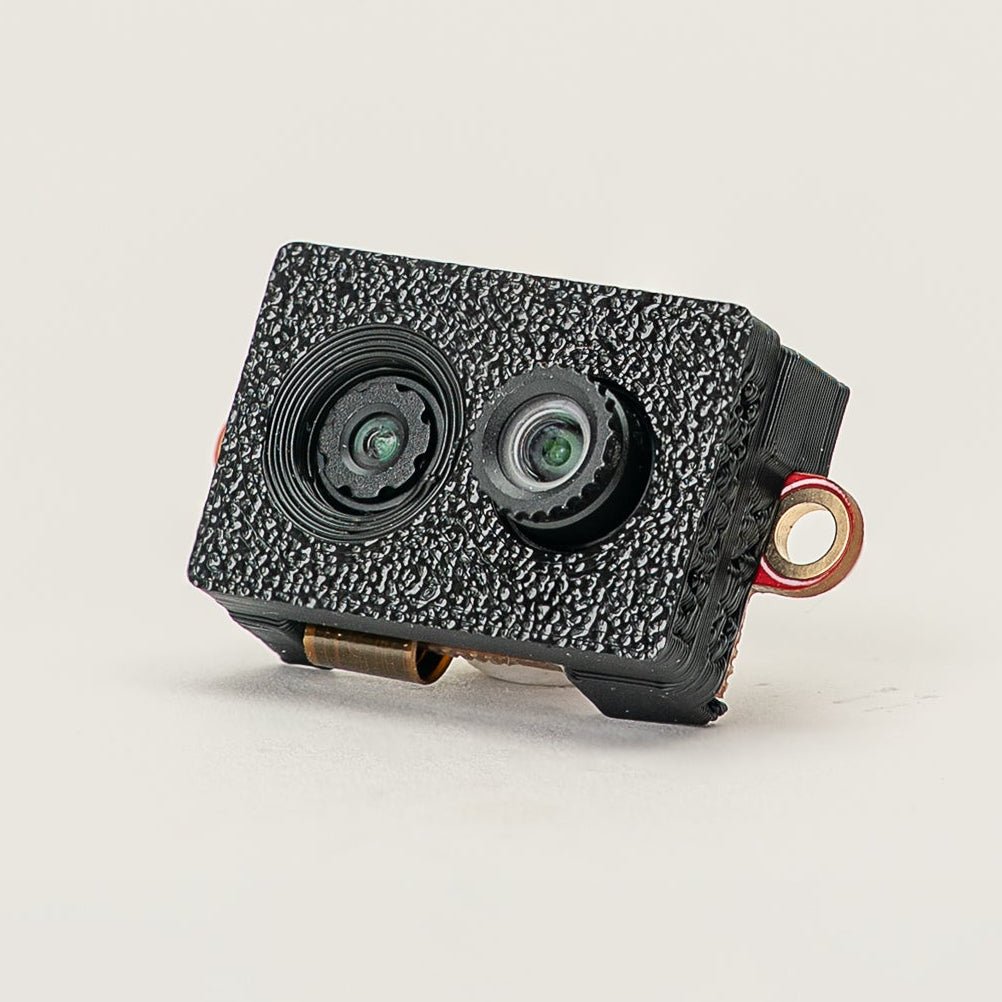
Multispectral Event Camera
GENX320 事件感測器 + PAG7936 彩色感測器,整合於單一模組。
探索 →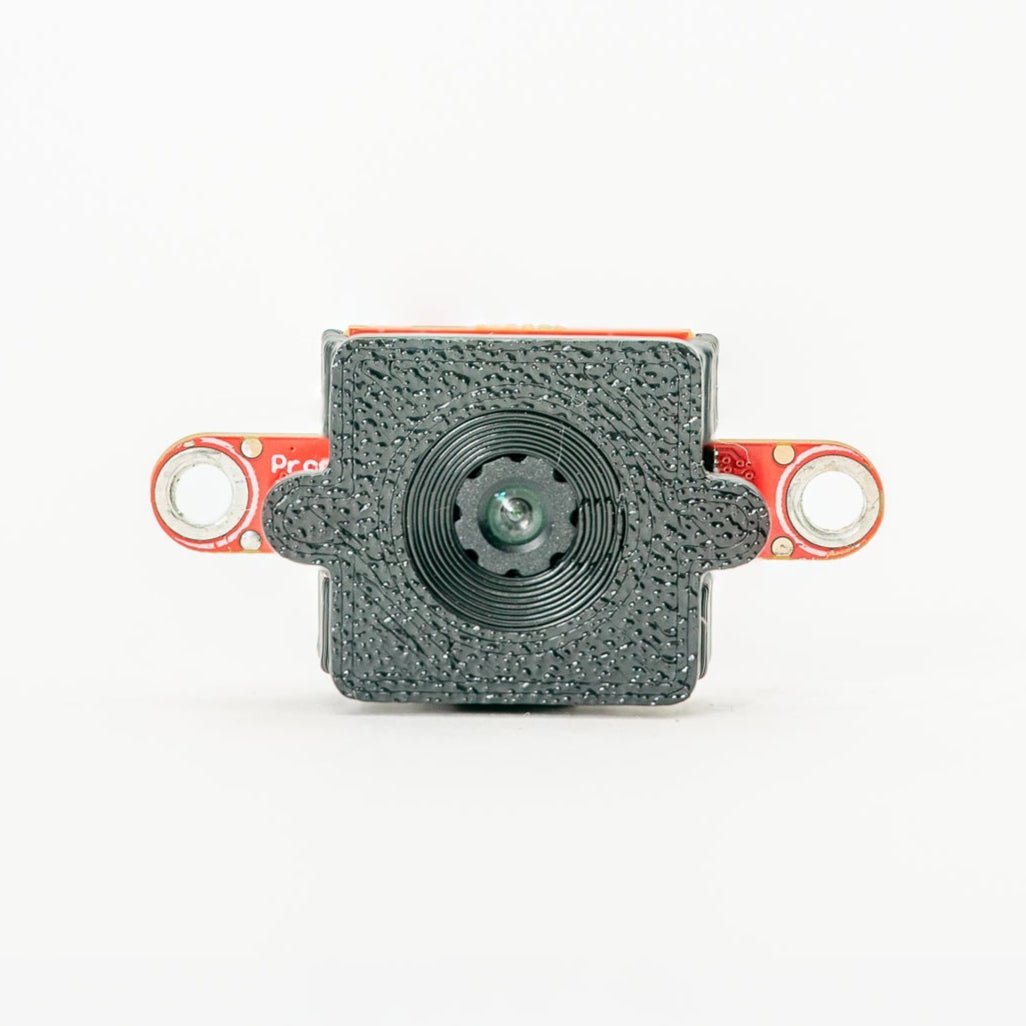
GENX320 Event Camera
Prophesee 事件式視覺——微秒級時間精度。
探索 →
FLIR Boson Adapter
FLIR Boson / Boson+ 轉接器——更高解析度的熱像儀。
探索 →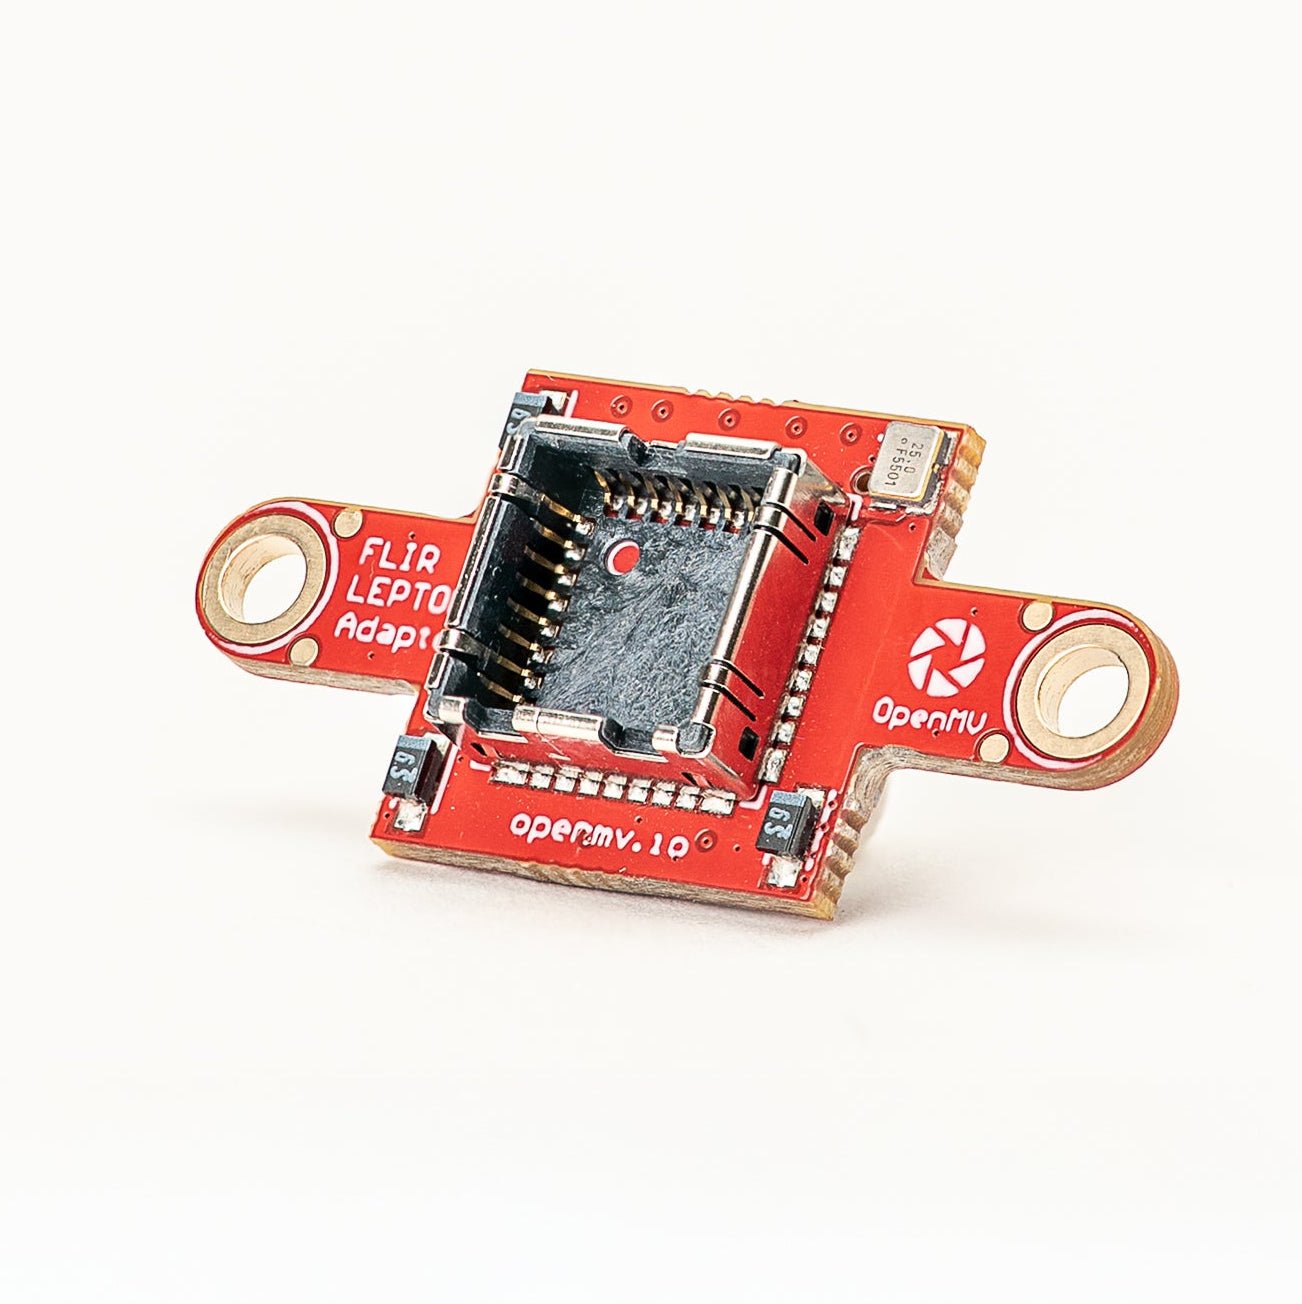
FLIR Lepton Adapter
FLIR Lepton 1.x / 2.x / 3.x 熱像核心轉接器。
探索 →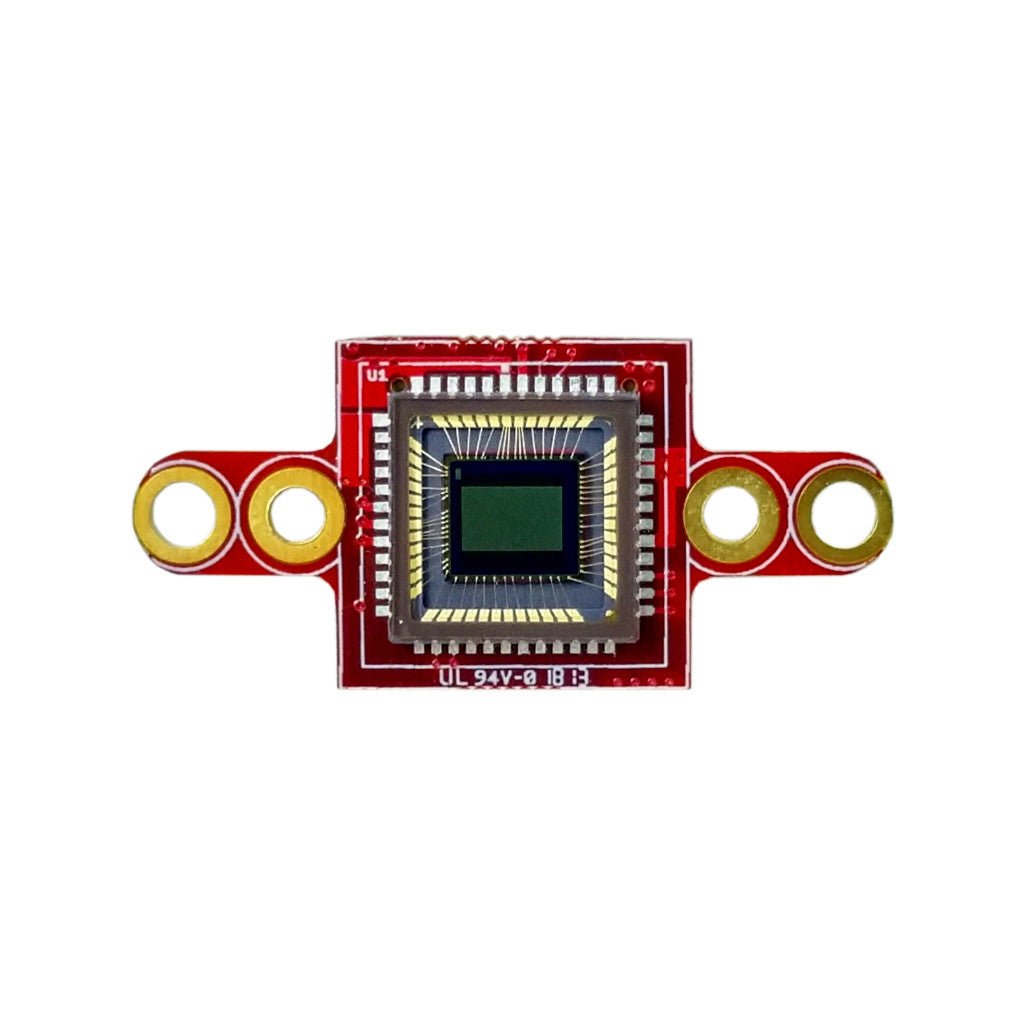
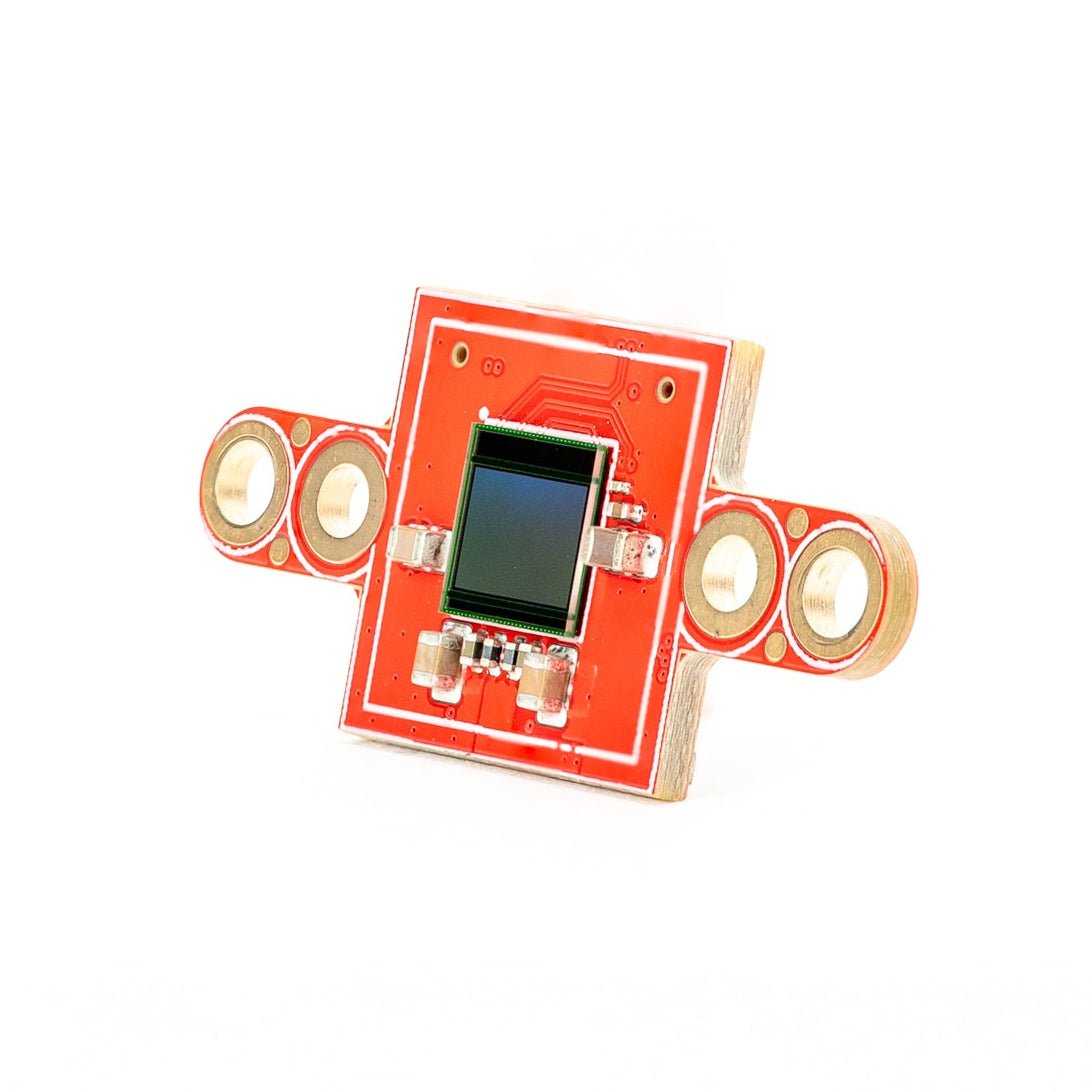
Global Shutter Camera Module
單色全域快門感測器,適用於高速動態捕捉。
探索 →