
 OpenMV MicroPython
Multispectral Thermal (OV5640)
The OV5640 variant of the Multispectral Thermal Camera Module pairs a 5MP rolling-shutter colour sensor with a FLIR Lepton thermal core, so the OpenMV Cam can run high-resolution colour-vision and thermal pipelines side by side.
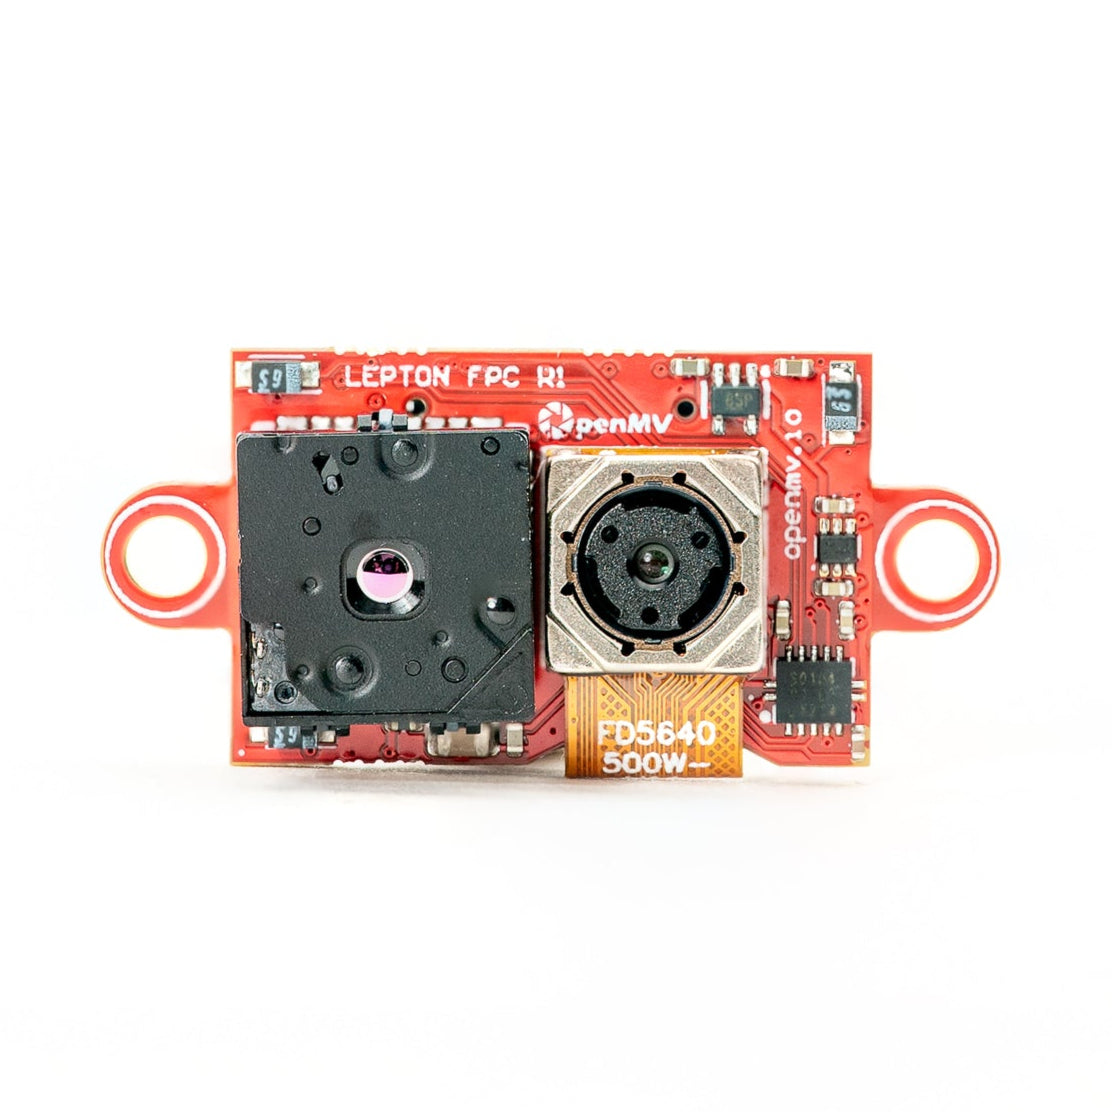
For full datasheet, photos, and ordering see the Multispectral Thermal product page.
Note
Supported on the OpenMV Cam RT1062 only.
Highlights
OV5640: 5MP rolling shutter for higher-resolution colour
Accepts FLIR Lepton 1.x / 2.x / 3.x thermal cores
Simultaneous thermal + colour processing on one module
Sees in complete darkness, supports temperature measurement
Autofocus and F2.0 aperture on the colour sensor
Usage
The colour sensor and the FLIR Lepton each get their own
csi.CSI instance. The first call defaults to the primary sensor
(the OV5640); the second binds to the Lepton by passing
cid= csi.LEPTON. Hard-reset the colour sensor with
csi.CSI.reset (hard=True) to bring the rail up, and
configure the Lepton with hard=False so its driver only
reprograms the chip without re-toggling reset.
csi.CSI.framesize ( csi.QVGA ) matches the Lepton
output to the colour camera, so each snapshot() returns a
320x240 frame. The Lepton driver internally upscales its 80x60
(1.x/2.x) or 160x120 (3.x) native frame to the requested size — at
QVGA every Lepton pixel covers a 4x4 or 2x2 cell on the colour
frame.
Two scratch buffers stay constant across the frame loop — a 256x1
alpha palette stored as an image.Image so cool Lepton pixels
become transparent and hot pixels become opaque (the quadratic
ramp suppresses background detail without crushing the mid-range),
and a Lepton frame buffer pre-allocated with image.Image so
csi.CSI.snapshot (blocking=False, image=...) can fill it in
place each iteration without reallocating:
import time
import csi
import image
import math

alpha_pal = image.Image(256, 1, image.GRAYSCALE)
for i in range(256):
    alpha_pal[i] = int(math.pow((i / 255), 2) * 255)

# Setup the color camera sensor.
csi0 = csi.CSI()
csi0.reset(hard=True)  # force hardware reset.
csi0.pixformat(csi.RGB565)
csi0.framesize(csi.QVGA)

csi1 = csi.CSI(cid=csi.LEPTON)
csi1.reset(hard=False)  # no hardware reset - just configure lepton
csi1.pixformat(csi.GRAYSCALE)
csi1.framesize(csi.QVGA)

# Optional temperature range controls for the LEPTON.
# csi1.ioctl(csi.IOCTL_LEPTON_SET_MODE, True, False)
# csi1.ioctl(csi.IOCTL_LEPTON_SET_RANGE, 20.0, 40.0)

clock = time.clock()

img1 = image.Image(csi1.width(), csi1.height(), csi1.pixformat())

while True:
    clock.tick()
    img0 = csi0.snapshot()
    csi1.snapshot(blocking=False, image=img1)
    img0.draw_image(img1, 0, 0, color_palette=image.PALETTE_IRONBOW,
                    alpha_palette=alpha_pal,
                    hint=image.BILINEAR)
    print(clock.fps())
Each iteration takes a blocking colour snapshot and a non-blocking
Lepton snapshot — the Lepton runs at 9 Hz so blocking on it would
throttle the colour pipeline.
Image.draw_image then composites the two: color_palette=
image.PALETTE_IRONBOW maps the Lepton’s grayscale to a FLIR-style
warm colour ramp, alpha_palette= blends each pixel using the
quadratic alpha map, and hint= image.BILINEAR smooths the
upscale.
The OV5640 has a voice-coil-actuator autofocus lens. Trigger a
single autofocus pass on the colour camera via csi.CSI.ioctl
with csi.IOCTL_TRIGGER_AUTO_FOCUS — the sensor sweeps the focus
motor once and locks on whatever’s in front of it:
csi0.ioctl(csi.IOCTL_TRIGGER_AUTO_FOCUS)
Re-issue the ioctl any time the scene changes — the autofocus is one-shot, not continuous.
Temperature measurement
Radiometric Leptons (Lepton 2.5 / 3.5) report calibrated per-pixel
temperature data. Enable measurement mode through csi.CSI.ioctl
with csi.IOCTL_LEPTON_SET_MODE, then clamp the temperature window
with csi.IOCTL_LEPTON_SET_RANGE (min_celsius, max_celsius).
The Lepton driver linearly maps grayscale pixel value 0 to
min_celsius and 255 to max_celsius, so each pixel becomes
a temperature lookup within the configured window. Pixels colder
than min_celsius saturate at 0, pixels hotter than
max_celsius saturate at 255.
csi.IOCTL_LEPTON_SET_MODE takes two flags. The first turns
measurement on; the second selects the sensor’s temperature range:
Low range —
(True, False)— sensor span-10 °Cto+140 °C(room-scale scenes). Clamp the window to the area of interest, e.g.(20.0, 40.0)for body-heat tracking:csi1.ioctl(csi.IOCTL_LEPTON_SET_MODE, True, False) csi1.ioctl(csi.IOCTL_LEPTON_SET_RANGE, 20.0, 40.0)
High range —
(True, True)— sensor span-10 °Cto~+450 °Ctypical (~+400 °Cat room temperature) for hot objects. Clamp to e.g.(0.0, 400.0)for furnace or hot-element tracking:csi1.ioctl(csi.IOCTL_LEPTON_SET_MODE, True, True) csi1.ioctl(csi.IOCTL_LEPTON_SET_RANGE, 0.0, 400.0)
To convert a grayscale pixel back to Celsius:
def p_to_temp(p, min_t, max_t):
    return (p * (max_t - min_t)) / 255.0 + min_t
This works on individual pixels or on aggregated statistics
(e.g. stats.mean() from Image.get_statistics) inside an
ROI when locating hot/cool regions with Image.find_blobs.