1. 快速入門
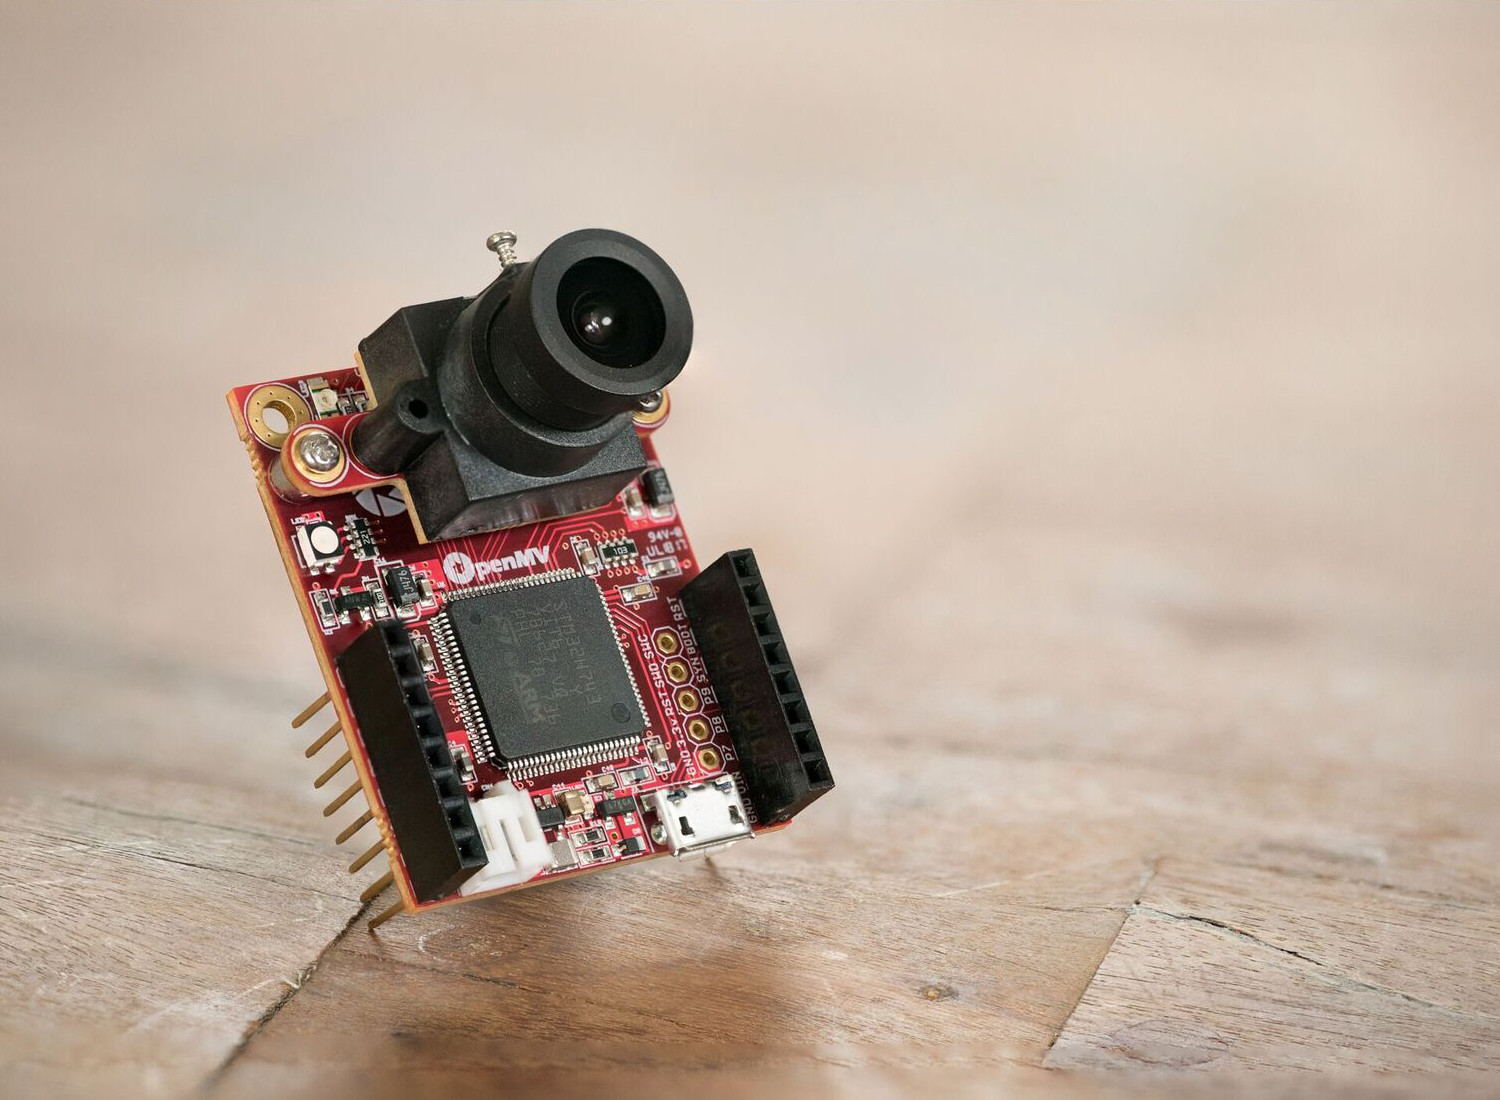
歡迎——我們很高興向你介紹 OpenMV Cam,一台小巧、可程式化的相機,能直接在裝置上執行 Python。寫下幾行程式碼、按下執行,相機便開始「看見」:偵測臉孔、追蹤色彩、讀取標籤、循線——無需 PC 介入迴圈,也不必先費力進行繁瑣的設定。
這份快速入門指南能讓你在幾分鐘內順利上手:你將安裝 IDE、連接相機,並執行一個即時臉部偵測器作為你的第一個指令碼。
1.1. 安裝 OpenMV IDE
OpenMV IDE 是用於撰寫指令碼、在相機上執行它們並即時觀看結果的桌面應用程式。在 這裡 為 Windows、macOS 或 Linux 下載它,然後安裝:
Windows —— 執行安裝程式。它會連同相機的 USB 驅動程式一併安裝 IDE;依照預設提示操作即可。
macOS —— 開啟
.dmg並將 OpenMV IDE 拖曳到「應用程式」資料夾。Linux —— 執行
chmod +x openmv-ide-*.run && ./openmv-ide-*.run,然後依照安裝程式的提示操作。
備註
對於自動化或無頭(headless)的設定,安裝程式也可透過命令列搭配靜默安裝旗標執行。各平台確切的指令請參閱 openmv-ide README。
1.2. 連接你的相機
用 USB 資料線把相機接到你的電腦。等待其磁碟掛載且藍色 LED 開始閃爍,然後按下連接按鈕——也就是工具列底部的插頭圖示。
首次連接時,IDE 會將相機的韌體與其隨附的版本進行比較,並提議更新韌體。接受提示以燒錄最新韌體;這只需幾秒鐘,完成後 IDE 會自行重新連接。
如果相機沒有出現,或你想了解連接與更新的詳細運作方式,請參閱 連接相機 與 韌體更新與復原。
備註
卡在某個地方了嗎?到 OpenMV 論壇 發文——社群與 OpenMV 團隊都樂於提供協助。
1.3. 執行你的第一個指令碼
你的 OpenMV Cam 在快閃記憶體中隨附 Google 的 MediaPipe BlazeFace 臉部偵測器。將這段指令碼貼到編輯器中:
import csi
import time
import ml
from ml.postprocessing.mediapipe import BlazeFace

# Set up the camera sensor.
csi0 = csi.CSI()
csi0.reset()                # Initialize the sensor to a known state.
csi0.pixformat(csi.RGB565)  # Capture 16-bit colour.
csi0.framesize(csi.QVGA)    # Set a small, fast frame size.

# BlazeFace was trained on square images, so crop to a centred
# square the size of the sensor's height.
side = csi0.height()
csi0.window((side, side))

# Load the built-in face detector. The post-processor turns the
# network's raw output into a list of detections; threshold sets how
# confident a detection must be to count.
model = ml.Model("/rom/blazeface_front_128.tflite",
                 postprocess=BlazeFace(threshold=0.4))

clock = time.clock()        # For measuring the frame rate.
while True:
    clock.tick()
    img = csi0.snapshot()   # Capture one frame.

    # predict() runs the network and returns one
    # ((x, y, w, h), score, keypoints) tuple per detected face.
    for rect, score, keypoints in model.predict([img]):
        # Draw the box around the face...
        ml.utils.draw_predictions(img, [rect], ("face",),
                                  ((0, 0, 255),), format=None)
        # ...and mark the six landmarks: eyes, nose, mouth, ears.
        ml.utils.draw_keypoints(img, keypoints, color=(255, 0, 0))

    print(clock.fps(), "fps")
按下綠色的 Run 按鈕並將相機對準一張臉。影格緩衝區檢視器會在每張臉周圍繪製一個方框,並標示出眼睛、鼻子、嘴巴與耳朵,同時序列終端機會印出影格率。
這段指令碼——以及幾乎相機每項功能的對應指令碼——也內建於 IDE 中的 File → Examples 下,並會依你所連接的開發板篩選。開啟其中一個、按下執行,便可開始探索相機的能耐。
1.4. 接下來何去何從
你從何處切入,取決於你已具備的知識。本教學有三個起點——Python 新手、硬體新手,或已準備好進入機器視覺——所以挑選最適合你的那一個。當你需要時,參考資料與 IDE 指南隨時都在這裡。