
 OpenMV MicroPython
CAN Shield
The CAN Shield gives the OpenMV Cam a CAN-bus link via a DB9 connector, with an on-board 12 V to 5 V regulator so the shield can power the camera from a vehicle bus.
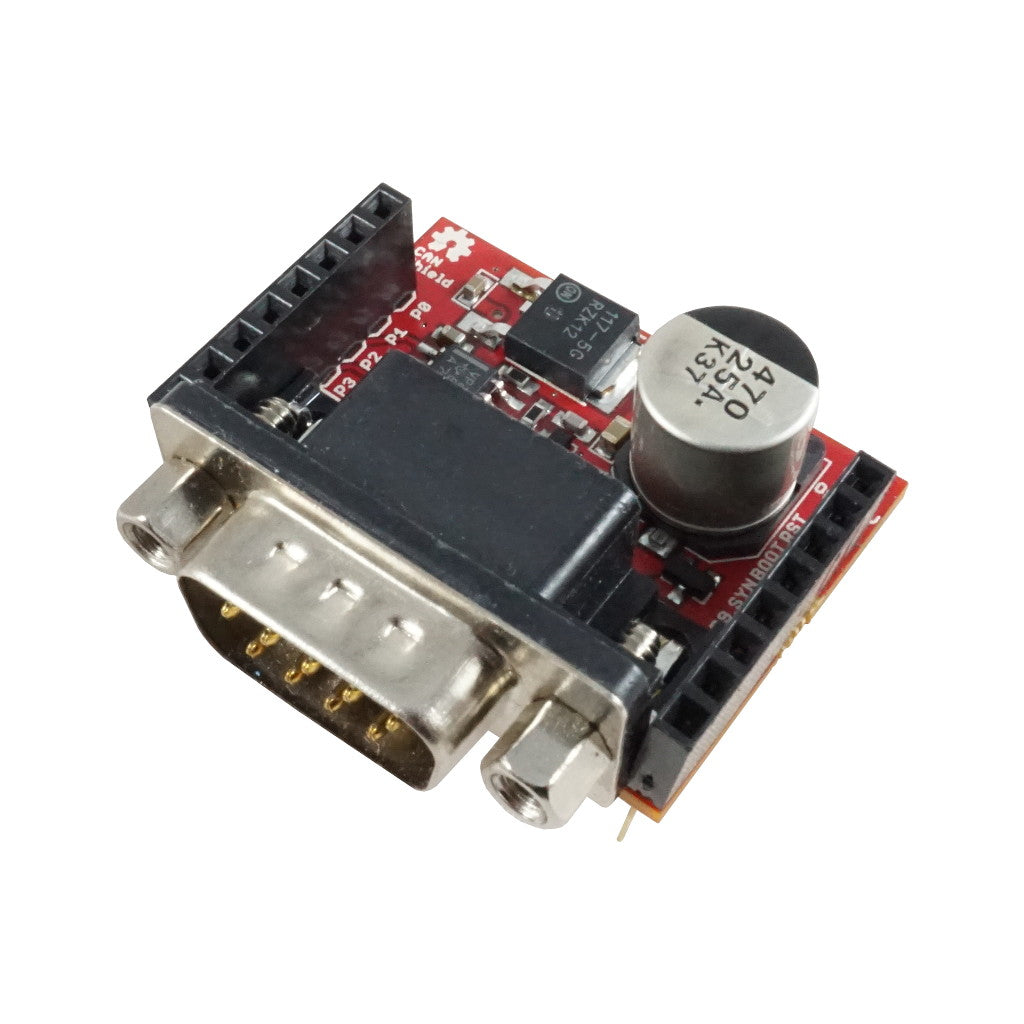
For full datasheet, photos, and ordering see the CAN Shield product page.
Note
Not supported on the OpenMV Cam RT1062.
Highlights
CAN bus up to 1 Mb/s
On-board 12 V to 5 V regulator
Pinout
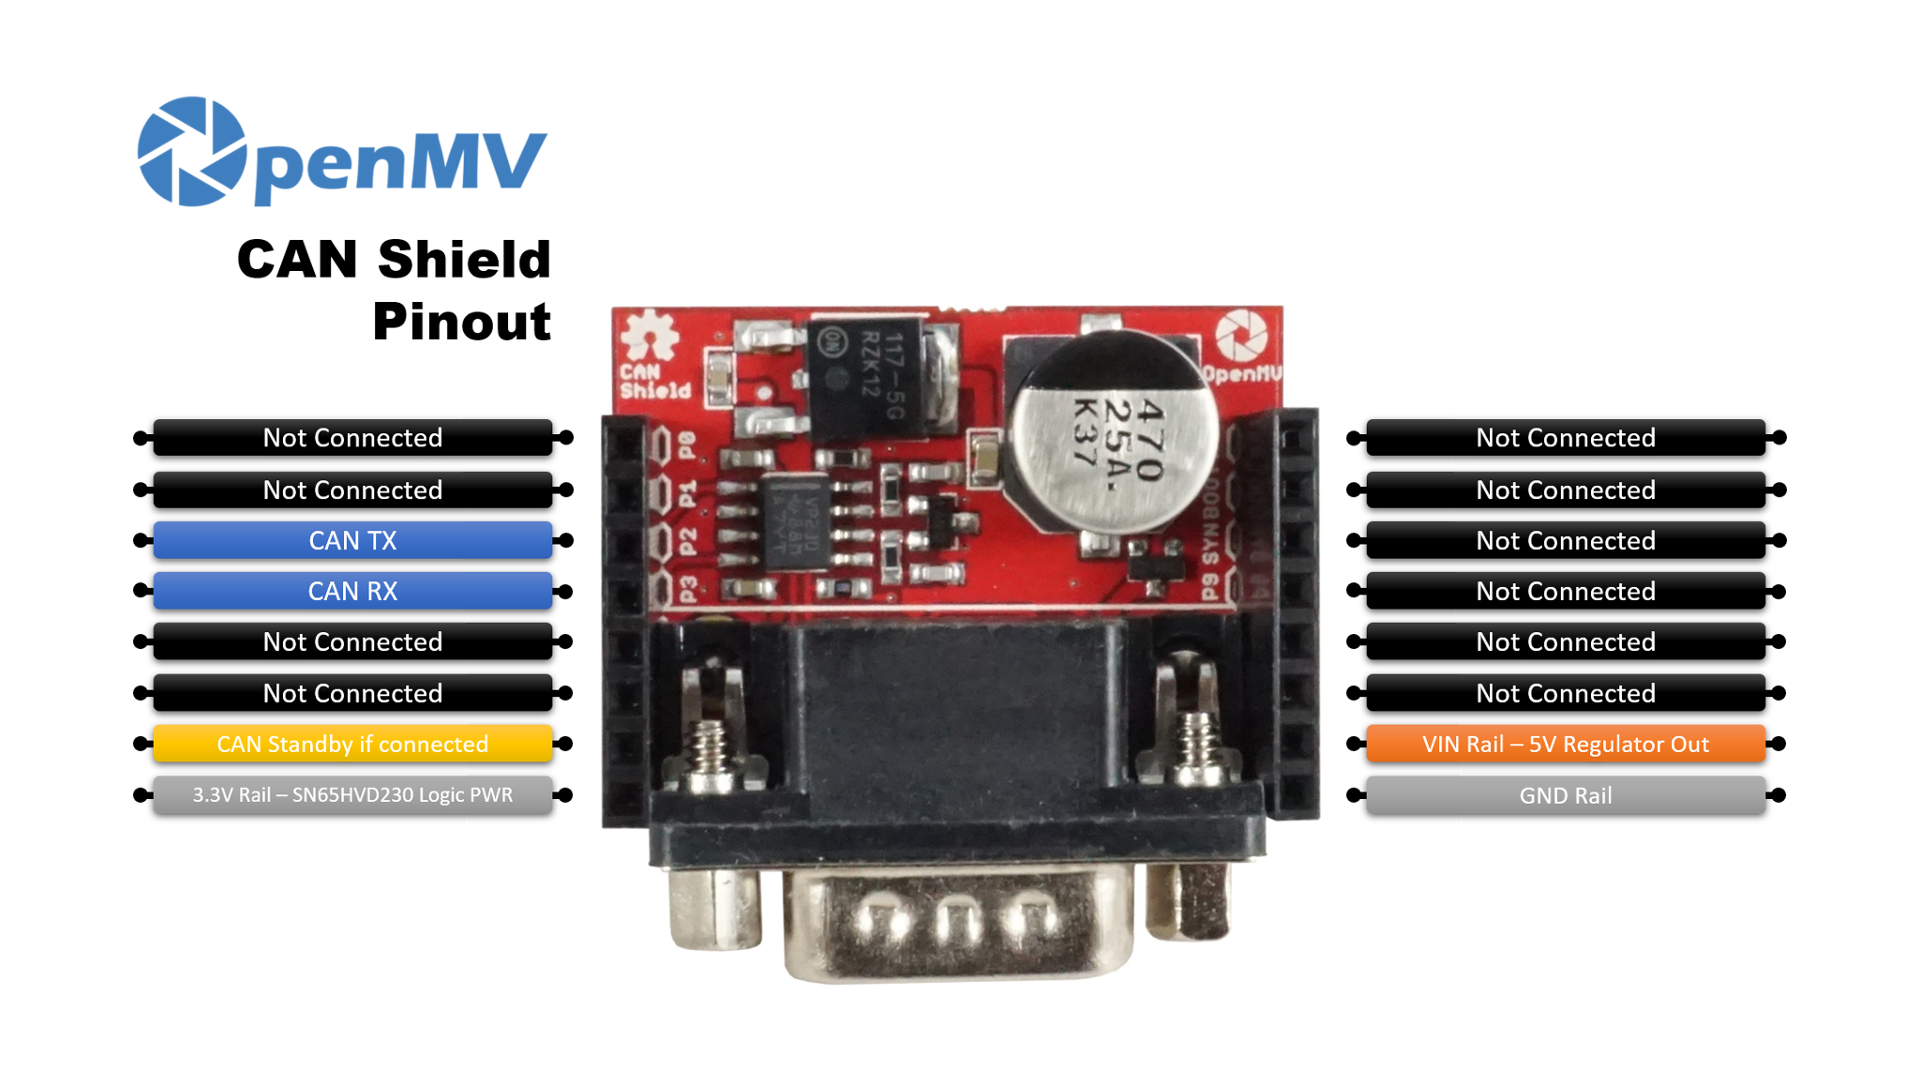
Pin reference
Pin |
Function |
|---|---|
P2 |
CAN TX |
P3 |
CAN RX |
P6 |
CAN standby (optional — see note) |
PWR in |
12 V vehicle-bus input on the DB9 connector |
VIN out |
5 V regulator output (powers the camera) |
3.3V rail |
Powers the SN65HVD230 logic |
GND rail |
Common ground |
Note
The SN65HVD230’s standby line is disconnected from P6 by default. Connect the on-board solder bridge to tie it to P6, then drive P6 high to put the transceiver into listen-only standby mode (low keeps it in normal transmit-and-receive mode).
Note
CANL, CANH, VIN, and GND from the DB9 connector are also broken out to through-hole pads on the bottom of the shield — solder wires there if you want to skip the DB9 entirely.
Note
The DB9 pinout can be changed between the standard DB9 CAN layout and the OBD-II layout by changing the three solder-bridge jumpers on the bottom of the shield.
Note
The on-board 120-ohm termination resistor is connected by default. It can be disabled via a solder bridge on the bottom of the shield for buses that already have termination elsewhere.
Usage
Note
The CAN(1) peripheral number below follows the STM32 mapping.
On another processor the bus wired to these pins may be different
— check your board’s reference.
Send and receive frames on the CAN bus at 1 Mb/s:
from machine import CAN
import time

can = CAN(1, 1_000_000)

can.send([0xDE, 0xAD, 0xBE, 0xEF], 0x123)
print(can.recv())
With the on-board solder bridge connected, drive P6 high to put the SN65HVD230 into listen-only standby mode (low returns it to normal transmit-and-receive):
from machine import Pin
Pin("P6", Pin.OUT).value(1)  # listen-only standby